Who knew something so simple could taste so luxurious? Roasted garlic hummus is like the little black dress of appetizers—it goes with everything and always impresses. In fact, did you know hummus has been enjoyed for over 700 years in Middle Eastern cuisine? It’s creamy, rich in flavor, and packs in nutrients like protein, fiber, and healthy fats. In this guide, I’ll show you exactly how to roast your garlic to golden perfection, blend it into smooth chickpea magic, and serve it up like a pro. Whether you’re hosting friends, prepping snacks for the week, or just craving something wholesome, this is your ultimate roasted garlic hummus blueprint.
Ingredients for Roasted Garlic Hummus
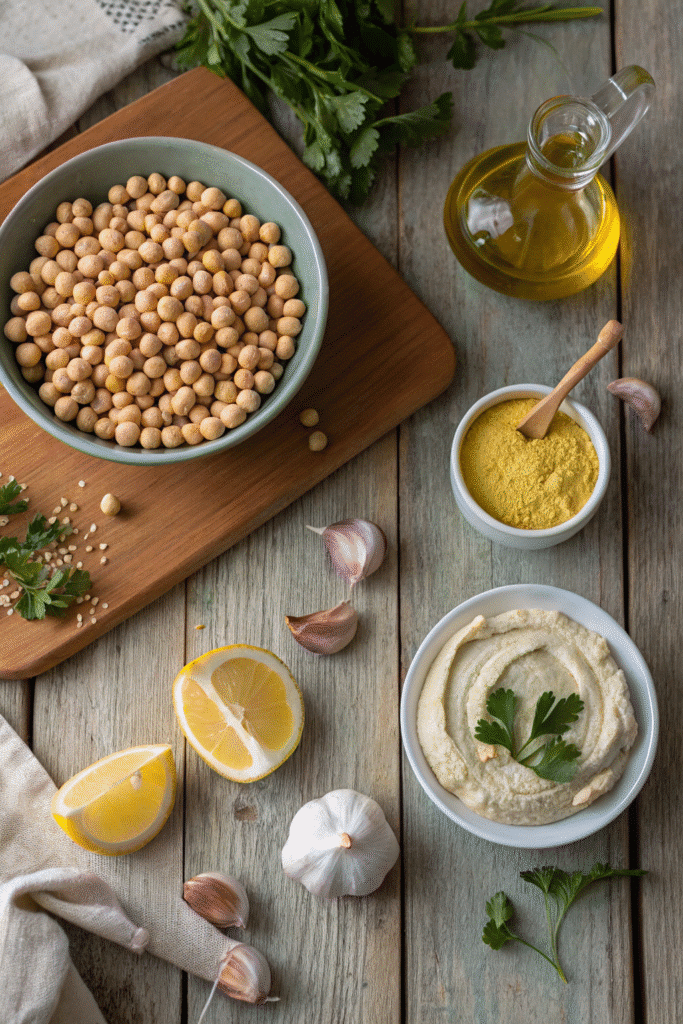
When I first started making roasted garlic hummus, I thought the ingredient list was going to be fancy or intimidating. Spoiler: it’s not. You don’t need a pantry full of exotic items or a trip to some specialty market (though, if you want an excuse to wander a spice aisle for an hour, I won’t judge). The truth? A great hummus starts with just a few basics, and how you treat those basics makes all the difference.
Chickpeas – the Heart of It All
You can’t really talk about roasted garlic hummus without starting with chickpeas. I’ve tried both canned and dried, and honestly, both work fine if you treat them right. Canned chickpeas are my weeknight hero—just drain, rinse, and they’re ready to go. But if you’ve got the time, simmering dried chickpeas until buttery soft is worth the patience. Here’s my trick: I toss in a teaspoon of baking soda when cooking dried chickpeas. It helps break down the skins, which means creamier hummus.
The Tahini Situation
I didn’t realize how much tahini quality mattered until I bought a bargain jar that tasted like, well… chalk. Good tahini is smooth, nutty, and slightly sweet. If it’s bitter, your roasted garlic hummus will taste off no matter how much lemon juice you add to save it. My go-to brands pour like warm honey and don’t need an arm workout to stir.
Lemon Juice – Fresh, Always Fresh
I’ve tried bottled lemon juice in a pinch, and every time I regret it. Fresh lemon juice gives roasted garlic hummus that bright, fresh kick bottled juice just can’t match. I usually squeeze one lemon, then taste and adjust. Some days my taste buds want more zing.
Olive Oil – Don’t Skimp
I use a good extra virgin olive oil, not the cheapest bottle at the store but not the one that costs as much as a decent dinner either. It’s not just about richness—it’s about balance. The olive oil blends with the tahini and roasted garlic to make this velvety, almost decadent dip.
Roasted Garlic – The Star of the Show
If you’ve only ever tossed raw garlic into hummus, oh boy, you’re in for a treat. Roasting transforms garlic into something sweet, mellow, and spreadable. I roast a whole bulb, sometimes two, and I’m never shy about loading it in. That’s why this roasted garlic hummus tastes like something from a restaurant.
Seasonings – The Secret Extras
Sea salt is non-negotiable, but I also toss in a pinch of smoked paprika if I’m feeling adventurous. And don’t forget a splash of cold water—it sounds weird, but it’s the secret to fluffy, airy hummus.
I swear, once you’ve nailed the right ingredients for roasted garlic hummus, you’re already 80% of the way to making something so good you’ll be scraping the blender with a spatula and telling yourself, “Just one more taste…”
How to Roast Garlic for Hummus
When I first learned to roast garlic, I made the rookie mistake of cranking up the oven heat like I was baking cookies. Let me save you from that sad, burnt, bitter mess. Roasting garlic is all about patience. You’re not blasting it with heat; you’re coaxing it into this caramelized, spreadable magic that turns ordinary hummus into roasted garlic hummus heaven.
Pick the Right Garlic
Sounds obvious, but I’ve grabbed old, sprouting garlic bulbs before, and trust me—those green shoots bring a sharp, almost harsh bite. For hummus, I want the cloves plump, firm, and with tight, papery skins. If the bulb feels light or the cloves look shriveled, skip it.
The Prep
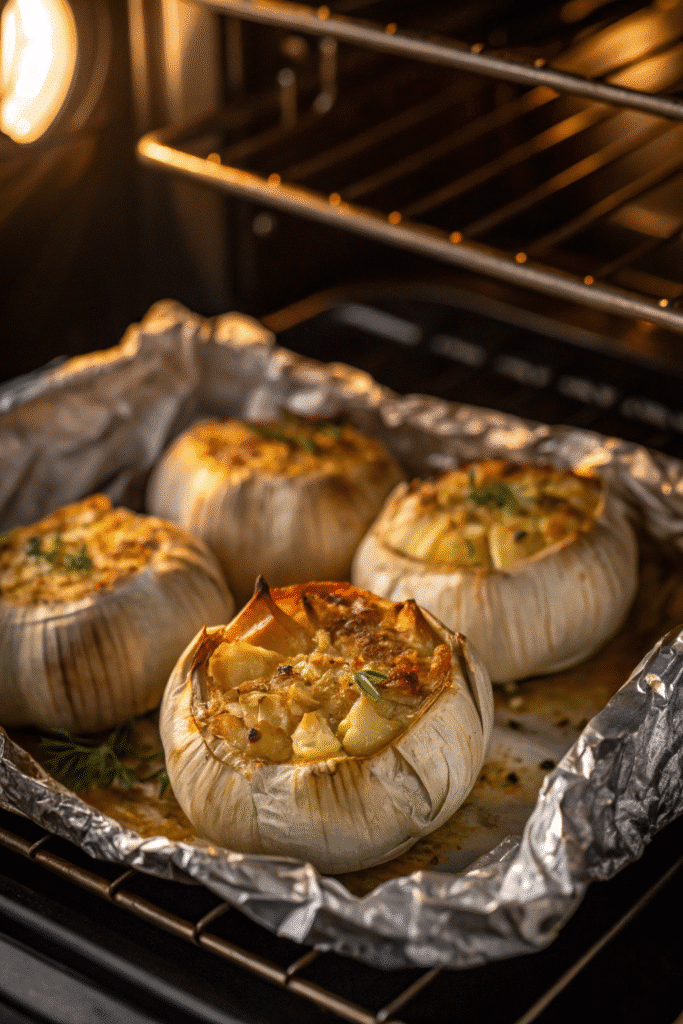
Here’s my routine: slice just the very top off the garlic bulb so the tips of the cloves peek through. Don’t go hacking half the bulb off—you just want them exposed enough to soak in olive oil. I place the bulb on a square of foil, drizzle it generously with extra virgin olive oil (don’t be shy), and sprinkle a pinch of sea salt. That oil will seep down into the cloves, making them rich and golden.
The Roast
Now for the important part: temperature and time. I preheat my oven to 375°F (190°C). Any hotter, and you risk burnt tips before the insides go creamy. Wrap the garlic up in foil—like a little present—and pop it on a baking tray. It usually takes 40–45 minutes, but I start checking at 35. You’ll know it’s ready when the cloves feel soft when pressed with a spoon and smell… well, like roasted garlic hummus waiting to happen.
Cool Before You Squeeze
I’ve made the mistake of rushing this step, squeezing piping-hot cloves and basically scalding my fingers. Let it cool for at least 10 minutes before gently pushing the cloves out. They should slide right out, sweet and golden. Sometimes I roast extra and stash them in a jar with olive oil in the fridge—perfect for tossing into pasta or smearing on toast.
Why Roasting is Non-Negotiable for This Recipe
Sure, raw garlic has a punch, but roasted garlic gives roasted garlic hummus its signature mellow sweetness. It blends into the chickpeas and tahini like it was meant to be there all along. The flavor is layered—first you taste the smooth nuttiness, then the roasted garlic sneaks in, sweet and comforting. Honestly, it’s why people always ask me, “What’s your secret?”
Once you nail the roast, you’ll start tossing garlic bulbs into the oven for everything. But in hummus? Oh, it’s where roasted garlic really gets to show off.
Blending the Perfect Hummus Texture
I’ll be honest—this was the step that took me from meh hummus to roasted garlic hummus that people actually text me about later. The difference between “pretty good” and “oh my gosh, I need this recipe” comes down to one thing: texture. Creamy, fluffy, silky-smooth texture. If your hummus is grainy or dense, it doesn’t matter how amazing your roasted garlic is—you’ve already lost the battle.
Start With Warm Chickpeas
This one blew my mind when I first tried it. Blending warm chickpeas makes everything emulsify better. I used to blend them straight from the can at room temp, but after heating them gently in a pot with water for a few minutes? Game-changer. The warmth helps the tahini and olive oil meld perfectly, giving your roasted garlic hummus that dreamy mouthfeel.
The Blending Order Matters
For years, I threw everything into the blender at once and hoped for the best. Then I learned this little chef’s secret: blend the tahini and lemon juice first. Let them whip together until they’re pale and creamy before adding anything else. Then toss in the roasted garlic cloves and salt, blending again. Only after that do I add the chickpeas, a bit at a time, with splashes of ice-cold water in between. The water fluffs the hummus like nothing else.
Use More Time Than You Think
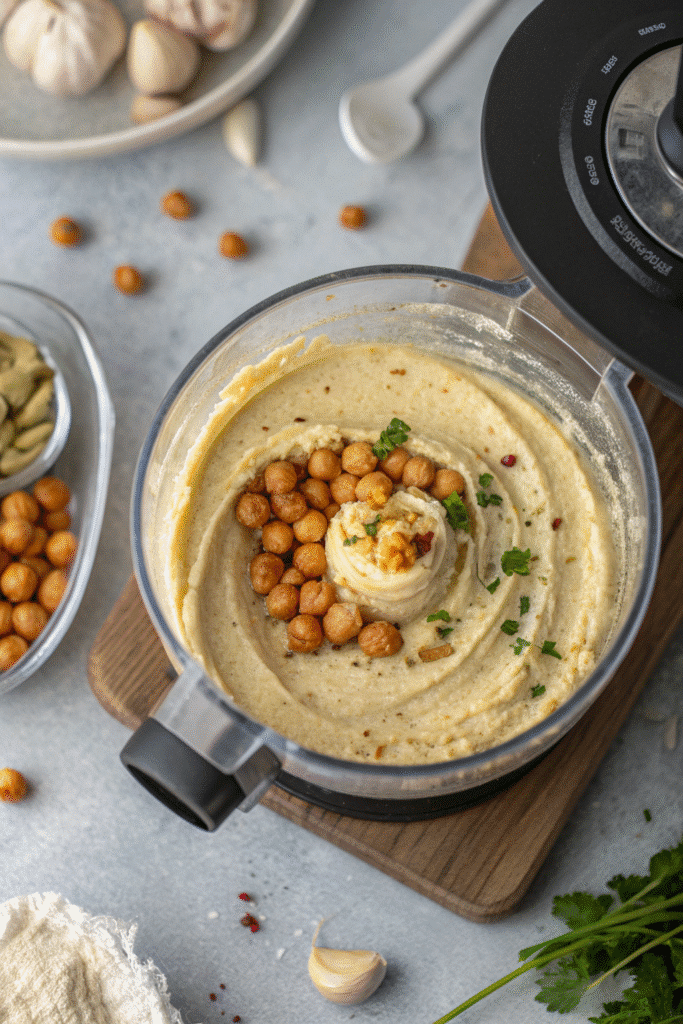
Most people pulse their hummus for 20–30 seconds and call it done. Nope. I let my food processor run for at least 3–4 minutes total, scraping down the sides a couple of times. That’s when you start to see the roasted garlic hummus transform into this silky, almost mousse-like dip. Yes, the machine will make some noise, but trust me—it’s worth it.
Fixing Texture Problems
Too thick? Add a tablespoon of cold water or a splash of extra virgin olive oil. Too thin? Toss in a few more chickpeas and blend again. Still grainy? Keep going—most of the time, people just stop blending too soon.
The Final Touch
Once it’s perfect, I scrape it into a bowl and give it a swirl with the back of a spoon, drizzle on more olive oil, and maybe dust it with paprika. That first scoop with warm pita? Heaven. And here’s the kicker—if you follow these blending steps, your roasted garlic hummus will taste just as good the next day, which is saying something, because most dips lose their charm after sitting in the fridge overnight.
Honestly, nailing the texture is addictive. Once you’ve made roasted garlic hummus this way, you’ll start critiquing store-bought hummus like a food judge on TV.
Flavor Variations & Add-Ins
I used to think hummus was a one-flavor wonder—you know, chickpeas, tahini, lemon, garlic, and that’s it. But once I nailed my roasted garlic hummus base, I started playing around. And wow… it’s like opening a door to a whole new world of dips. Every variation feels like its own little personality.
The Spicy Kick
If you’re into heat, toss in a roasted jalapeño or a teaspoon of harissa paste. I remember the first time I tried this—my cousin thought I’d ruined the batch, but after one bite, she was dunking pita chips like it was her job. The roasted garlic mellows out the spice so it’s warm, not overwhelming.
Herb Lovers’ Dream
Fresh herbs can completely change the vibe. A handful of parsley or cilantro makes it bright and green. Basil gives it an almost pesto-like twist. My personal favorite? Dill. It turns roasted garlic hummus into something you want to spread on everything from sandwiches to baked potatoes.
Roasted Veggie Sweetness
If you’ve got a sweet tooth but still want to stay in savory territory, roasted red peppers are your best friend. Blend a couple into the hummus and suddenly you’ve got this smoky-sweet dip that looks stunning on a party platter. I’ve also done roasted carrots for a subtle sweetness—it’s unexpected but works like magic.
Tangy and Zesty
Sometimes I’ll mix in a spoonful of sun-dried tomatoes or a splash of balsamic vinegar. That little tang against the creamy base? Chef’s kiss. The roasted garlic still shines, but it has this zippy backup singer now.
Playing With Toppings
Not every variation has to be blended in—sometimes the fun is in what you sprinkle on top. Toasted pine nuts, za’atar, smoked paprika, or even crispy chickpeas make roasted garlic hummus feel gourmet without any extra work. I once topped mine with crumbled feta and a drizzle of chili oil for a potluck, and people were literally hovering by the bowl.
Sweet (Yes, Sweet) Hummus Experiments
Okay, hear me out—chocolate hummus is a thing. I wouldn’t use my roasted garlic hummus base for that (obviously), but I have added a hint of cinnamon and honey to a small batch for a sweet-and-savory twist. It’s weirdly addictive.
The best part of experimenting is that you can’t really mess it up. Worst case scenario? You just made a bowl of hummus that’s “pretty good” instead of mind-blowing. Best case? You stumble onto a variation that becomes your signature recipe. And honestly, roasted garlic hummus is already so good on its own, everything else just feels like bonus points.
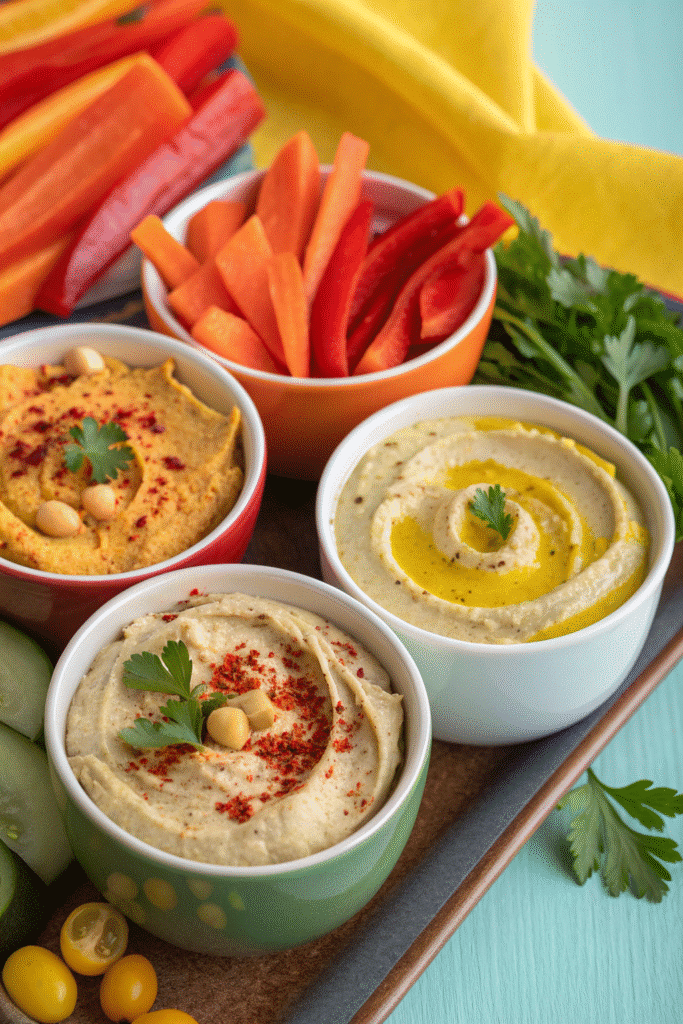
Serving & Presentation Tips
I used to just plop my roasted garlic hummus into a bowl and call it a day. And sure, it tasted amazing, but visually? Meh. Then I went to a friend’s dinner party, saw her hummus looking like it belonged in a magazine, and realized… presentation totally matters. The good news? It’s ridiculously easy to make hummus look stunning without spending more than two minutes on it.
The Art of the Swirl
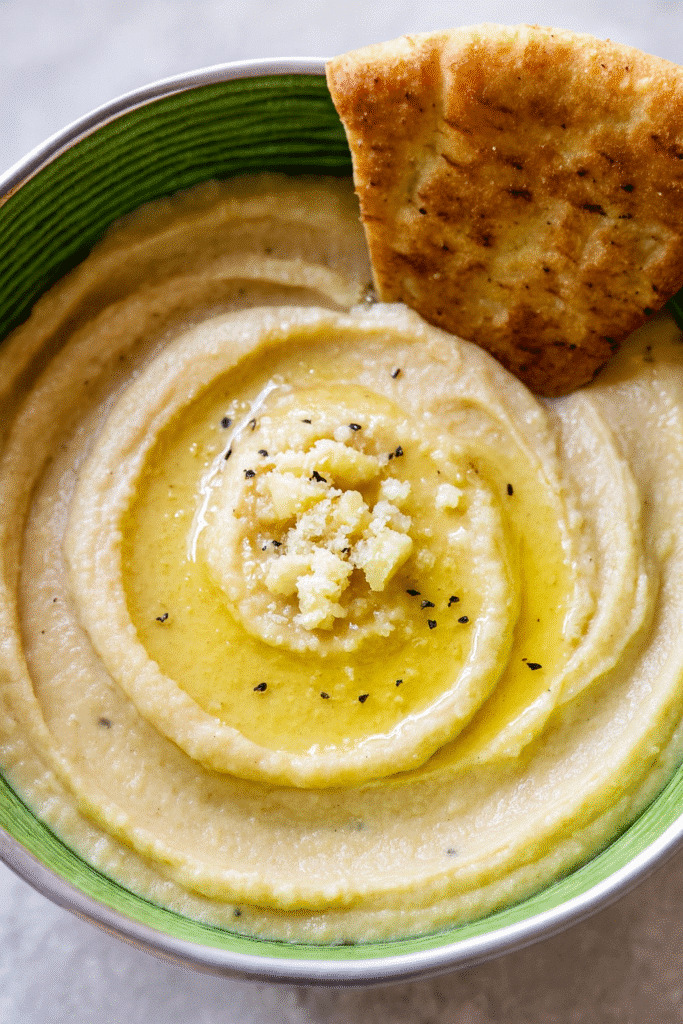
The first trick I learned: the swirl. Take the back of a spoon and gently spiral through the top of your roasted garlic hummus. You’re not just making it pretty—those little grooves are perfect for holding olive oil and spices.
Olive Oil Is Your Friend
Drizzle, don’t dump. A light stream of extra virgin olive oil over the swirl catches the light and makes your hummus look lush and inviting. I’ve found that a slightly green-tinted olive oil makes the color pop even more.
Sprinkle Some Color
Smoked paprika is a classic. It adds a warm red tone that screams “come eat me.” Fresh parsley, chopped fine, gives a pop of green. Sometimes I go wild and do both. One time I even used edible flower petals for a bridal shower, and people couldn’t stop talking about it.
Dippers Matter
Yes, pita bread is classic, but presentation gets way more fun when you mix it up. I love cutting pita into triangles, brushing them with olive oil, and toasting them until they’re just crisp. For crunch, add carrot sticks, cucumber rounds, and bell pepper strips. If you really want to impress, try grilled halloumi slices as dippers—it’s indulgent and unexpected.
Serving Platters & Bowls
Don’t underestimate the power of a pretty serving dish. A rustic wooden board with small bowls of roasted garlic hummus and colorful veggies around it always draws a crowd. Shallow bowls work better than deep ones—you want people to see all the toppings, not just a beige mystery dip.
Going Beyond the Bowl
Sometimes I use roasted garlic hummus as part of the meal itself—spread inside wraps, dolloped on grain bowls, or smeared across a plate as a base for grilled chicken or roasted veggies. It instantly makes a dish feel more intentional and chef-y.
The thing is, roasted garlic hummus is already delicious. Presentation just makes it feel special, like you didn’t just throw it together—even if you did, in fact, whip it up in 15 minutes between laundry loads. And honestly? That’s the best kind of food magic.
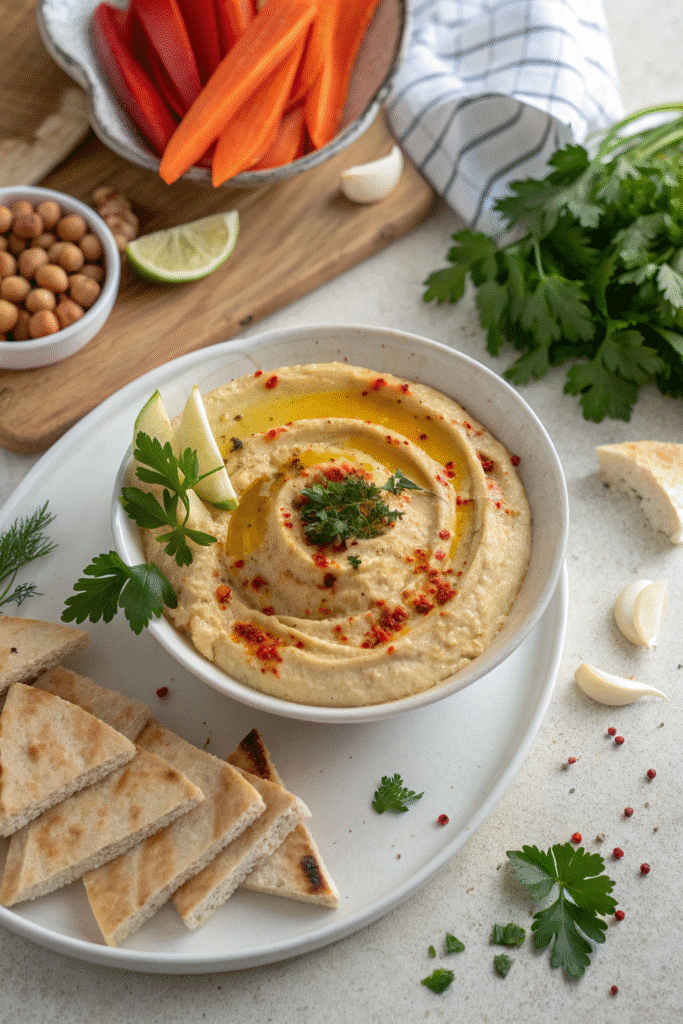
Roasted garlic hummus is more than just a dip—it’s a flavor-packed, healthy snack you can make in under 20 minutes. Once you taste the silky texture and sweet garlic undertone, store-bought will never compare. Try it, share it, and let your friends know they can find the recipe right here on Pinterest for their next snack inspiration.
Print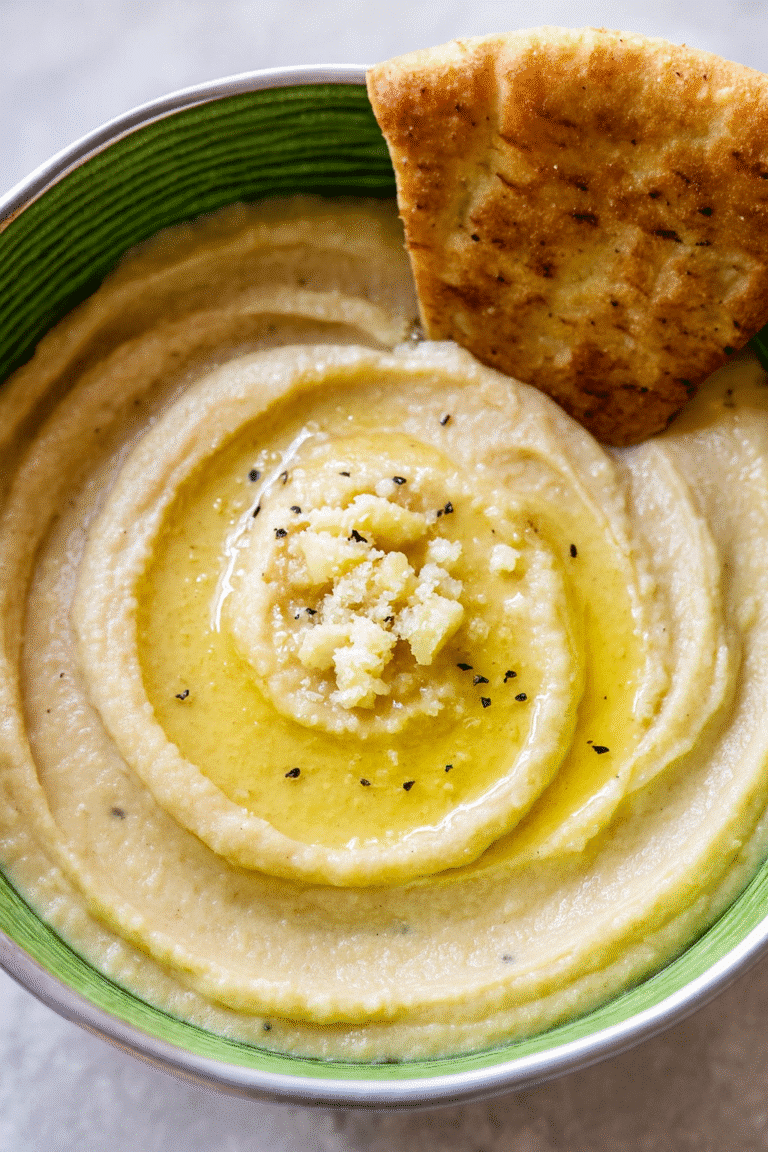
Roasted Garlic Hummus
Creamy, silky-smooth hummus infused with sweet, mellow roasted garlic, perfect as a dip, spread, or snack.
- Total Time: 55 minutes
- Yield: 8 servings 1x
Ingredients
- 1 bulb garlic
- 2 cans (15 oz each) chickpeas, drained and rinsed (or 3 cups cooked chickpeas)
- 1/2 cup good-quality tahini
- 1/4 cup fresh lemon juice
- 1/4 cup extra virgin olive oil, plus extra for drizzling
- 1 tsp sea salt
- 1/4 tsp smoked paprika (optional)
- 2–4 tbsp cold water
Instructions
- Preheat oven to 375°F (190°C).
- Slice the top off the garlic bulb to expose cloves. Place on foil, drizzle with olive oil, sprinkle with sea salt, wrap, and roast 40–45 minutes until soft and golden. Cool 10 minutes, then squeeze cloves out.
- Warm chickpeas gently in a pot of water for a few minutes to help achieve a creamier texture.
- In a food processor, blend tahini and lemon juice until pale and creamy.
- Add roasted garlic cloves and sea salt; blend again.
- Add chickpeas gradually, blending between additions. Stream in olive oil and add cold water as needed for desired texture.
- Blend 3–4 minutes total, scraping sides occasionally, until silky smooth.
- Taste and adjust seasoning. If too thick, add more cold water or olive oil; if too thin, add extra chickpeas and blend again.
- Transfer to a shallow serving bowl, swirl with the back of a spoon, drizzle with olive oil, and sprinkle with paprika or fresh herbs if desired.
Notes
For extra flavor, top with toasted pine nuts, za’atar, or crispy chickpeas. Store in the fridge up to 5 days.
- Prep Time: 10 minutes
- Cook Time: 45 minutes
- Category: Appetizer
- Method: Blended
- Cuisine: Middle Eastern
- Diet: Vegan
Nutrition
- Serving Size: 1/4 cup
- Calories: 120
- Sugar: 0g
- Sodium: 180mg
- Fat: 8g
- Saturated Fat: 1g
- Unsaturated Fat: 7g
- Trans Fat: 0g
- Carbohydrates: 10g
- Fiber: 3g
- Protein: 4g
- Cholesterol: 0mg


