Ever heard the phrase “eat the rainbow”? It’s more than just a fun saying — it’s legit nutrition advice! Rainbow Veggie Pinwheels are one of my favorite ways to sneak in loads of colorful veggies without anyone (even picky kids!) putting up a fight. I first tried them at a potluck and was shocked how quickly they disappeared. Now, I make them for everything from road trips to kids’ lunches.
With their creamy spread, crisp veggies, and soft tortillas, these pinwheels are not just healthy — they’re crazy tasty and super pretty too! Let’s dive into this no-fuss, color-packed recipe that’s as fun to eat as it is to make.
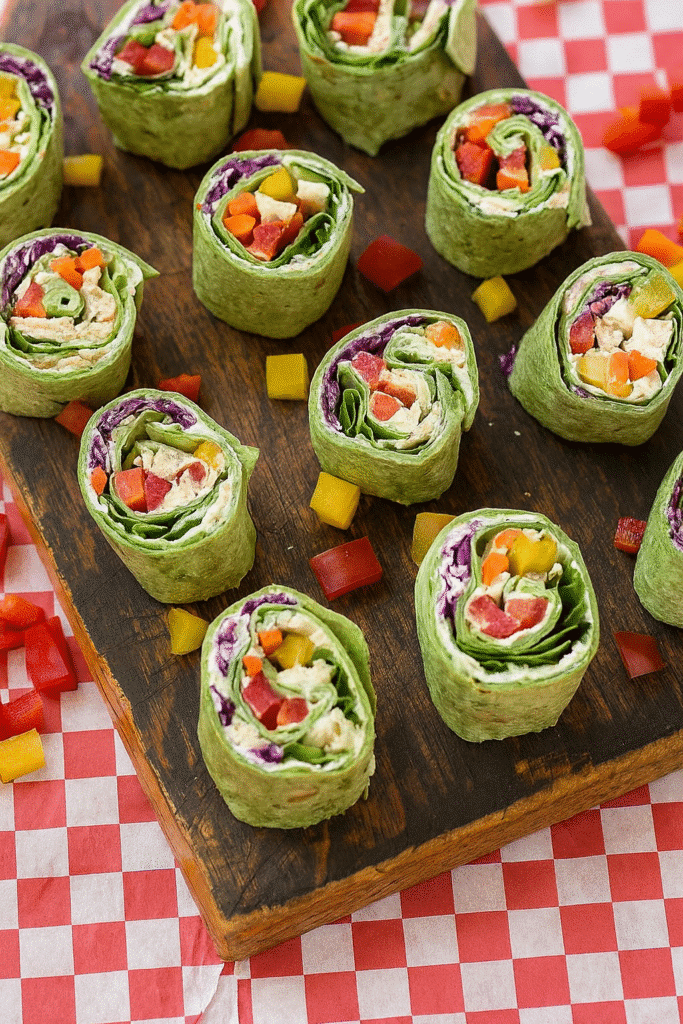
Ingredients You’ll Need for Rainbow Veggie Pinwheels
Let me tell you, the first time I made Rainbow Veggie Pinwheels, I completely overthought the ingredients. I was like, “Do I need all the veggies in the grocery store?” Nope. You just need a solid mix of colorful crunch and a creamy spread that holds it all together.
Tortilla Talk 🫓
Okay, here’s something I learned the hard way — not all tortillas roll the same. I once used a stiff brand that cracked halfway through rolling and it was a mess. Since then, I’ve stuck to large, soft flour tortillas. Spinach or tomato tortillas add a splash of color and hold up well too. I don’t recommend corn tortillas here — they’re too crumbly and small for proper pinwheels.
If you’re gluten-free, try those almond flour wraps. Just warm them slightly in the microwave before using. Makes them way easier to handle and they won’t break when you roll ‘em.
Creamy Spread = The Glue 🧀
I rotate between whipped cream cheese and hummus, depending on the vibe. If I’m making it for a party, I’ll go cream cheese and mix in a little ranch seasoning or garlic powder. For a healthier lunch prep, I go with roasted red pepper hummus or avocado spread.
One time, I tried Greek yogurt as the base… and let’s just say it got soggy real quick. Not a mistake I’ll repeat. The spread has to be thick enough to act like glue, so everything holds tight when you roll.
Veggie Breakdown 🌈
Now to the star of the show — the veggies. You want color, crunch, and variety. Here’s my usual lineup:
- Red bell pepper – sweet and crisp
- Carrots – I julienne them with a veggie peeler
- Yellow bell pepper – for that sunny pop
- Cucumber – adds freshness (slice thin!)
- Purple cabbage – the crunch is unreal
- Spinach – softer green to balance the texture
Here’s a tip I learned after a few soggy disasters: pat the veggies dry. Seriously. If you’re using cucumber or anything with water content, give it a quick paper towel press first.
Also — chop everything small or shred it. Big chunks won’t let the tortilla roll properly, and you’ll end up with lumpy pinwheels that fall apart when sliced.
Optional Flavors 🧂
If I’m feeling fancy, I toss in:
- Chopped chives or dill
- A little shredded cheese (like sharp cheddar)
- Thin-sliced olives or jalapeños for a kick
But don’t overload it. I made that mistake once — added everything but the kitchen sink, and it just didn’t roll. Keep it colorful but manageable.
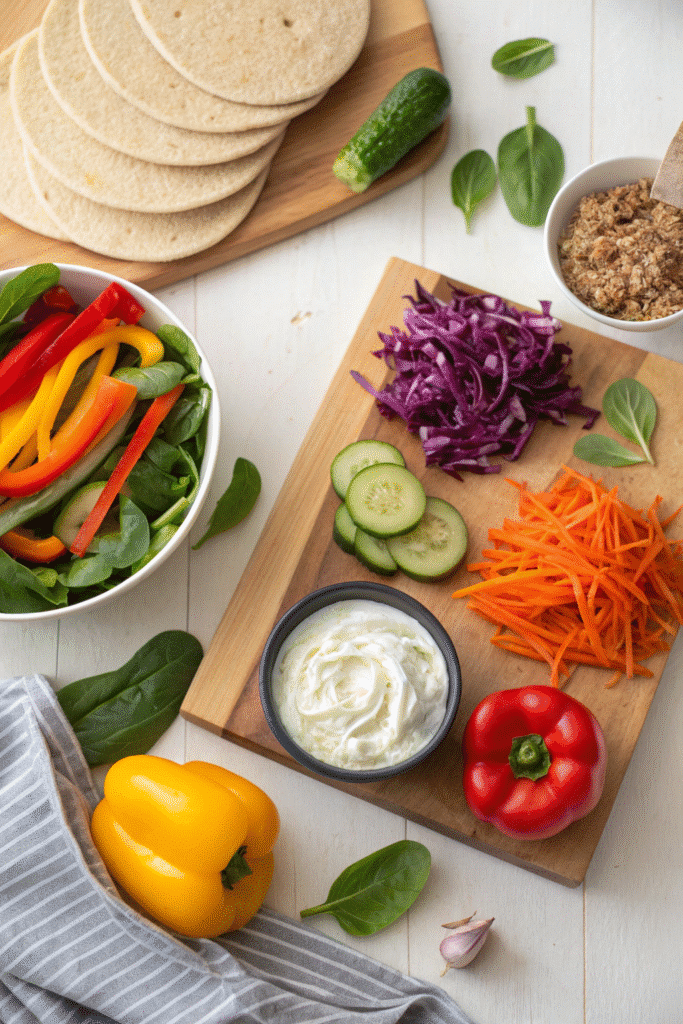
How to Assemble and Roll the Perfect Pinwheel
Rolling pinwheels sounds easy, right? Just slap on some veggies, roll it up, and slice. Yeah… that’s what I thought too — until my first batch turned into a sad, sloppy mess. The edges didn’t seal, the slices were smushed, and everything fell apart faster than my willpower near a tray of brownies.
So here’s how I do it now, after way too many trial-and-error lunches.
Step 1: Lay Down Your Base
Start with your tortilla — make sure it’s fresh, soft, and at room temp. If it’s straight out of the fridge, it’ll crack like your back after sitting too long. I usually microwave mine for about 10 seconds just to soften it up.
Now spread your base — cream cheese, hummus, or whatever you’re using. Use a butter knife or back of a spoon and go almost to the edges, but leave about half an inch border. That border becomes key later when you’re sealing the roll.
Oh, and don’t glob it on too thick. I used to get all enthusiastic and slather it on like frosting. But then everything squishes out when you roll. Light, even spread is the way to go.
Step 2: Arrange Your Veggies Like a Pro
You want color in every bite, right? That means spreading your shredded veggies evenly across the tortilla, not piling them up in the center like a mountain. I go in rows by color — red, orange, yellow, green, purple — so each pinwheel slice shows that rainbow swirl.
I also found out the hard way that if you overload the middle, the roll won’t stay tight. The trick is to go light but even, especially with crunchy ones like carrots or cucumber.
Step 3: Roll It TIGHT
This part used to stress me out. I’d baby the roll and end up with a loose, floppy log. Don’t be afraid to get a little firm here. Start at one end and tuck and roll, like you’re making a burrito without the fold.
Use both hands, and as you roll, press lightly to keep it tight. If your spread is sticky enough (like cream cheese), it’ll act like glue and keep it all together.
Step 4: Chill Before You Slice
Biggest game-changer? Let it chill. I pop the rolled tortilla into the fridge for at least 20 minutes. That helps the spread firm up and makes slicing sooo much easier. If I skip this step (which I did once in a rush), the whole thing unravels mid-cut. Not fun.
Step 5: Slice Like a Ninja
Use a sharp serrated knife — like a bread knife. Start from the middle and work outward. I wipe the blade between cuts for clean slices. You’ll get about 6–8 pinwheels per roll, depending on how thick you like ‘em.
Oh, and the ends? Snack on ‘em while you plate the pretty pieces. Chef’s treat. 😉
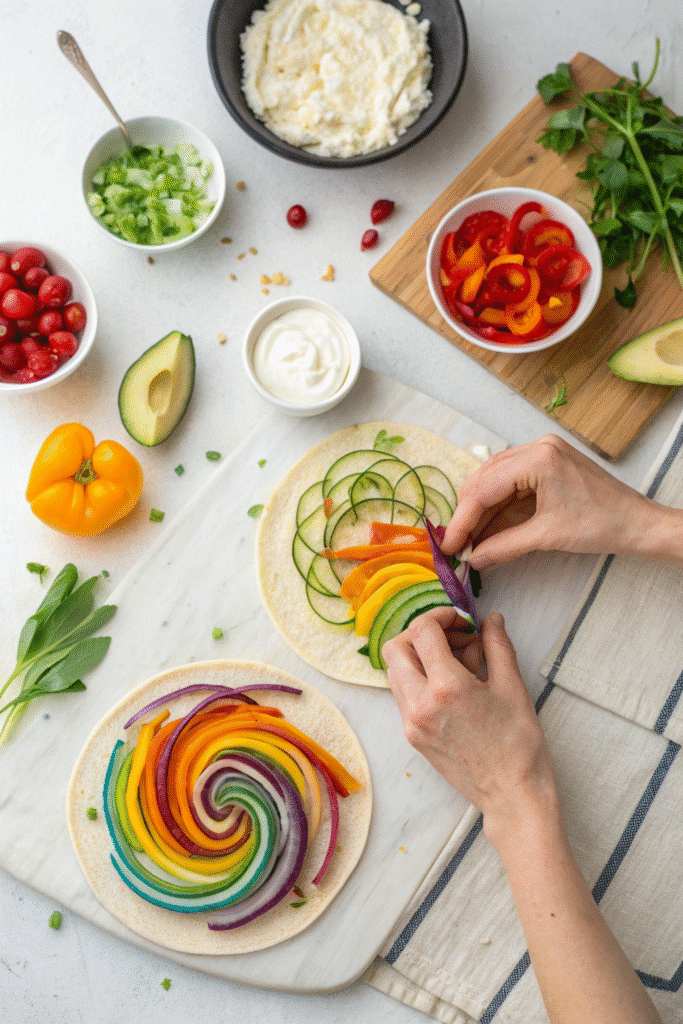
Best Veggies for Maximum Color and Crunch
Picking the right veggies is where the magic happens. You can’t just toss in random stuff and expect that beautiful rainbow swirl. Trust me — I’ve tried. I once used pale iceberg lettuce, limp zucchini, and pale yellow squash… and ended up with something that looked like a soggy sandwich, not a pinwheel.
So here’s what I’ve learned about choosing the right veggies for max crunch, color, and balance.
Think in Colors 🌈
The easiest way to nail that rainbow effect is to literally think like a rainbow. You want to hit red, orange, yellow, green, and purple. Here’s my go-to list that’s never failed:
- Red: Red bell pepper. Sweet, crisp, and super photogenic.
- Orange: Carrots. I use a julienne peeler or just buy pre-shredded.
- Yellow: Yellow bell pepper. Same crunch as red but even sunnier.
- Green: Spinach or cucumber. Spinach gives a soft texture, cucumber gives freshness.
- Purple: Shredded red cabbage. I love how it adds a strong crunch and that pop of deep color.
You could switch things up, sure. Use radishes for red or green onions for zing. Just make sure you’ve got those five basic colors represented. It makes a HUGE difference in both taste and appearance.
Go for the Crunch
Crunch equals freshness. I’ve made pinwheels with roasted veggies and while they tasted fine, they were kinda mushy and didn’t slice clean. Raw veggies are where it’s at. The trick is cutting them thin enough that they don’t make the roll lumpy, but thick enough to keep that satisfying bite.
If you’re using bell peppers, slice them into thin matchsticks. Cucumber? Peel it, then slice super thin with a mandolin or veggie peeler. For carrots and cabbage, I stick to pre-shredded if I’m short on time.
Texture Balance
You want a mix. If every veggie is super crunchy, the whole thing feels a bit like you’re chewing raw forest. I usually balance it like this:
- 3 crunchy veggies (carrot, pepper, cabbage)
- 1 soft leafy veggie (spinach or romaine)
- 1 fresh, watery veggie (like cucumber)
That combo gives you layers of flavor and bite without being overwhelming.
Watch the Moisture
Here’s a mistake I made early on: I didn’t pat my veggies dry. I washed them, chopped them, and tossed ‘em in. The moisture soaked into the tortilla and made it soggy — ew. Now I always dry them off with paper towels before assembling. Especially cucumbers and peppers.
Bonus tip? Don’t salt the veggies beforehand. Salt draws out water and you’ll end up with a wet mess.
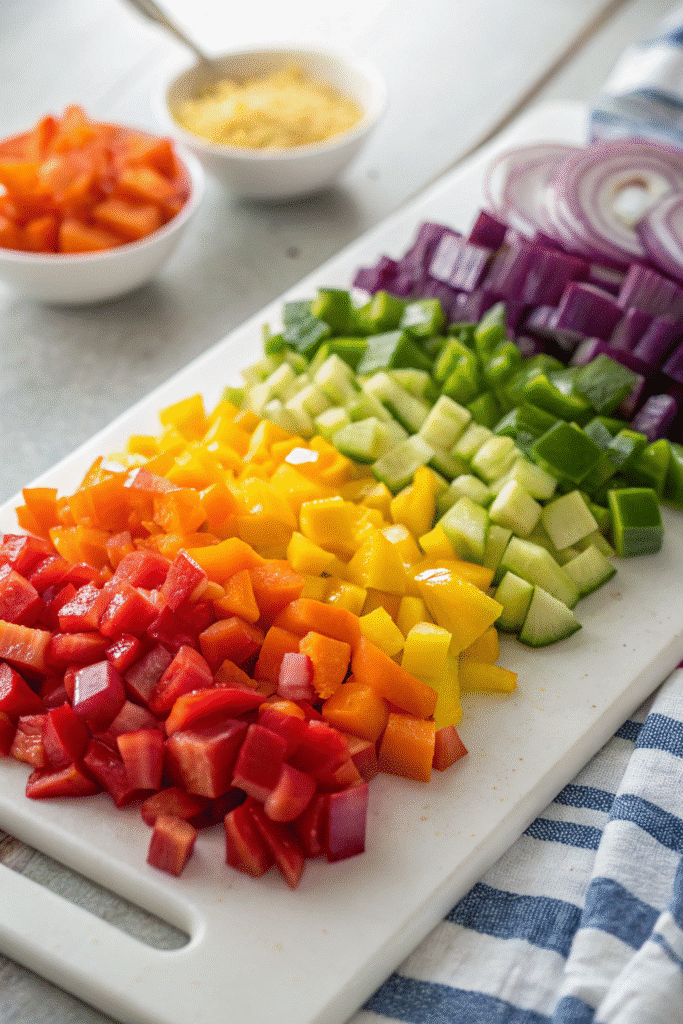
Fun Ways to Customize Your Pinwheels
Once you’ve got the basic rainbow veggie pinwheel down, you’ll start thinking — what else can I toss in here to mix things up? I’ve gone through a dozen variations, and let me tell you, there’s a whole world of possibilities beyond the original recipe. Some turned out amazing, others… not so much (like that time I tried tuna salad — yikes).
Here are some of my favorite ways to tweak the classic pinwheel to keep things interesting.
Add Some Protein 🥩
For a more filling snack or lunch, I sometimes add a little protein.
- Grilled chicken is a go-to — just a few thin strips and you’re good.
- Turkey slices work great, especially when you roll them super flat with the tortilla.
- For a plant-based option, smoked tofu or a scoop of chickpea salad works wonders.
One time I added leftover rotisserie chicken and a dab of barbecue sauce… and wow. It was like a rainbow BBQ wrap. Totally worked.
Swap the Spread
Cream cheese is the classic, but swapping out the base changes the whole flavor game:
- Hummus is my go-to for a healthier vibe. Roasted garlic, red pepper, even jalapeño lime.
- Avocado mash with lime and salt? Perfect for a fresh-tasting lunch.
- I’ve also tried pesto mixed with Greek yogurt for a herby twist. Really smooth and flavorful.
Just make sure the spread is thick. One time I used straight guacamole and it turned into a slippery mess. Lesson learned.
Wrap It Your Way 🌯
Not all tortillas are created equal. I used to just grab whatever was cheapest, but some of them dry out fast or crack like crazy.
- Whole wheat is my everyday wrap.
- Spinach or sun-dried tomato wraps add flavor and color.
- Low-carb wraps hold up surprisingly well — Mission brand ones have been clutch for me.
- Gluten-free options are a bit trickier — Siete almond flour wraps taste amazing but need to be warmed before rolling.
Oh, and never use corn tortillas. They just fall apart. (Ask me how I know.)
Flavor Boosters 🔥
If you like experimenting, toss in a few fun extras:
- Chopped herbs like cilantro, dill, or basil
- A pinch of red pepper flakes
- Thin slices of jalapeño if you’re into heat
- A sprinkle of feta or goat cheese for a tangy punch
I once added crushed tortilla chips for crunch… and it kinda slapped, not gonna lie. Totally broke the rules, but it worked.
How to Store and Serve Rainbow Veggie Pinwheels
If I had a dollar for every time someone asked me, “Can I make these ahead of time?” — I could probably buy a lifetime supply of tortillas. 😂 Short answer? Yes, absolutely. But there are some key tricks to keeping your rainbow veggie pinwheels looking fresh and tasting great, whether you’re packing lunch or putting together a party platter.
Storing Tips That Actually Work 🧊
When I first started making pinwheels, I thought I could just toss them in a container and call it a day. Nope. By the next morning, they were soggy, limp, and kind of sad. Here’s what works now:
- Roll them first, slice them later — If I’m prepping the night before, I roll the tortillas with the filling, then wrap the whole thing tightly in plastic wrap or parchment paper. Slice them right before serving. This keeps the edges from drying out or going soggy.
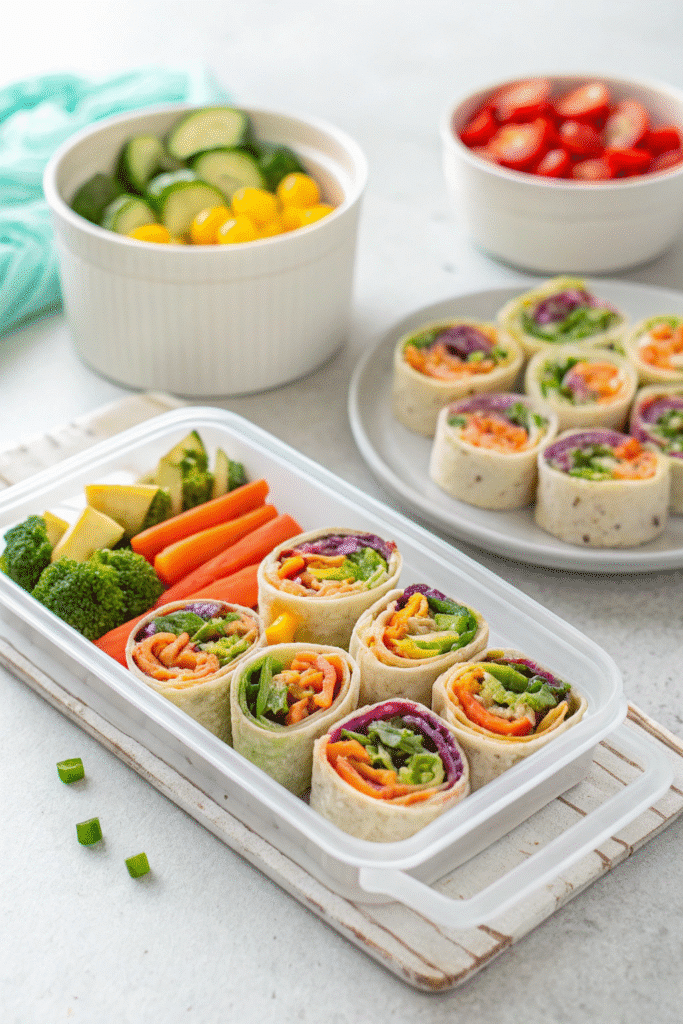
- Use airtight containers — Once sliced, I layer the pinwheels in a glass container with parchment between layers. This prevents sticking and helps with airflow.
- Paper towel trick — For lunchboxes or meal prep, I throw a paper towel underneath to soak up any moisture. Especially important if you used cucumber or spinach!
- Fridge life — They last about 2 to 3 days in the fridge. After that, they start to get a little sad. I aim to eat them within 24 hours for peak freshness.
Serving for Lunchboxes, Parties, or Meal Prep 🎉
Let’s talk presentation — because half the fun of rainbow veggie pinwheels is how dang pretty they look.
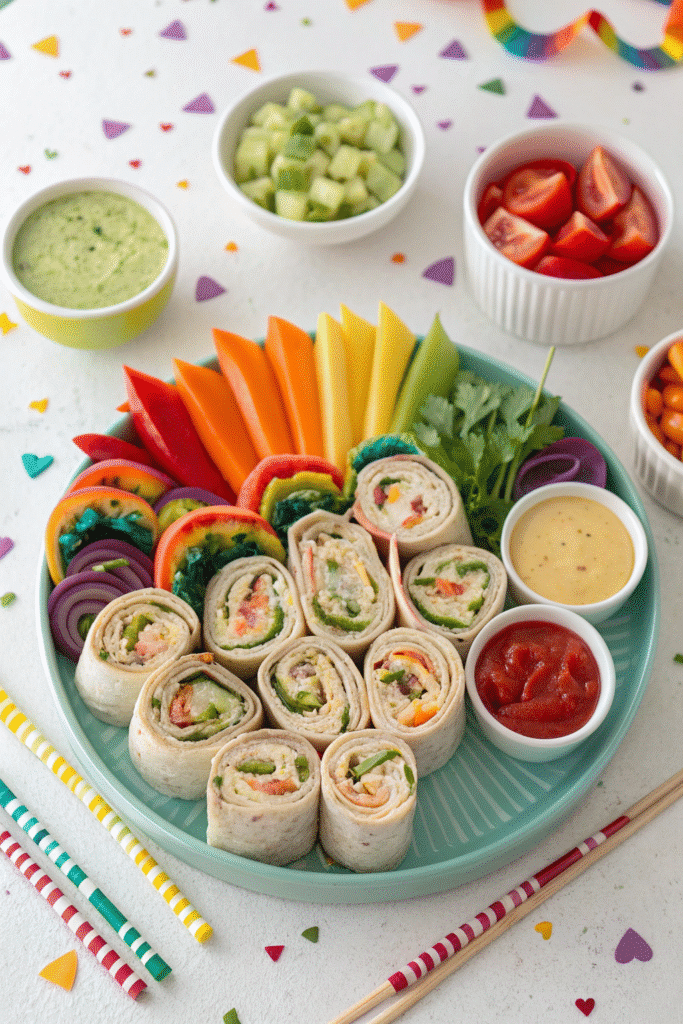
- For school lunchboxes, I arrange them in silicone muffin liners so they don’t roll around. Toss in some berries or pretzels and boom, colorful bento vibes.
- For parties, I load them up on a big white platter (white makes the colors pop), then add a ramekin of dip in the center — like ranch, hummus, or even guacamole.
- Want them to hold together on a tray? Use toothpicks. I learned that the hard way after bringing a platter to a picnic and watching half of them unravel in the car ride. Lesson: secure the swirl.
- Picnics and road trips? Wrap them in foil or beeswax wrap. They travel surprisingly well when pre-rolled and chilled. Just don’t stack ‘em too tight or they get smushed.
A Few “Don’ts” I Had to Learn the Hard Way 😬
- Don’t freeze them. I tried it once. The veggies turned watery and the tortilla texture was… weird.
- Don’t use wet or juicy spreads like tzatziki unless you’re serving immediately.
- Don’t leave them out at room temp more than 2 hours — safety first, y’all.
So there you have it — Rainbow Veggie Pinwheels, the snack that checks all the boxes. They’re colorful, crunchy, healthy, and (most importantly) ridiculously easy to make. I’ve lost count of how many times these little spirals have saved my lunch routine or wowed folks at a party. Whether you’re a parent packing lunchboxes, a meal-prep maven, or just someone trying to sneak more veggies into your day, this one’s a total winner.
Remember: keep your veggies dry, your rolls tight, and your slices chill (literally). And don’t be afraid to mix it up — that’s half the fun. Once you make these once, you’ll start dreaming up your own custom combos. I swear, it becomes a low-key obsession.
If you found this guide helpful, do me a favor — pin it! 📌 Share your pinwheel creations on Pinterest so others can get inspired too. Let’s spread that rainbow one tortilla at a time.
Print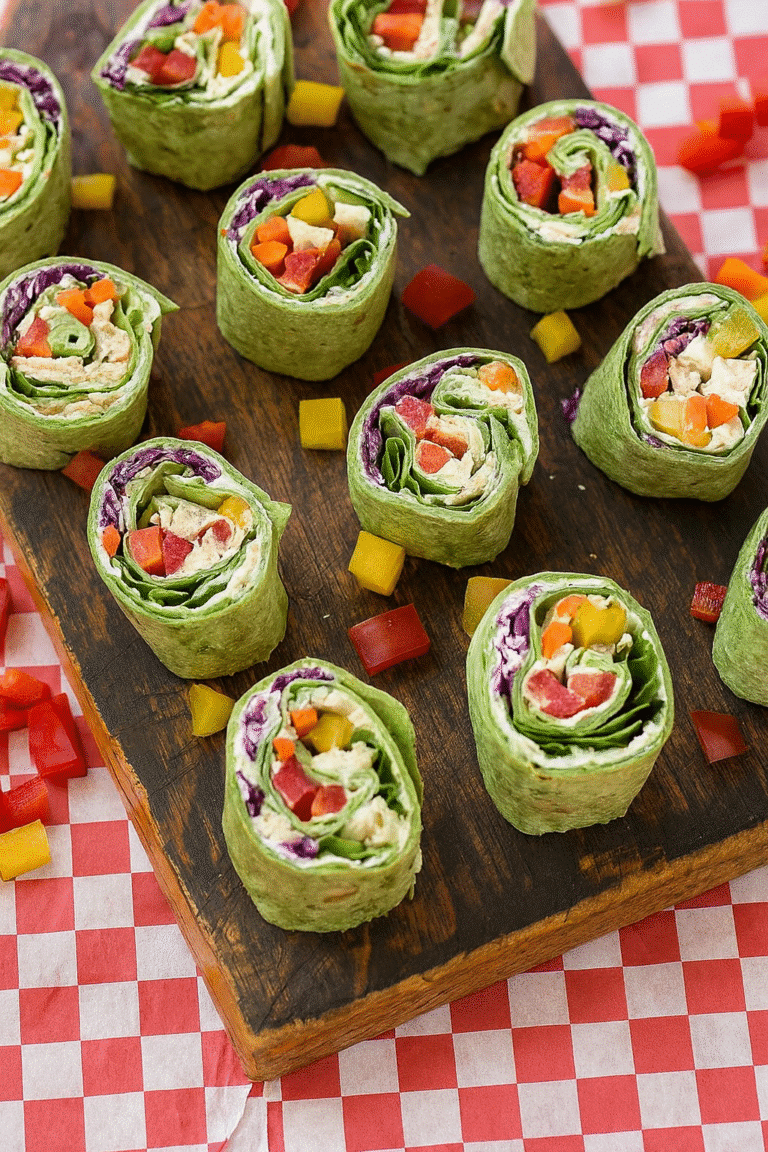
Rainbow Veggie Pinwheels Recipe
Colorful, crunchy, and kid-approved, these Rainbow Veggie Pinwheels are the ultimate no-fuss snack or lunch idea. Packed with fresh vegetables and a creamy spread, they’re as fun to make as they are to eat.
- Total Time: 20 minutes
- Yield: 24 pinwheels 1x
Ingredients
- 4 large soft flour tortillas (or spinach/tomato wraps)
- 1/2 cup whipped cream cheese or hummus
- 1/2 red bell pepper, thinly sliced or julienned
- 1/2 yellow bell pepper, thinly sliced
- 1/2 cup shredded carrots
- 1/2 cucumber, thinly sliced
- 1/2 cup shredded purple cabbage
- 1/2 cup fresh spinach leaves
- Optional: chopped chives or dill
- Optional: 1/4 cup shredded cheese
- Optional: thinly sliced olives or jalapeños
Instructions
- Warm tortillas slightly in the microwave (about 10 seconds) to make them more pliable.
- Spread a thin, even layer of cream cheese or hummus over each tortilla, leaving a 1/2-inch border.
- Layer the veggies in rows by color: red pepper, carrots, yellow pepper, cucumber, cabbage, and spinach.
- Add optional extras like herbs, cheese, or olives, but avoid overstuffing.
- Tightly roll each tortilla into a log, pressing gently to seal.
- Wrap each roll in plastic wrap and refrigerate for at least 20 minutes.
- Once chilled, slice each roll into 6–8 pinwheels using a sharp serrated knife.
- Serve immediately or store in an airtight container in the fridge for up to 2 days.
Notes
Make sure veggies are dry before assembling to avoid soggy tortillas. Use a sticky spread like cream cheese or thick hummus to help everything hold together.
- Prep Time: 20 minutes
- Cook Time: 0 minutes
- Category: Snack
- Method: No-Cook
- Cuisine: American
- Diet: Vegetarian
Nutrition
- Serving Size: 3 pinwheels
- Calories: 110
- Sugar: 2g
- Sodium: 210mg
- Fat: 6g
- Saturated Fat: 2g
- Unsaturated Fat: 4g
- Trans Fat: 0g
- Carbohydrates: 12g
- Fiber: 2g
- Protein: 3g
- Cholesterol: 5mg


