Ever wish you had a snack that’s both tasty and healthy? Well, let me tell you, peanut butter banana oatmeal bars are a game changer! 🍌🥜 Packed with wholesome oats, natural peanut butter, and the sweetness of ripe bananas, these bars are as delicious as they are nutritious. Fun fact – bananas are one of the most consumed fruits worldwide, with over 100 billion eaten each year. That’s a lot of potassium power!
In this recipe guide, we’ll break down everything from choosing the right oats to storing your bars so they stay fresh all week. Whether you’re a busy parent, a student looking for quick fuel, or someone who just loves peanut butter, you’re going to adore this recipe. And yes – they taste amazing fresh out of the oven!
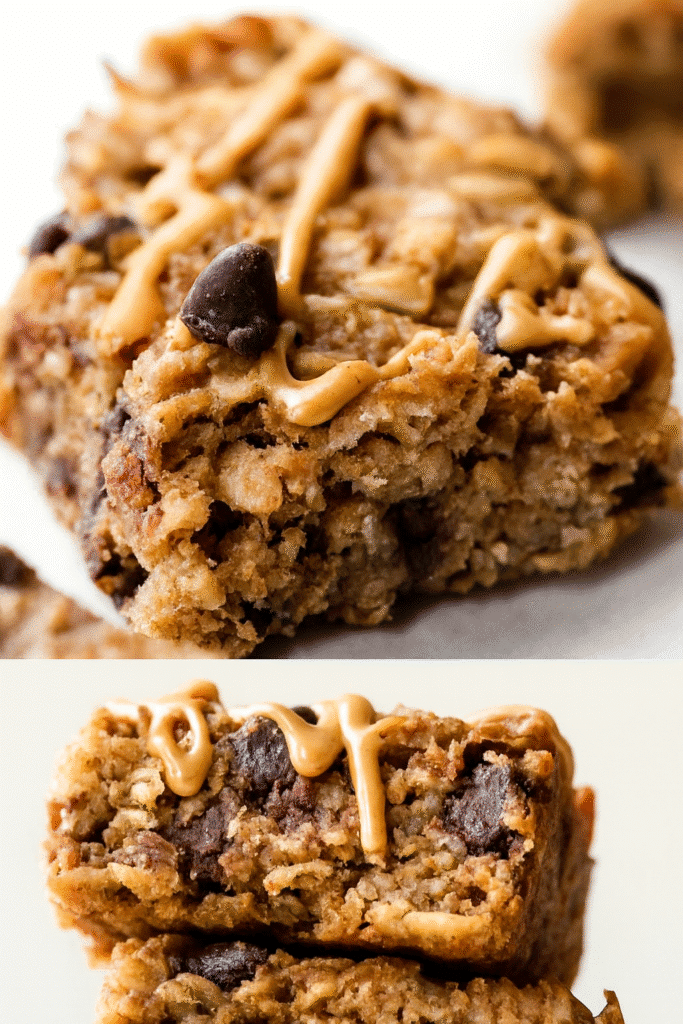
Why Peanut Butter Banana Oatmeal Bars Are the Perfect Snack
There’s something magical about a snack that can handle just about any situation. Peanut butter banana oatmeal bars aren’t just tasty—they’re practical little lifesavers. Whether it’s that mid-afternoon slump, a long hike, or a busy morning, these bars have your back. And honestly, they’ve saved me from more than a few “hanger” moments.
Long-Lasting Energy You Can Feel
You know that crash you get from eating something sugary? These bars are the opposite of that. Peanut butter brings protein and healthy fats, oats give you slow-burning carbs, and bananas add natural sweetness without the refined sugar spike. I’ve had mornings where one of these kept me satisfied until lunch, no problem.
A Snack for Every Occasion
I first made these thinking they’d just be a breakfast thing. Now they’re everywhere—packed in my bag for work, tucked into lunchboxes, and stashed in the car for road trips. They don’t fall apart like some granola bars do, so you can eat them without ending up with crumbs in your lap. They’ve even survived the bottom of my hiking backpack without turning into dust.
Crowd-Pleasers (and Disappearing Acts)
One time, I brought a batch to work. I thought I’d have enough for a few days—big mistake. By mid-morning, they were gone. My coworkers kept asking, “Are there more?” Now, if I’m bringing them anywhere, I double the recipe. And yes, people will ask for it. Every. Single. Time.
Customizable and Forgiving
Don’t have honey? Maple syrup works. Out of peanut butter? Almond butter steps in just fine. Want to sneak in some chocolate chips? Do it. I’ve even tossed in chopped dates and walnuts for extra crunch. It’s almost impossible to mess them up. Honestly, I think the flexibility is part of what makes them so addictive.
Perfect for Meal Prep
I like to wrap each bar in parchment paper and toss them in the freezer. Then I can grab one on my way out the door, and by the time I’m ready to eat, it’s perfectly chewy. Having a stash ready to go means I’m less tempted to reach for a less healthy option when I’m in a rush.
Peanut butter banana oatmeal bars aren’t just food—they’re a little insurance policy against hunger, bad moods, and overpriced snacks. And once you make them, you’ll see why I keep a batch on hand at all times.
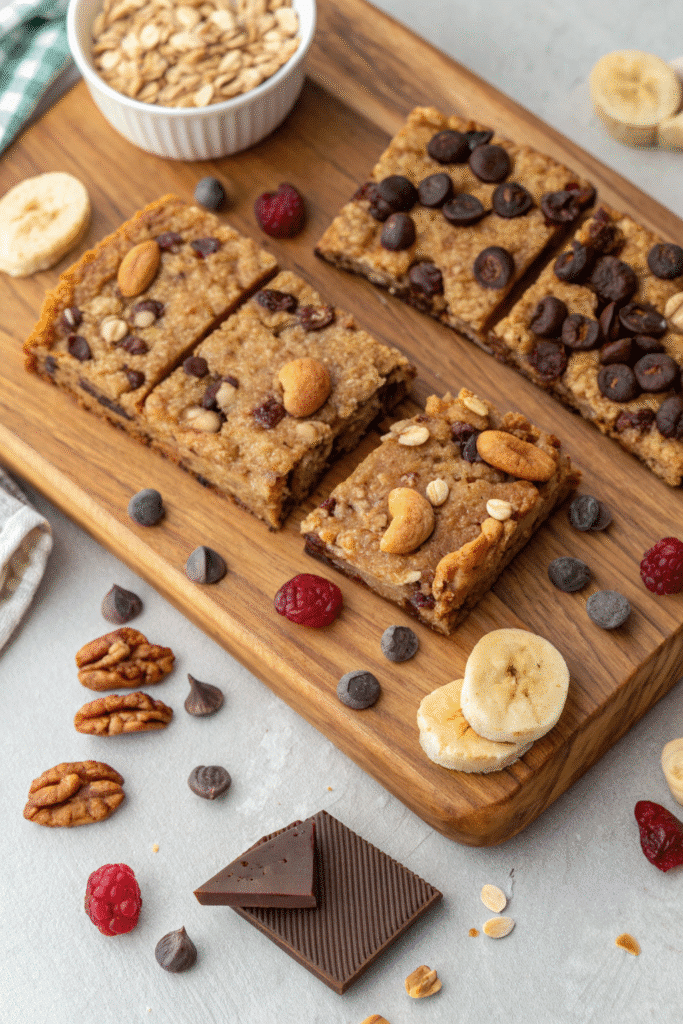
Ingredients You’ll Need
One of the reasons I love making peanut butter banana oatmeal bars is that they use pantry staples I almost always have on hand. No fancy trips to the specialty store, no $8 ingredients you’ll never use again. Just simple, everyday items that come together to make something pretty magical.
Ripe Bananas
The riper the better. I’m talking spotty, slightly sad-looking bananas that you’d never eat on their own. Those brown spots mean extra sweetness and moisture, which is exactly what you want in these bars. If my bananas aren’t ready, I’ll throw them in a paper bag for a day or two, and voilà—they’re perfect for baking.
Peanut Butter
Creamy or crunchy, natural or the regular stuff—it’s all fair game. Personally, I lean toward natural peanut butter with no added sugar, because the bananas already bring plenty of sweetness. I once tried it with crunchy peanut butter, and wow, those little peanut bits made the texture next level. Just make sure it’s soft enough to stir easily into the batter.
Old-Fashioned Oats
Skip the instant kind. Old-fashioned oats give the bars a hearty, chewy texture that holds up beautifully in baking. I’ve made them with quick oats before in a pinch, and while they were fine, they didn’t have that same satisfying bite. Rolled oats are your friend here.
Sweetener of Choice
Honey is my go-to, but maple syrup works just as well—especially if you want a vegan option. Both give a lovely, subtle sweetness and help bind everything together. I’ve even tried agave once, but it made the bars a little too soft for my liking.
Baking Basics
You’ll need a pinch of baking powder to keep things from getting too dense, a splash of vanilla extract for depth, and cinnamon for warmth. The cinnamon isn’t technically required, but it gives the bars a cozy flavor that makes them taste like something from a bakery.
Optional Add-Ins
Here’s where things get fun. You can toss in chocolate chips if you’re in the mood for something dessert-like, or add chopped nuts for extra crunch. Dried cranberries, shredded coconut, or even a scoop of protein powder can give these bars a twist. I once added sunflower seeds, and they turned out surprisingly good—like trail mix in bar form.
At the end of the day, these ingredients are the starting point. The real magic happens when you start tweaking them to fit your taste. But even in their simplest form, peanut butter banana oatmeal bars are the kind of recipe you’ll find yourself making again and again—because you probably already have everything you need.
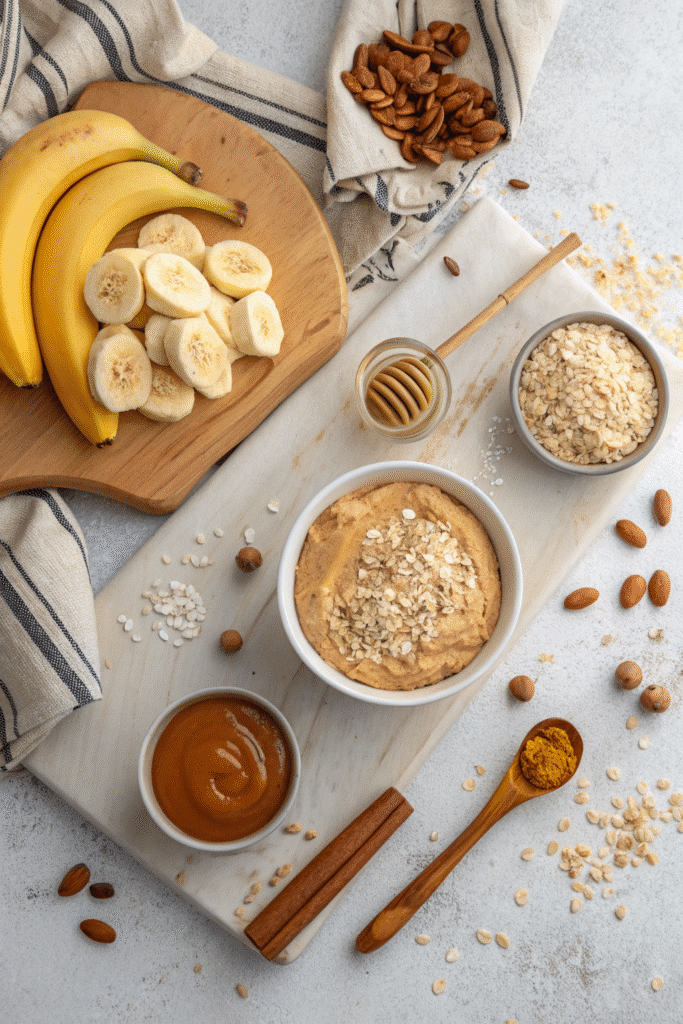
Step-by-Step Instructions
Making peanut butter banana oatmeal bars is one of those processes that feels almost too easy for how good the results are. No stand mixer, no complicated steps—just a bowl, a spoon, and about half an hour of your time.
Mash the Bananas
Start with your ripe bananas. I peel them and toss them in a big mixing bowl, then mash them with a fork until there are no big lumps left. You want them creamy but not completely liquid. This step is oddly satisfying—kind of like stress relief in food form.
Stir in the Peanut Butter and Sweetener
Next, I scoop in the peanut butter and drizzle in my honey (or maple syrup if I’m going vegan that day). A quick stir with a wooden spoon, and it starts to smell amazing already. If your peanut butter is really thick, you can warm it for a few seconds in the microwave to make mixing easier. Learned that one after nearly breaking my spoon once.
Add the Dry Ingredients
Now it’s oat time. I pour in the rolled oats, a little baking powder, a pinch of cinnamon, and a splash of vanilla. Stir it gently until everything is coated and evenly mixed. You don’t want to overdo it here—just enough so there aren’t dry patches of oats hiding at the bottom of the bowl.
Customize with Add-Ins
This is the fun part. Chocolate chips, chopped nuts, dried fruit—whatever you’re in the mood for, now’s the time to toss it in. I usually go for dark chocolate chips because they melt into these gooey little pockets that make the bars feel extra special.
Spread into the Pan
Line an 8×8 or 9×9 baking dish with parchment paper (trust me, this makes clean-up a breeze). Then spoon the batter in and spread it evenly with the back of your spoon or a spatula. Press it down a bit so the bars bake up nice and uniform.
Bake to Perfection
Pop the pan into a preheated oven at 350°F (175°C) and let it bake for 20–25 minutes. I know they’re done when the edges are golden and the middle feels set when lightly pressed. Your kitchen will smell so good at this point, you’ll want to cut into them immediately—don’t. Let them cool first, or they’ll crumble on you.
Cool and Cut
Once they’ve cooled for at least 15–20 minutes, lift them out of the pan using the parchment paper and slice them into bars or squares. I usually get about 9 to 12 pieces, depending on how generous I’m feeling.
And that’s it—simple, satisfying, and guaranteed to disappear faster than you expect. Once you make these a couple of times, you won’t even need to look at the recipe anymore.
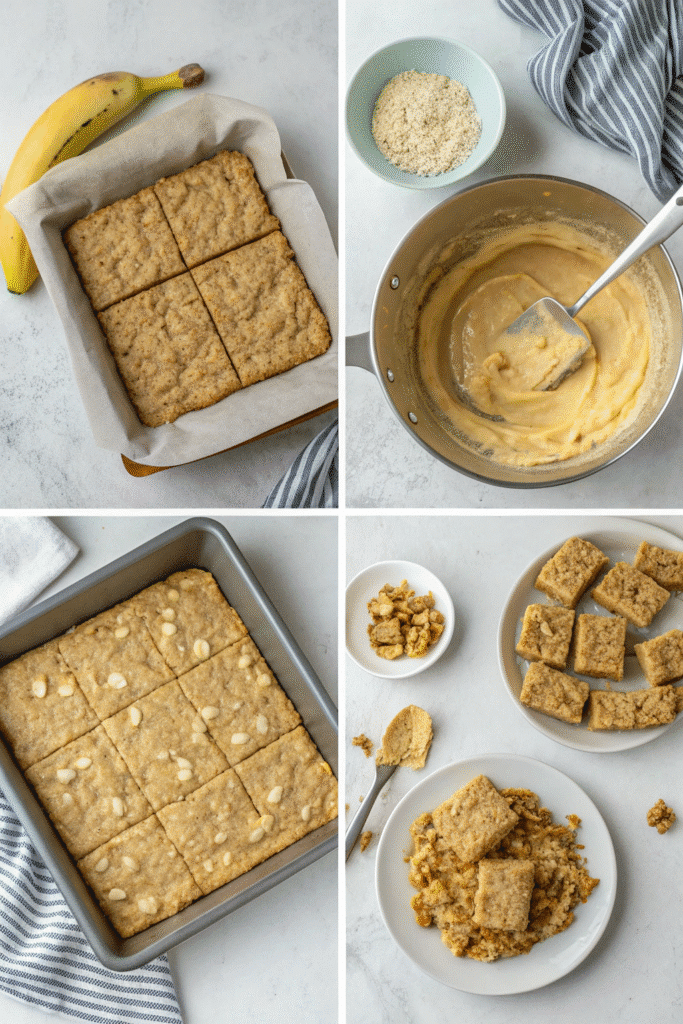
Variations & Add-Ins
One of my favorite things about peanut butter banana oatmeal bars is that they’re basically a blank canvas. Once you know the base recipe, you can tweak it a hundred different ways without messing it up. I’ve had weeks where I made two batches back-to-back, each with totally different personalities.
Chocolate Lover’s Twist
Let’s just start with the obvious—chocolate. I’m a sucker for dark chocolate chips mixed right into the batter. They melt slightly in the oven and create little pockets of gooey richness. If you want to go extra indulgent, drizzle some melted chocolate over the cooled bars. I did that once for a potluck, and people thought I’d bought them from a bakery.
Nutty and Crunchy
Sometimes I want that satisfying crunch with each bite. Chopped walnuts, pecans, or almonds work beautifully here. If I’m feeling fancy, I’ll toast the nuts in a dry skillet for a few minutes before adding them. It’s such a small step, but it makes the flavor deeper and more… well, nutty.
Fruit-Forward Bars
Dried cranberries, raisins, or chopped dried apricots can give these bars a sweet-tart punch. I love adding a handful of dried cherries—they pair surprisingly well with the peanut butter and banana combo. Just be sure not to overload the batter, or the bars might get too dense.
Protein-Packed Version
When I’m making these as a post-workout snack, I’ll stir in a scoop of vanilla or chocolate protein powder. It does change the texture slightly—more firm than chewy—but it keeps me full for hours. If you do this, you might need a splash of extra milk or water to keep the batter from getting too thick.
Allergy-Friendly Swap
If peanut butter isn’t your thing (or you’re making these for someone with a peanut allergy), almond butter or sunflower seed butter are great alternatives. Sunflower seed butter actually gives them this slightly earthy flavor that’s really nice. I even made a batch with tahini once—it was a little unconventional, but surprisingly good.
Breakfast-Boosted Bars
For a more “breakfast” vibe, I sometimes sprinkle the top with unsweetened shredded coconut or a mix of pumpkin and sunflower seeds before baking. It gives the bars a little extra fiber and makes them look like something you’d get at a fancy coffee shop.
These little tweaks keep the recipe exciting, and honestly, I’ve yet to find a variation I didn’t like. It’s one of those recipes that’s hard to ruin and easy to make your own—which is probably why I never make them exactly the same way twice.

Storage & Meal Prep Tips
One of the reasons I make peanut butter banana oatmeal bars so often is because they’re incredibly easy to store. You can make a big batch on Sunday and have snacks (or breakfasts) ready for the whole week. And let’s be honest—anything that makes my Monday mornings easier is an automatic win.
Room Temperature Storage
If I know the bars will be gone in a couple of days—and trust me, that happens often—I just keep them in an airtight container on the counter. They stay soft and chewy for about three days. I line the container with parchment paper so they don’t stick together, especially if I’ve added chocolate chips that like to smudge.
Refrigerator Storage
When I want them to last a little longer, I pop them in the fridge. Stored in an airtight container, they’ll keep for up to a week. The cooler temperature makes them a bit firmer, which I actually like for breakfast bars—it feels a bit more filling. If you prefer them soft, just let one sit out for 10–15 minutes before eating.
Freezer-Friendly for the Win
Here’s where these bars really shine. They freeze beautifully. I wrap each one individually in parchment paper, then place them all in a large freezer bag. That way I can just grab one whenever I need it. They thaw in about 30–40 minutes at room temperature, or I’ll stick one in my bag before work and it’s ready by snack time.
Grab-and-Go Strategy
Meal prep doesn’t have to be complicated. I keep a little basket in my freezer just for individually wrapped snacks—energy bites, muffins, and these oatmeal bars. On busy mornings, I grab whatever I’m in the mood for. It’s like having my own little snack shop without the overpriced coffeehouse bill.
Avoiding Soggy or Dry Bars
If you’ve ever stored baked goods and found they got weirdly soggy, here’s my trick: cool them completely before packing them up. Any leftover heat will trap steam, and that’s when moisture builds up. On the flip side, to prevent bars from drying out, make sure they’re in a truly airtight container.
Having these ready to go has saved me from so many “I’ll just grab something later” moments that usually turn into not-so-healthy choices. Plus, there’s something really satisfying about opening your fridge or freezer and seeing neat stacks of homemade snacks waiting for you. It makes me feel like I’ve got my life together—even if it’s just for that one moment.
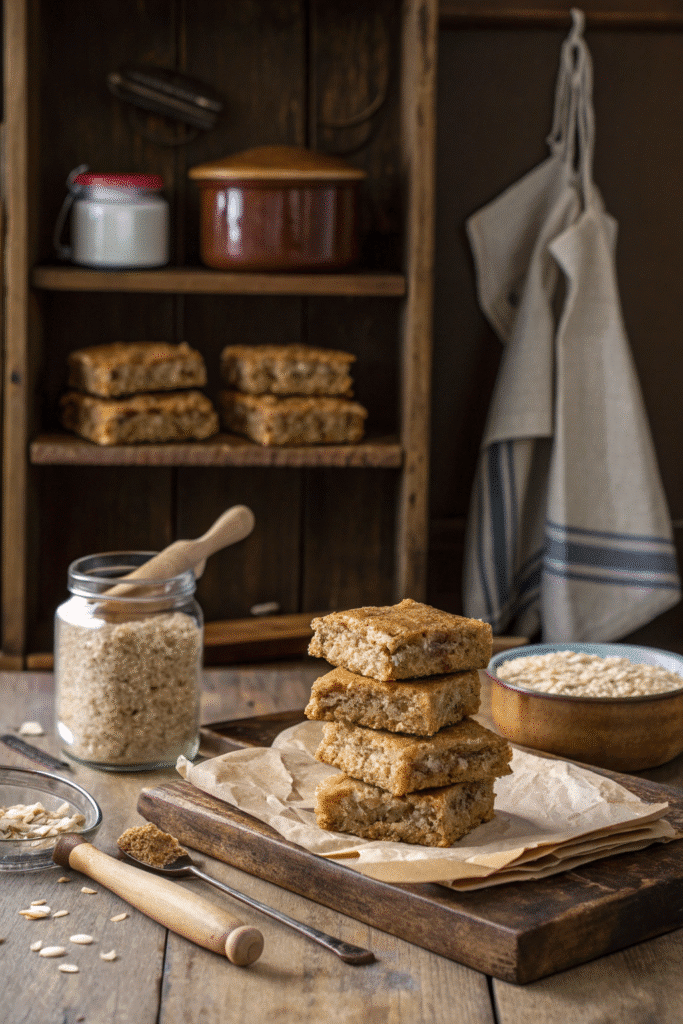
Peanut butter banana oatmeal bars aren’t just a snack – they’re a little slice of wholesome joy in your busy day. From the natural sweetness of bananas to the satisfying chew of oats, every bite is both nourishing and satisfying. Try this recipe, share your favorite add-ins, and don’t forget to save it on Pinterest so more people can enjoy this healthy treat!
Print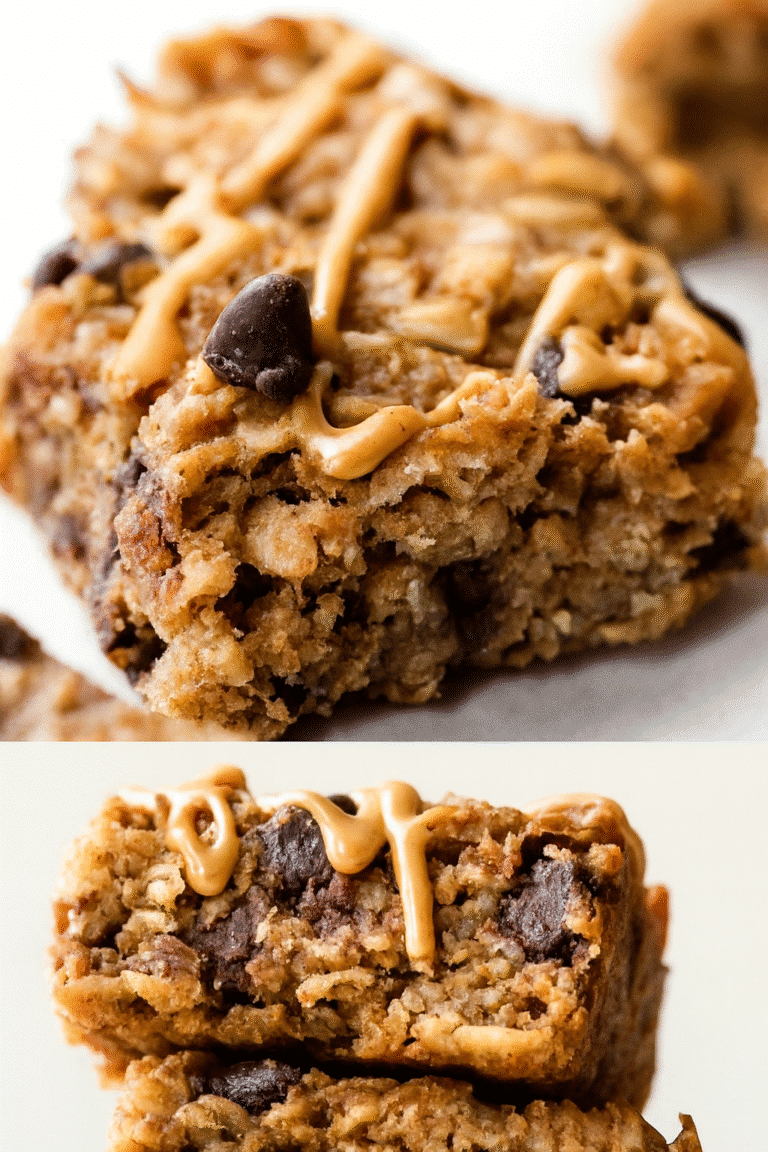
Peanut Butter Banana Oatmeal Bars
Wholesome and delicious peanut butter banana oatmeal bars packed with oats, natural peanut butter, and the sweetness of ripe bananas – the perfect healthy snack for any time of day.
- Total Time: 35 minutes
- Yield: 9–12 bars 1x
Ingredients
- 2 ripe bananas
- 1/2 cup natural peanut butter
- 1/4 cup honey or maple syrup
- 2 cups old-fashioned rolled oats
- 1/2 teaspoon baking powder
- 1 teaspoon cinnamon (optional)
- 1 teaspoon vanilla extract
- Optional: 1/2 cup chocolate chips, chopped nuts, dried fruit, or seeds
Instructions
- Preheat the oven to 350°F (175°C).
- Mash the ripe bananas in a large mixing bowl until smooth.
- Stir in the peanut butter and honey (or maple syrup) until well combined.
- Add the rolled oats, baking powder, cinnamon, and vanilla extract, stirring until evenly mixed.
- Fold in any optional add-ins like chocolate chips, nuts, or dried fruit.
- Line an 8×8 or 9×9 baking dish with parchment paper and spread the batter evenly.
- Bake for 20–25 minutes, until edges are golden and the center is set.
- Cool for 15–20 minutes, then lift out and slice into bars or squares.
Notes
Store in an airtight container at room temperature for up to 3 days, refrigerate for up to a week, or freeze individually wrapped bars for up to 3 months.
- Prep Time: 10 minutes
- Cook Time: 25 minutes
- Category: Snack
- Method: Baked
- Cuisine: American
- Diet: Vegetarian
Nutrition
- Serving Size: 1 bar
- Calories: 180
- Sugar: 7g
- Sodium: 70mg
- Fat: 8g
- Saturated Fat: 2g
- Unsaturated Fat: 5g
- Trans Fat: 0g
- Carbohydrates: 25g
- Fiber: 3g
- Protein: 5g
- Cholesterol: 0mg


