Ever hit that 3 PM wall and wish you had a healthy snack already waiting for you? Me too—every. single. day. That’s why no bake energy bites have totally changed the game for me. According to a 2024 Statista report, 49% of Americans snack at least twice a day—so why not make those snacks count?
Welcome to Day 18 of our 4 Weeks to Fill Your Freezer challenge! These no bake energy bites are not only quick to prep, but they’re freezer-friendly, packed with protein, and totally customizable to your cravings. Whether you’re a peanut butter fanatic or a chocolate chip enthusiast, we’ve got you covered. Let’s roll!
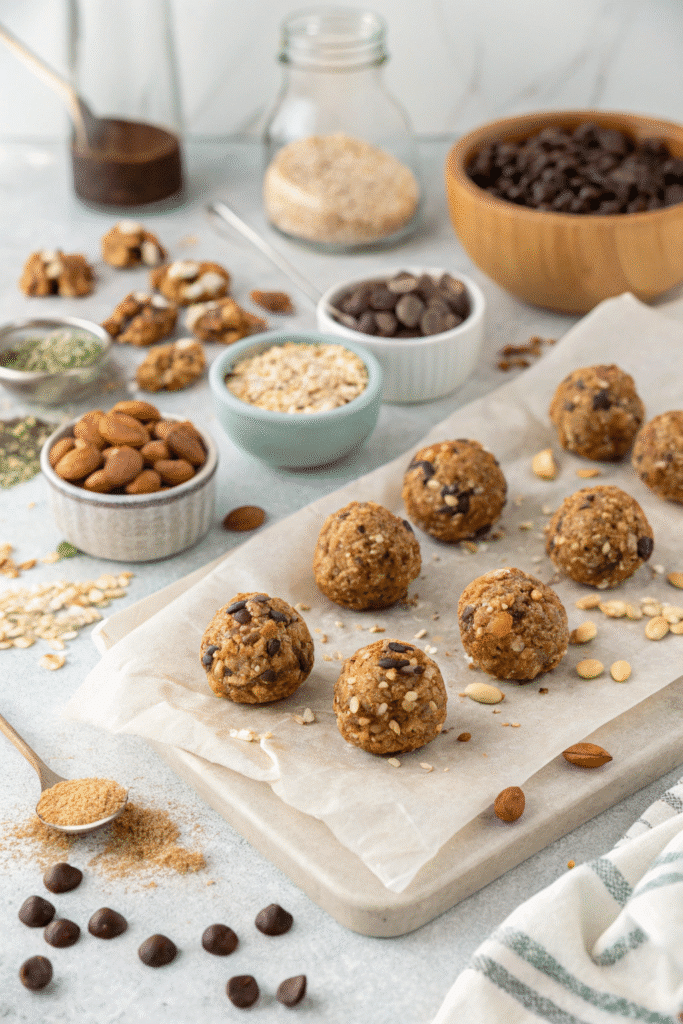
Why No Bake Energy Bites are the Perfect Freezer Snack
Let me be straight with you—I’m obsessed with these little guys. It started as a way to avoid reaching for candy in the afternoon, but no bake energy bites quickly turned into a freezer staple in my house. I’m talkin’ batches-on-batches level obsession. Why? Because they check every single box for what I need in a snack: quick, healthy, tasty, and freezer-friendly.
My First Disaster (and Lesson Learned)
The first time I tried making energy bites, I just threw stuff together. No recipe. Just vibes. Oats, peanut butter, raisins… it turned into this sticky, clumpy mess I couldn’t even roll. It was bad. I ended up spooning it onto a plate like weird granola meatballs. But the flavor? Fire. So I knew I was onto something—I just needed to figure out the structure.
That’s when I started experimenting with proper ratios and freezer storage. Once I nailed the formula (and started freezing them in layers with parchment paper), my snack life changed forever.
Why They’re Actually Freezer Gold
Here’s why these bites earn that VIP spot in the freezer:
- Super Quick to Make: Seriously, 10–15 minutes and you’re DONE. I usually make them while my coffee brews in the morning.
- No Oven = No Heat: In the middle of August? You will not catch me turning on my oven. These are cool-prep only, baby.
- Nutrient-Dense: Oats give you fiber. Nut butters give healthy fats and protein. Toss in flaxseed or chia, and boom—superfood territory.
- Portion-Controlled: You get to decide how big or small to make them. I use a cookie scoop so each bite is about a tablespoon. Perfect for just enough fuel without going overboard.
- Kid-Approved and Customizable: I let my little one add their favorite mix-ins—mini chocolate chips, sprinkles, sometimes even crushed freeze-dried strawberries. They think they’re getting candy, but I know better 😉
Freezer Tip I Wish I Knew Sooner
Don’t just dump the rolled bites into a bag. Lay them flat on a tray first. Freeze ‘em for about 30 minutes, then transfer to a storage container. That way, they don’t stick together in one frozen mass. I made that mistake once and ended up with a block of oat-cement. Not fun.
If you’re on the fence about meal prep or feel like freezer snacks sound bland or boring, this is your sign to give energy bites a real shot. They’ve helped me stop snacking mindlessly and given me something to look forward to—even if it’s just a sweet peanut butter chocolate bite at 4:02 PM.
Next up? Let’s talk about all the delicious combos you can try.
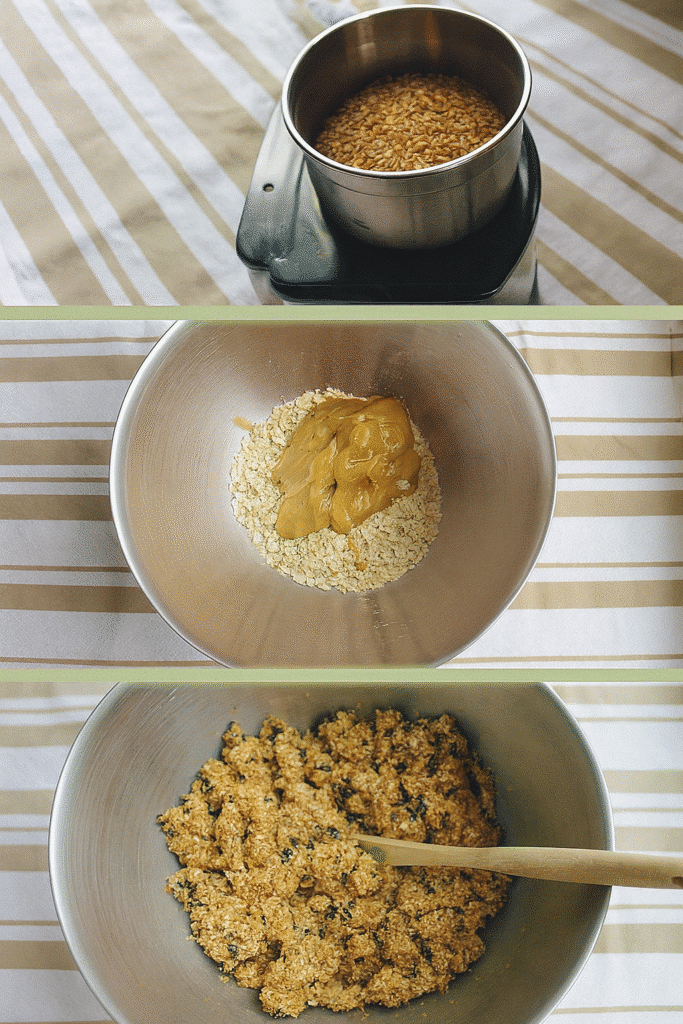
Ingredients to Use (and How to Swap!)
Alright, let’s talk ingredients—the guts of a good energy bite. When I first started making these, I had no clue you could play around with the recipe so much. I thought it was oats + peanut butter + honey and that’s it. Boring, right?
But after some trial, error, and way too many sticky fingers, I found out there’s a whole world of flexibility here. You can swap ingredients based on what you have, your dietary needs, or just whatever flavor you’re feelin’ that week.
The Core Trio You Need
No matter what, every good no bake energy bite starts with these three:
- Oats: Rolled oats work best. Don’t go with steel-cut—trust me, they’ll make your bites weirdly chewy in the worst way.
- Nut Butter: Peanut, almond, or even cashew butter. Go natural if you can—less sugar, better texture.
- Sticky Sweetener: Honey or maple syrup are my go-tos. They’re not just for sweetness—they help bind everything together.
Once you’ve got those, everything else is bonus.
My Favorite Add-Ins (and Swaps!)
- Seeds: Chia seeds, flaxseed meal, or hemp hearts are awesome for fiber and protein. Add 1–2 tablespoons per batch.
- Protein Powder: I usually toss in a scoop of vanilla whey or plant-based powder. But warning—add it last. Mixing it in too early makes it clump up like drywall paste.
- Coconut Flakes: Adds sweetness and texture. Unsweetened works best.
- Spices: Cinnamon, nutmeg, or even a pinch of sea salt. Makes ‘em feel gourmet.
- Extracts: A splash of vanilla or almond extract can change everything. One time I tried orange extract with cranberries and I’m still dreaming about it.
Allergies? No Problem.
Nut allergy? Swap nut butter for sunflower seed butter or tahini. It changes the flavor a bit, but still tastes so good. For oats, make sure they’re certified gluten-free. And if honey’s off-limits, maple syrup or agave will work just fine.
One Weird Mistake I Made
Once, I thought adding chopped apples would be a genius move. It was not. They released moisture in the freezer and turned everything mushy. Lesson: keep it dry. Stick to dried fruits like raisins, cranberries, or chopped dates.
I like to mix things up by theme. “PB&J” with dried strawberries. “Trail Mix” with M&Ms and pretzel bits. “Chocolate Hazelnut” with cocoa powder and chopped hazelnuts. You can get super creative here without messing up the structure.
So, get in your pantry, pull out the odds and ends, and have fun with it. Energy bites aren’t about being perfect—they’re about being tasty, fuel-packed, and freezer-ready.
Ready to roll? Let’s move on to how to make and store these babies the right way.
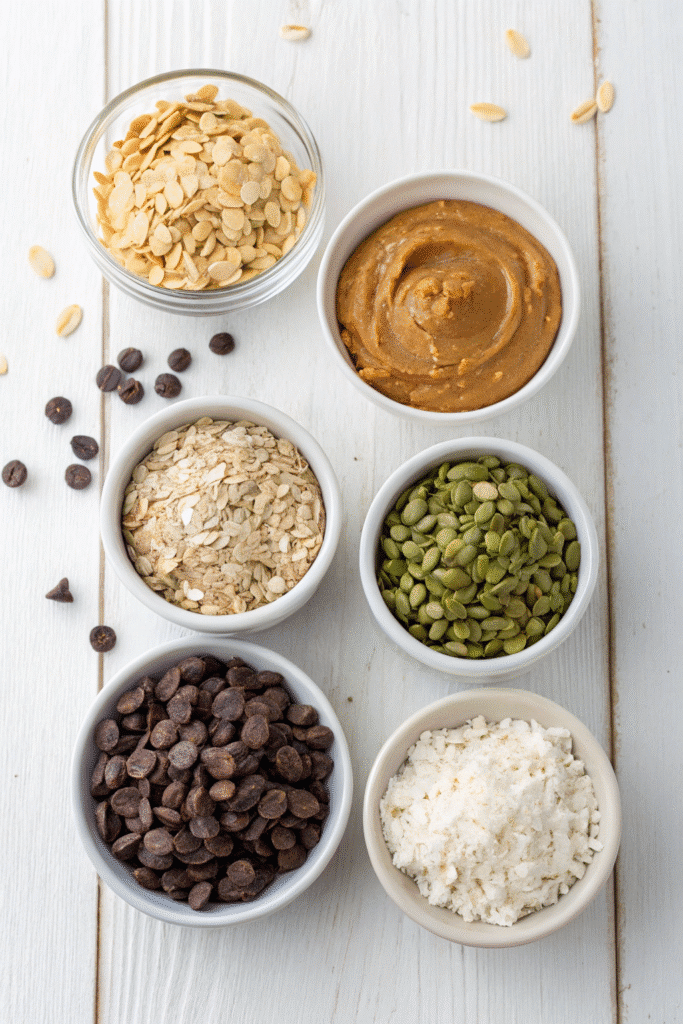
How to Make and Freeze Energy Bites
Okay, time to get your hands dirty—literally. If you’ve never made no bake energy bites before, don’t stress. It’s about as low-effort as snack prep gets. I’ve made these half-awake on a Monday morning and they still turned out edible. But after a bunch of trial-and-error, I’ve figured out a few tricks to make them actually come out right—and freezer-friendly too.
Step 1: Get Your Mixing Game On Point
Grab a big bowl. Bigger than you think. Trust me, it’s easier to mix without oats flying everywhere. Start with the oats, then add your nut butter and sweetener. I like to stir these three together first before tossing in the extras—makes everything smoother.
If you’re adding dry stuff like protein powder, seeds, or coconut, do it next. Then mix-ins like chocolate chips or dried fruit go in last. Don’t overthink it, but also don’t toss everything in at once or you’ll end up with a peanut butter rock at the bottom of the bowl. Been there.
Pro tip: If the mix is too sticky, add more oats. Too dry? A little more nut butter or syrup. You want it to stick together when you squeeze it, not crumble like sad granola.
Step 2: Roll ‘Em Tight
Use a cookie scoop if you’ve got one—it’s a lifesaver. I roll mine to about 1 inch in diameter. Any bigger and they feel like a mouthful of oats. If you’re hand-rolling, wet your hands just slightly. Otherwise, you’ll be wearing the mix like gloves by the third bite.
Also, don’t pack ‘em too tight. I did that once and they turned into oat cannonballs. Soft but firm is the sweet spot.
Step 3: Freeze Smart (This Part Matters)
This was the game changer for me: lay your energy bites on a parchment-lined tray in a single layer. Don’t even think about piling them into a bag right away unless you want a giant oat brick later.
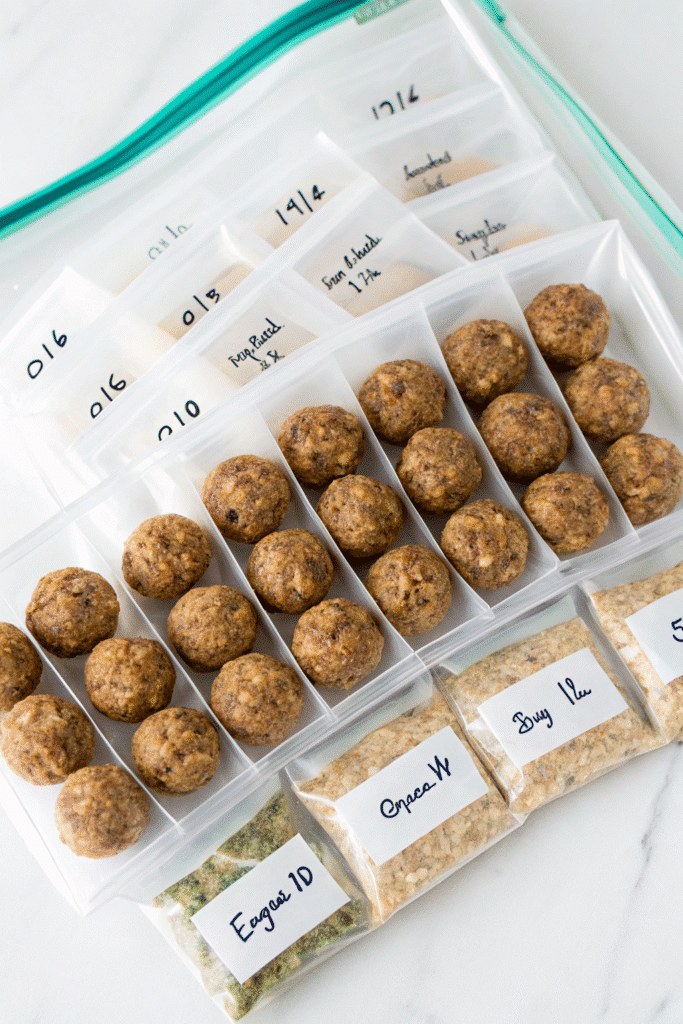
Freeze for 20–30 minutes, then move them into a freezer-safe bag or container. I label mine with the flavor and the date so I don’t play snack roulette later. They’ll stay good for up to 3 months, but let’s be real—they never last that long.
Thawing? Easy.
When I need a snack, I just grab a couple from the freezer and let them sit for 5–10 minutes. Sometimes I’m too impatient and eat them straight cold—they’re kinda chewy like a frozen cookie dough bite. Weirdly satisfying.
So yeah, this step is crucial if you want snacks that actually work with your life instead of molding into a mystery blob at the bottom of your freezer drawer. Next up, I’ll show you four of my go-to flavor combos you have to try.
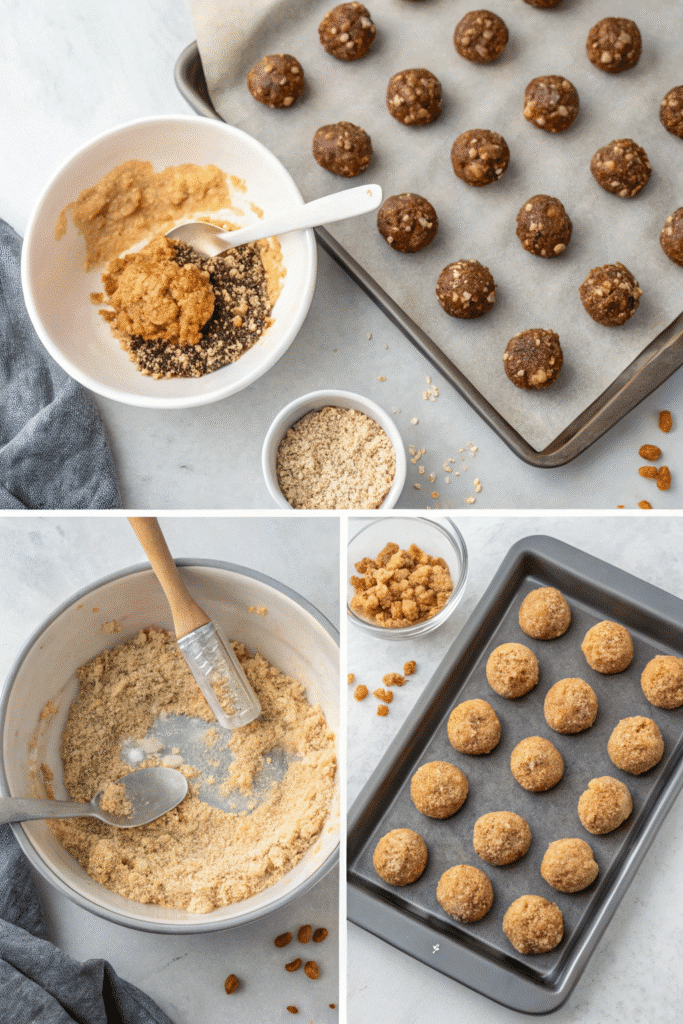
4 Favorite Flavor Combos to Try
Now this is where things get fun. Making no bake energy bites is great and all, but choosing the flavors? That’s the best part. I’ve tested dozens over the years—some hits, some total flops (RIP to that lavender-lemon experiment)—but these four combos? They’re my ride-or-dies.
1. Peanut Butter Chocolate Chip
You knew this one was coming. It’s classic, cozy, and makes you feel like a kid in the best way. Every time I make a batch of these, my partner steals half before I even get them in the freezer.
Ingredients:
- Rolled oats
- Natural peanut butter
- Honey
- Vanilla extract
- Mini chocolate chips
Pro Tip: Add a pinch of sea salt—it really kicks the flavor up a notch.
2. Almond Joy Vibes
Okay, real talk: I was trying to quit candy and these saved me. It’s got the coconut, cocoa, and chopped almonds—basically all the good stuff minus the sugar crash.
Ingredients:
- Rolled oats
- Almond butter
- Maple syrup
- Cocoa powder
- Shredded coconut
- Chopped almonds
Mistake I Made: I once used sweetened coconut and syrup together… way too sweet. Stick to unsweetened coconut for balance.
3. Cranberry Orange Zest
This one feels fancy but takes like five minutes. It’s tart, sweet, and a little zesty—perfect for when I want something refreshing instead of rich.
Ingredients:
- Oats
- Cashew butter (or almond)
- Honey
- Dried cranberries
- Fresh orange zest
- Chia seeds
Pro Tip: Use a microplane for the zest—makes a huge difference in flavor.
4. Mocha Espresso Protein
These are my go-to pre-workout bites. Chocolate + espresso = energy without the jitters. Also, they smell incredible.
Ingredients:
- Rolled oats
- Peanut butter
- Maple syrup
- Cocoa powder
- Instant espresso powder
- Chocolate protein powder
Note: Start with just ½ tsp espresso powder if you’re caffeine-sensitive. Learned that the hard way—hello, 2AM cleaning spree.
I like to make two flavors per batch day and stash them in labeled bags, so I’ve always got options. It’s kinda like building your own snack bar—but without all the weird additives. And you get to eat the dough without guilt. What’s not to love?
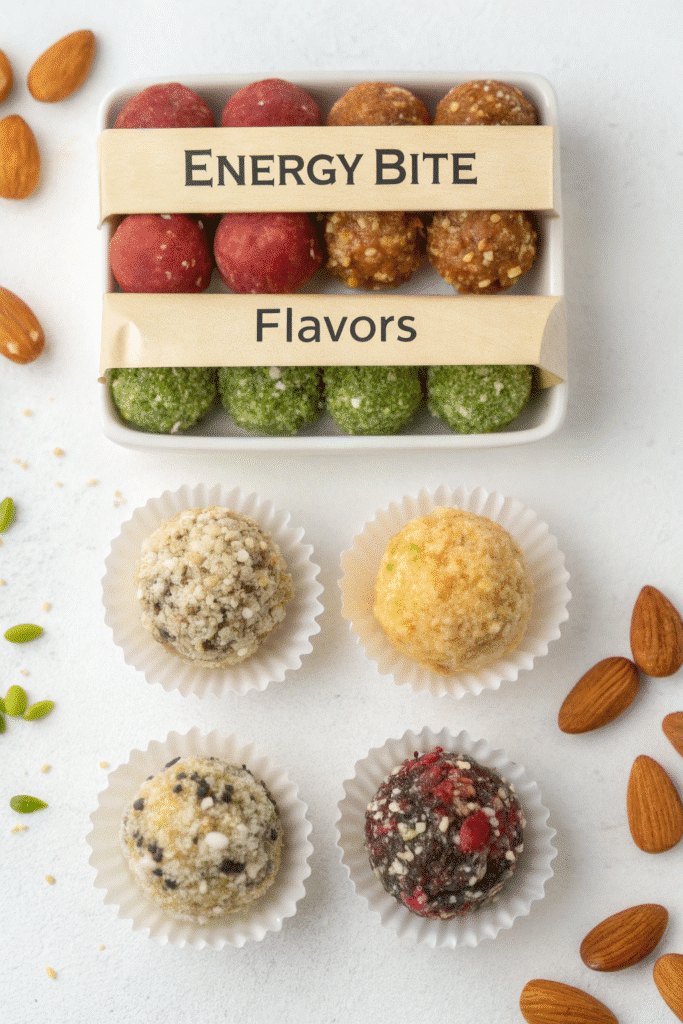
Tips to Keep Batches Fresh and Tasty
So you’ve made your bites, rolled ‘em like a pro, and popped them in the freezer—mission accomplished, right? Not quite. If you want your no bake energy bites to still taste amazing two weeks (or two months) from now, there are a few tricks I’ve learned the hard way to keep them fresh, flavorful, and not weirdly freezer-burnt.
Tip #1: Airtight is Everything
Listen, if you store your bites in a barely sealed bag, moisture is gonna sneak in, and you’re gonna end up with sad, icy balls of mush. I use either reusable silicone freezer bags or mason jars with tight lids. Ziplock works in a pinch, but make sure you press all the air out before sealing.
Mistake I Made: I once left a bag slightly open thinking “eh, it’ll be fine.” It was not fine. The bites tasted like old ice and regret.
Tip #2: Label Like a Boss
This might sound silly, but after a few weeks, they all start to look the same. Write the flavor and date on the container. I use painter’s tape and a Sharpie. Not cute, but functional. Nothing worse than biting into what you thought was peanut butter and it’s mocha espresso. Totally messes with your brain.
Tip #3: Use Dividers if You’re Fancy
If you’re storing different flavors in the same container (or even different snack types), use parchment paper between layers. Keeps ‘em from sticking together and absorbing each other’s smells. No one wants coconut-scented mocha bites. Trust me.
Tip #4: Freeze Fast, Then Stack
Always freeze the rolled bites flat on a tray first, just like we talked about. After they’re solid, go ahead and stack or store however you want. If you skip that step, you’ll end up with one massive energy bite blob that you’ll have to chisel apart with a butter knife at 7 AM. Not ideal.
Tip #5: Taste-Test One a Week Later
This might sound extra, but I always eat one a week after freezing just to make sure the flavor held up. Some ingredients, like citrus zest or nutmeg, can mellow out over time. If it still tastes awesome, you’re golden. If not, tweak the next batch.
I used to think freezer snacks were just sad leftovers or smoothie packs I’d forget about. But now? These energy bites are the highlight of my freezer. Stay organized, store smart, and they’ll reward you every time that afternoon slump hits.
By now, you should have a solid stash of healthy, tasty snacks ready to go—and your freezer is looking mighty fine! These no bake energy bites are tiny powerhouses of nutrition, and they save you so much time during the week. If you loved this Day 18 recipe, don’t keep it a secret—share it on Pinterest and help a fellow snack-lover out!
Print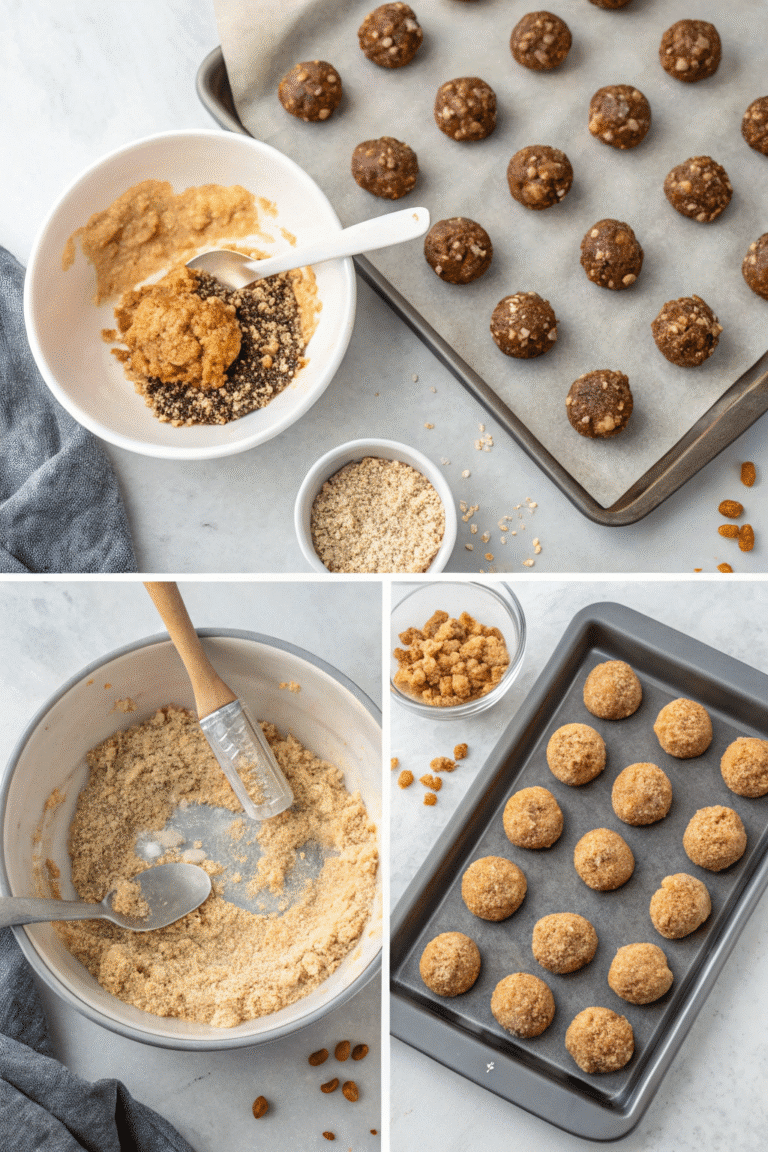
No Bake Energy Bites: 4 Weeks to Fill Your Freezer (Day 18 Recipe Guide for 2025)
- Total Time: 15 minutes
- Yield: 20–24 bites
Ingredients
- Prep Time: 15 minutes
- Cook Time: 0 minutes
- Category: Snack
- Method: No Bake
- Cuisine: American
Nutrition
- Serving Size: 1 bite
- Calories: 120
- Sugar: 5g
- Sodium: 60mg
- Fat: 7g
- Saturated Fat: 2g
- Unsaturated Fat: 4g
- Trans Fat: 0g
- Carbohydrates: 12g
- Fiber: 2g
- Protein: 4g
- Cholesterol: 0mg


