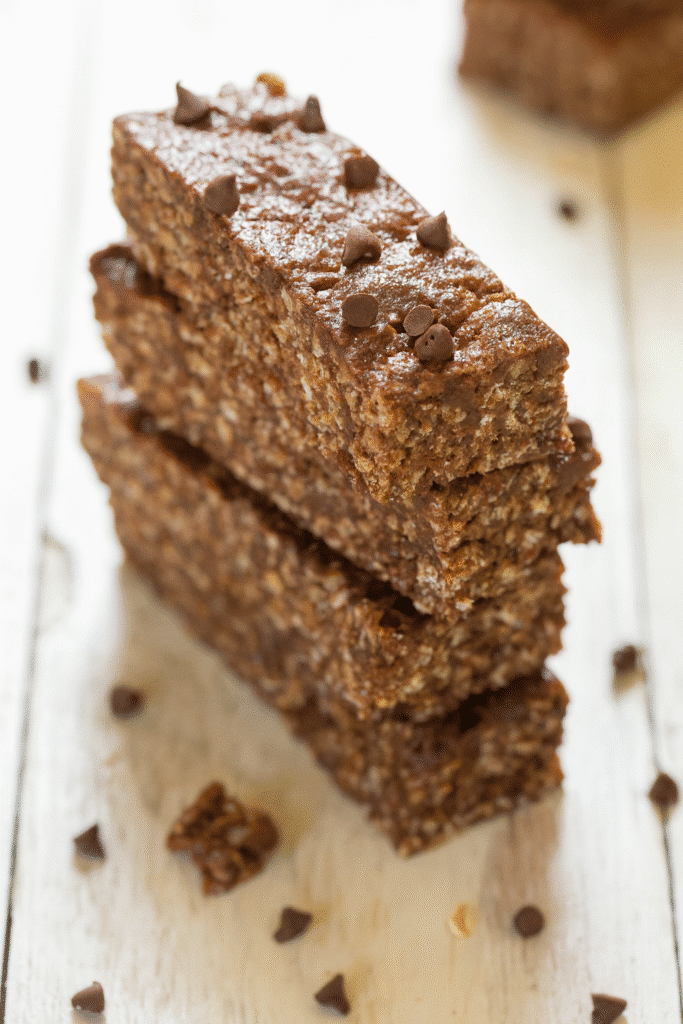
Ever had a snack so good you had to hide it from yourself? That’s exactly what happened when I made these No-Bake Double Chocolate Peanut Butter Granola Bars. One bite and I was hooked! According to a 2024 snack trends report, chocolate + peanut butter remains the most loved flavor combo in America—and honestly, it’s easy to see why. With their chewy texture, deep cocoa flavor, and nutty sweetness, these bars are pure bliss without even touching the oven. Oh, and did I mention they take less than 20 minutes to make?
Ingredients You’ll Need for No-Bake Double Chocolate Peanut Butter Granola Bars
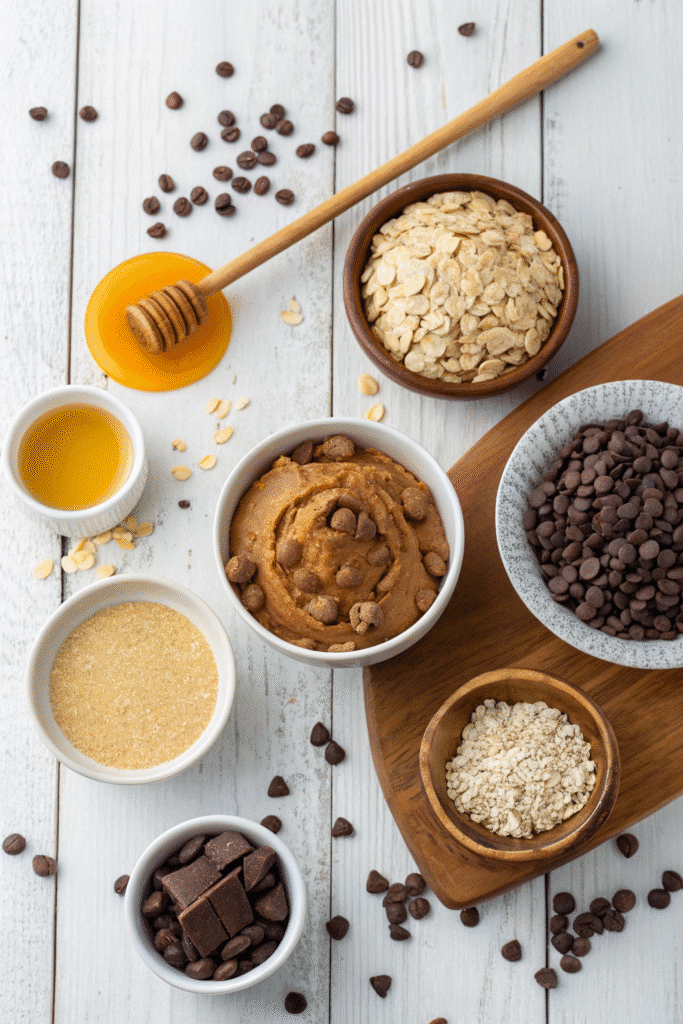
I’ll be honest, the first time I made these, I went a little overboard with the peanut butter. I’m talking sticky fingers, spoon in the jar, maybe two spoons in the jar overboard. But here’s the thing—ingredients make or break these bars. Use the right ones, and they’re chewy, rich, and hold together perfectly. Get lazy, and you end up with a crumbly mess that falls apart before it even makes it to your mouth. Been there.
Rolled Oats
Not quick oats, not steel-cut—rolled oats. They give that chewy bite you want without turning mushy. I tried using quick oats once because that’s what I had, and the texture was just… sad. Like, breakfast-porridge-sad. Stick with rolled oats.
Cocoa Powder
Go for unsweetened cocoa powder, but not the bargain-bin kind. I swear, the difference between a rich chocolate flavor and something that tastes like brown dust comes down to spending an extra dollar. If you want a deeper, almost brownie-like flavor, try Dutch-processed cocoa.
Creamy Peanut Butter
This is the star player. Natural peanut butter works, but here’s a tip—stir it really well before using. I once skipped the stir, poured in the oily top layer, and ended up with bars that felt like they were sweating peanut oil. Not cute.
Dark Chocolate Chips
Oh yes, double chocolate means we’re not holding back. I like mini chocolate chips because they distribute evenly, but if you’re a “more chocolate in every bite” person, go big or even chop up a dark chocolate bar.
Honey or Maple Syrup
This is your sweetener and your glue. I lean toward honey because it gives a denser, chewier texture, but maple syrup adds this cozy, autumnal vibe. Just don’t use plain sugar—it won’t hold anything together, and you’ll have granola dust, not bars.
Pinch of Salt
It’s tiny but mighty. Without salt, the sweetness just sits there, flat and dull. With salt, you get that magical sweet-salty thing going on.
Pro Tip: Measure everything before you start. Peanut butter waits for no one—once it hits the warm honey, you’re racing against the clock before it starts to set. And for the love of all things chocolate, line your pan. Wax paper, parchment, whatever you’ve got. Cleaning peanut butter cement off a baking dish is not my idea of a good afternoon.
Once you’ve got these ingredients ready, you’re halfway to the best no-bake bars you’ll ever taste.
Step-by-Step Instructions for Perfect No-Bake Granola Bars
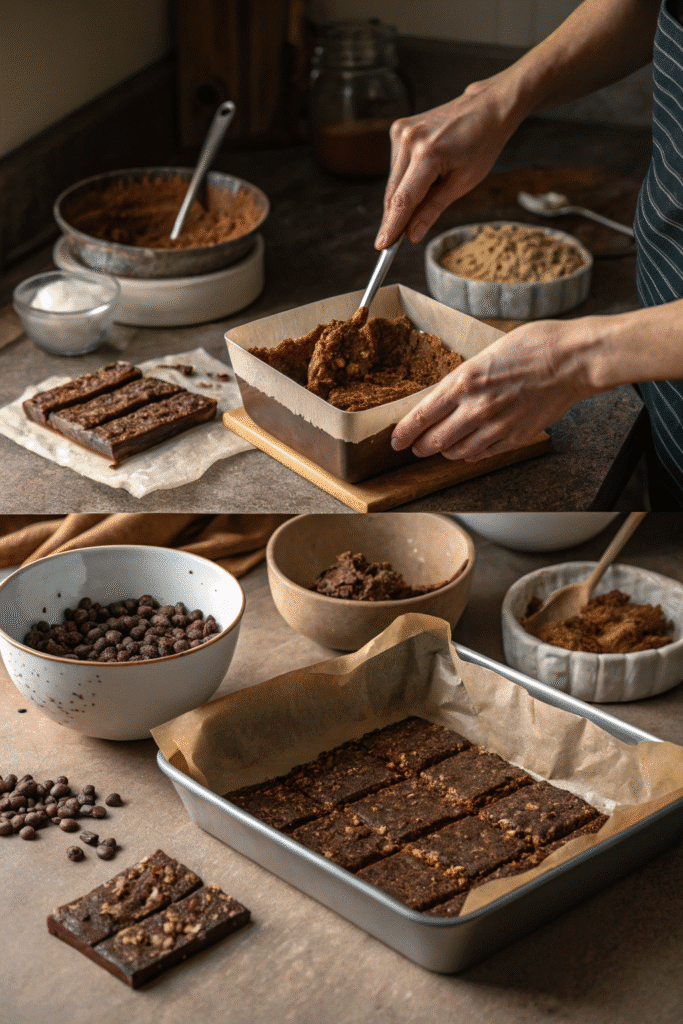
If you can stir, melt, and press, you can make these. Seriously. But I’ve learned that even a “simple” recipe like this has its little tricks—usually learned after one too many batches that fell apart, stuck like glue, or tasted suspiciously like I forgot the salt. So here’s how I do it now, with all the hard-earned wisdom baked—well, not baked—into the process.
Step 1: Mix the Dry Ingredients
Grab a big bowl. Bigger than you think you need. You’ll thank yourself later when oats don’t go flying across the kitchen. Toss in your rolled oats, cocoa powder, and a pinch of salt. Give it a good stir so the cocoa gets evenly distributed—otherwise, you’ll end up with random bitter cocoa pockets. Learned that the hard way.
Step 2: Melt the Peanut Butter and Sweetener
In a small saucepan over low heat, combine the peanut butter and honey (or maple syrup). Stir constantly. You want it warm enough to melt into a smooth, pourable mixture, but not so hot that it starts to scorch. I once walked away “just for a second” and came back to what looked—and smelled—like peanut butter taffy. Don’t be me.
Step 3: Combine Wet and Dry Mixtures
Here’s the part where you work fast. Pour the peanut butter mixture over the oat mixture and stir immediately. I use a silicone spatula to scrape the sides like my life depends on it. This stuff sets quicker than you’d expect, and if you dawdle, you’ll have dry chunks instead of a smooth mix.
Step 4: Add the Chocolate Chips
If you toss them in while the mixture’s still piping hot, you’ll end up with a chocolate swirl effect—which is gorgeous, but not exactly “chips” anymore. For distinct chunks, wait a minute or two for it to cool slightly before mixing them in.
Step 5: Press into the Pan
Line an 8×8 inch pan with parchment paper, leaving some overhang to make lifting easier later. Dump the mixture in and press it down firmly. Like, firmly. I use the back of a metal measuring cup to get a smooth, even surface. Weak pressing = crumbly bars.
Step 6: Chill and Cut
Pop it in the fridge for at least an hour. Overnight is even better if you can resist. Once firm, lift it out using the parchment and slice into bars with a sharp knife. If your knife sticks, run it under hot water and wipe it dry between cuts.
Pro Tip: Don’t skip the chilling. Every time I’ve tried to “just taste one” before it’s fully set, I’ve ended up with a pile of warm granola crumble that I eat with a spoon. Still delicious, but not exactly portable.
Tips for the Best Texture and Flavor
You know how some granola bars are just… fine? Like, they get the job done, but you wouldn’t write home about them? Yeah, we’re not aiming for “fine” here. We want chewy, chocolatey, can’t-stop-eating-them bars. After making these more times than I care to admit, I’ve figured out the tweaks that take them from decent to dangerously addictive.
Lightly Toast the Oats (Yes, Even for No-Bake)
Okay, technically this adds one quick baking step, but trust me—it’s worth it. Spread your rolled oats on a baking sheet and toast at 350°F for about 8 minutes, just until they’re golden and smell nutty. The flavor goes from flat to warm and deep, and it makes the bars feel like they’ve been baked without actually baking.
Funny story: the first time I toasted oats, I forgot them in the oven. They went from golden to “is something on fire?” in under a minute. Now I set a timer and hover like a hawk.
Go for Good Cocoa
Cheap cocoa tastes like dusty cardboard. I wish I were exaggerating. Use a good unsweetened or Dutch-processed cocoa, and you’ll get that rich, almost brownie-like flavor. I even tried half regular cocoa and half black cocoa once—holy richness, Batman.
Add Some Crunch
While these bars are great chewy, I love adding chopped nuts, sunflower seeds, or even cacao nibs for a little crunch. It keeps things interesting and makes them feel more like a “grown-up” snack than something you’d toss in a lunchbox.
Don’t Skip the Salt
This might be the most important flavor booster. Without salt, everything just tastes sweet and one-note. A small pinch in the mix—and if you’re feeling fancy, a sprinkle of flaky sea salt on top—brings out the chocolate and peanut butter in the best way.
Chill Time Is Not Optional
The longer they chill, the better they hold together. An hour is the bare minimum. Overnight is gold. I’ve even made them a day ahead for road trips, and by the time we hit the highway, they were perfect—firm enough to stay intact, soft enough to bite into without breaking a tooth.
Pro Tip: If you want a glossier chocolate finish, drizzle melted dark chocolate over the pressed mixture before chilling. It sets beautifully and makes them look straight out of a fancy coffee shop display case.
With these tweaks, your no-bake double chocolate peanut butter granola bars will have that just-right balance of chew, crunch, and chocolate richness that keeps you coming back for “just one more” until the pan is mysteriously empty.
Storage and Serving Ideas
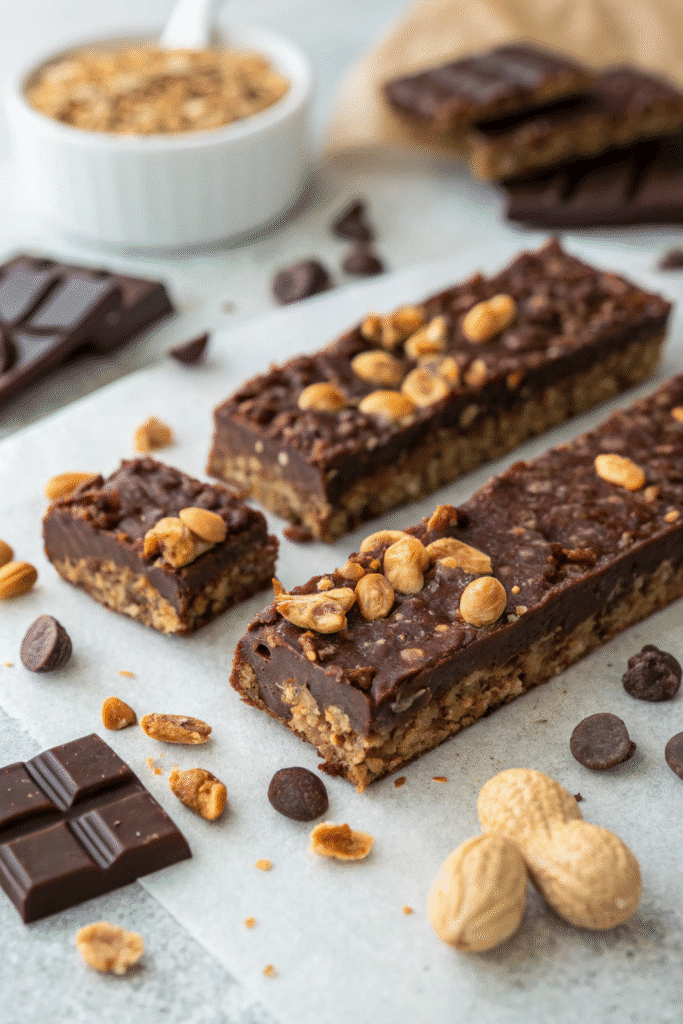
One of the best things about these no-bake bars—besides the fact that they’re insanely good—is how easy they are to store. You don’t have to worry about them going stale in two days or turning into chocolate soup on the counter… as long as you store them right. I learned that the hard way after leaving a batch on top of my fridge in the middle of July. Let’s just say they went from “granola bars” to “granola pudding” real fast.
Fridge Storage
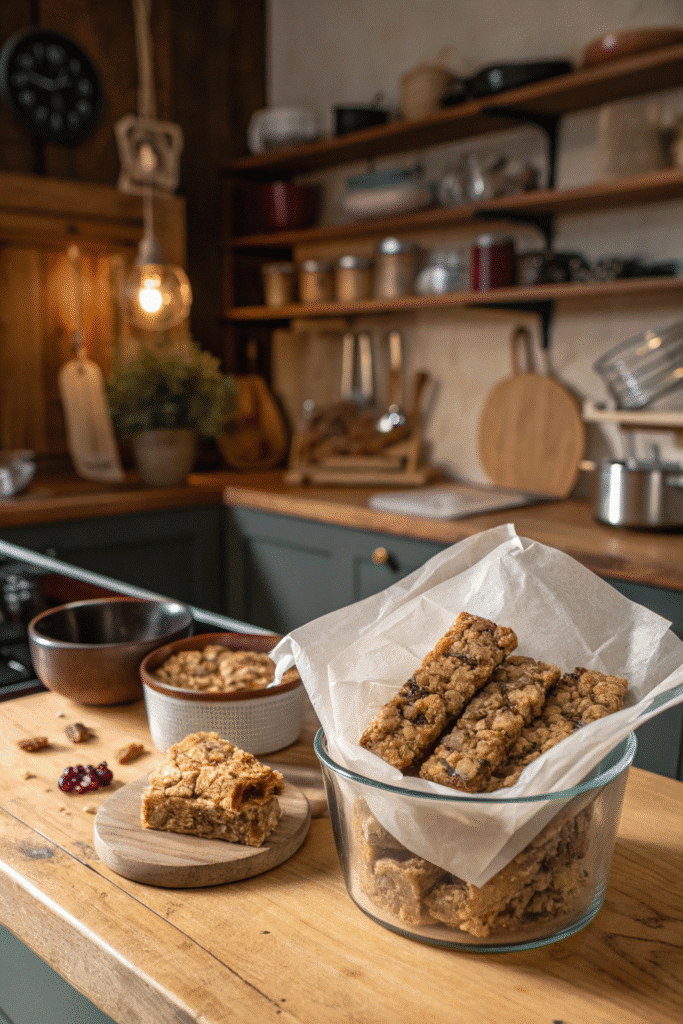
These bars are happiest in the fridge. Once they’ve chilled and been cut into pieces, wrap each one in parchment paper or stack them in an airtight container with parchment between the layers. They’ll stay fresh for up to a week—assuming they last that long without disappearing. I once made a “double batch” thinking I’d have snacks for the week. They were gone in three days.
Freezer Storage
If you want to make them last longer (or at least try), pop them in the freezer. Wrap individually in parchment, then place them in a freezer-safe bag or container. They’ll keep for up to two months. The best part? You can eat them straight from the freezer—no thawing required. They’re a little firmer, but somehow even more satisfying.
On-the-Go Snacks
I love wrapping them up like little presents in parchment and tying them with kitchen twine. Not only does it make them easy to grab and toss in a bag, but it also makes me feel like I’ve got my life together. These are perfect for lunchboxes, road trips, or sneaking into the movie theater (not that I’d ever do that).
Serving Suggestions
- Breakfast Boost – Pair a bar with a banana and coffee for a quick morning fuel-up.
- Dessert Upgrade – Warm a bar for 10 seconds in the microwave and serve with a scoop of vanilla ice cream. Yes, it’s over the top. Yes, it’s worth it.
- Post-Workout Snack – The combo of oats, peanut butter, and chocolate makes these a great recovery bite. Bonus points if you add some protein powder to the mix when making them.
Pro Tip: If you drizzle chocolate on top, store them in a single layer until it sets completely. Otherwise, you’ll end up with a chocolate-tiled block that’s impossible to pry apart without breaking the bars (ask me how I know).
With the right storage, these bars can be your secret weapon—ready whenever you need a sweet-but-wholesome bite. Whether you’re fueling a busy day or treating yourself after dinner, they fit right in.
There you have it—rich, chewy, No-Bake Double Chocolate Peanut Butter Granola Bars you can whip up in minutes. They’re healthy enough for a midday snack and indulgent enough to feel like dessert. Now go ahead, make a batch, and share your creations on Pinterest—because trust me, these bars are too good to keep to yourself!
Print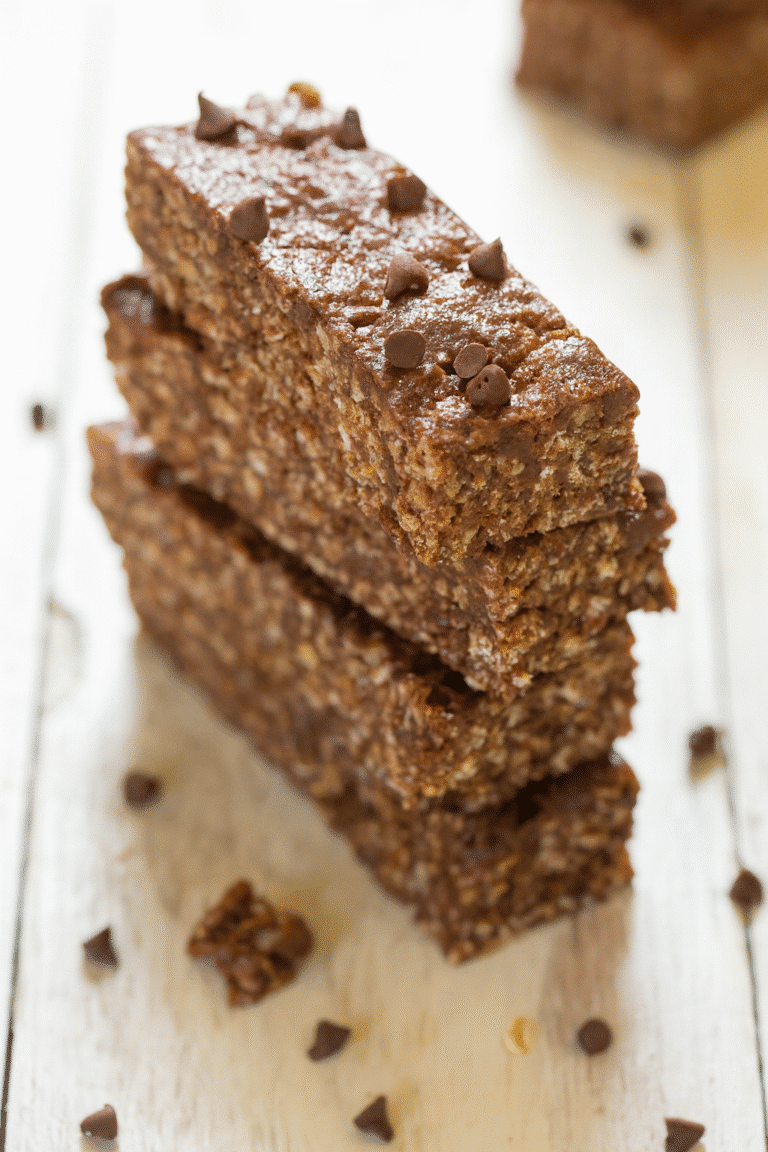
No-Bake Double Chocolate Peanut Butter Granola Bars
Rich, chewy, double chocolate peanut butter granola bars made in under 20 minutes—no oven required. Perfectly balanced with cocoa, creamy peanut butter, and a hint of salt for the ultimate sweet-salty snack.
- Total Time: 15 minutes
- Yield: 12 bars 1x
Ingredients
- 2 cups rolled oats
- 1/4 cup unsweetened cocoa powder
- Pinch of salt
- 3/4 cup creamy peanut butter
- 1/2 cup honey or maple syrup
- 1/2 cup dark chocolate chips
Instructions
- In a large bowl, combine rolled oats, cocoa powder, and salt. Stir until evenly mixed.
- In a small saucepan over low heat, melt together peanut butter and honey (or maple syrup) until smooth, stirring constantly.
- Pour the peanut butter mixture over the oat mixture and stir quickly to combine.
- Let the mixture cool slightly, then stir in chocolate chips.
- Press mixture firmly into an 8×8 inch parchment-lined pan.
- Chill in the refrigerator for at least 1 hour.
- Lift out and cut into bars with a sharp knife.
Notes
For extra flavor, toast the oats before mixing and sprinkle flaky sea salt on top. Store in the fridge for up to a week or freeze for up to 2 months.
- Prep Time: 15 minutes
- Cook Time: 0 minutes
- Category: Snack
- Method: No-Bake
- Cuisine: American
Nutrition
- Serving Size: 1 bar
- Calories: 210
- Sugar: 10g
- Sodium: 60mg
- Fat: 11g
- Saturated Fat: 4g
- Unsaturated Fat: 6g
- Trans Fat: 0g
- Carbohydrates: 24g
- Fiber: 3g
- Protein: 6g
- Cholesterol: 0mg


