Ever stared at a pile of fabric scraps and thought, “I can’t just throw these out!”? Same here. That’s exactly how I stumbled onto the idea of making Mini Fabric Scrap Trees. They’re quirky, rustic, and ridiculously charming—and best of all, they’re made entirely from materials you probably already have lying around.
According to a recent survey, the average crafter produces nearly 5 pounds of scrap material each year. Why not turn those leftovers into something festive and beautiful? Whether you’re decorating for the holidays, sprucing up a classroom, or just need a relaxing afternoon project, these mini trees are the perfect blend of creativity and sustainability.
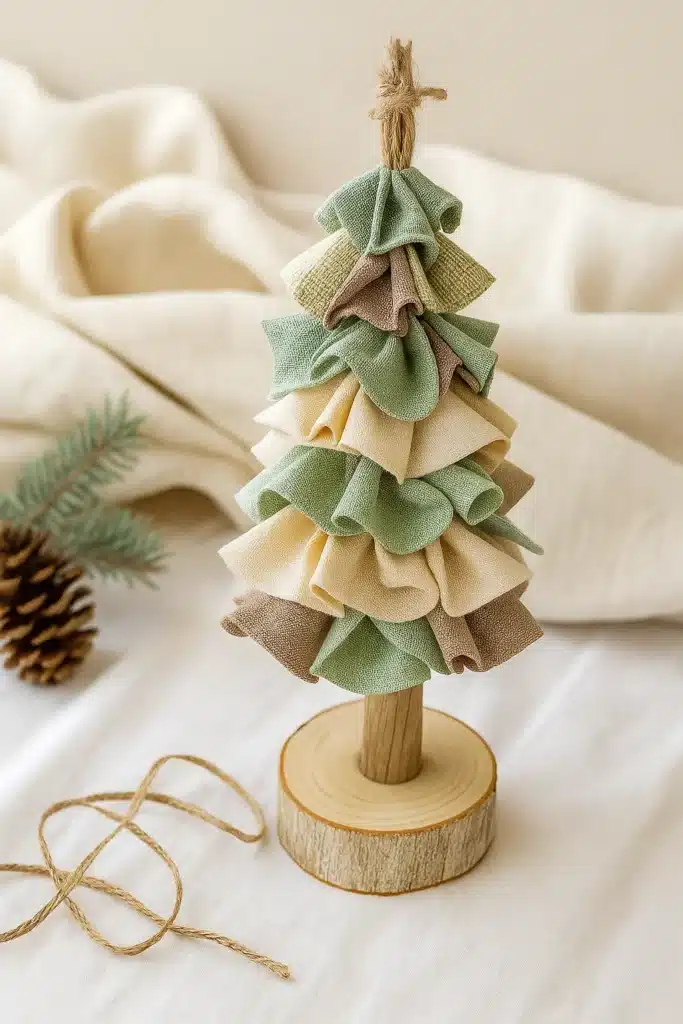
Materials You’ll Need for Your Mini Fabric Scrap Trees
You know that bin of random fabric scraps you’ve been hoarding for years? The one that’s almost exploded more than once? Yep, that’s the goldmine. I used to think I was just cluttering my space, but turns out, those bits of leftover fabric were perfect for this sweet little DIY Christmas craft that ended up saving me money and my sanity during the holiday rush.
So here’s your game plan. These are the things I grabbed (and a couple I wish I had from the start) to make the cutest, most eco-friendly trees this side of Pinterest.
Fabric Scraps (the star of the show)
- The more colors and textures, the better. I mixed linen, cotton, flannel—even a slice of an old apron.
- Stick to a palette—trust me. I once went wild with neons and it looked like a clown exploded on my mantel.
- Use strips about ½” to 1″ wide and 4–6″ long. Doesn’t need to be perfect, just close enough.
Small Wooden Sticks or Twigs
- I grabbed twigs from my backyard—free and rustic as heck.
- If you’re city-bound, dowels from the dollar store work too.
- The rougher and less polished, the better for that handcrafted look.
Scissors (don’t underestimate this)
- Use actual fabric scissors. I tried kitchen shears once. Regret.
- You’ll want nice, clean cuts to keep your trees looking sharp and tidy.
Twine, String, or Thread (for that rustic touch)
- Totally optional, but adds charm if you wrap it around the base or tie tiny bows.
- Natural jute or red-and-white baker’s twine looks super festive.
Bases: Wood Blocks, Spools, or Clay
- Want your mini trees to stand on their own? You’ll need something solid.
- I hot-glued mine into little wooden cubes I found in a junk drawer. Worked like a charm.
- You can also press them into air-dry clay if you’re feeling fancy.
Hot Glue Gun (trust me, you need it)
- Especially if you’re anchoring twigs into bases.
- I tried to skip this part once and used tape. Don’t be like past me.
Ruler or Measuring Tape (if you’re type A)
- I eyeball most of my strips, but if you’re gifting these or doing a classroom craft, consistent size helps.
- Pro tip: Cut one “perfect” strip and use it as a template.
Honestly, the best part about this whole setup? It’s all stuff I already had, making it one of the most budget-friendly crafting projects I’ve ever done. No fancy machines. No $80 trip to the craft store. Just scraps, sticks, and a bit of stubborn creativity.
And look—these aren’t just cute. They’re meaningful. Every piece of fabric has a story. That red gingham? Leftover from my daughter’s birthday dress. The plaid? An old holiday table runner. You end up making decorations that feel personal and warm—not just another plastic trinket from a big box store.
Ready to actually build one? Let’s walk through the step-by-step next.
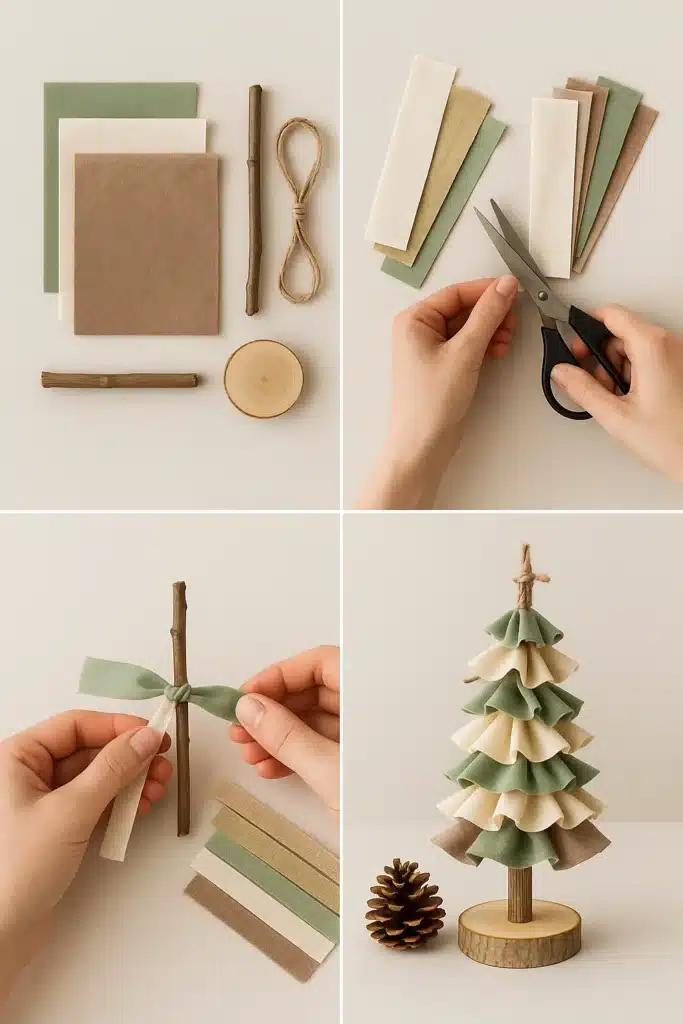
Step-by-Step Guide to Assembling the Trees
Okay, now comes the fun part—actually making these tiny fabric trees come to life. I’ll admit, the first one I made was a little… sad. It looked like a scraggly porcupine. But once I figured out the trick to layering and trimming, it got super addicting. I ended up making a whole forest in one weekend. So here’s the no-fail way to get yours looking cute, full, and festive.
Step 1: Sort and Stack Your Fabric Strips
Start by sorting your strips from shortest to longest. This makes life way easier when you start tying them on.
- I usually go from about 3” at the top to 6” at the bottom.
- If you’re doing a layered look, double up thin pieces or alternate textures.
- Don’t worry if the edges are frayed—that’s half the charm!
I like to lay them out in a little “fabric ladder” first so I know which order to grab them. Makes things way less chaotic.
Step 2: Tie Them Onto the Stick
Start at the top of the twig with the shortest strip and work your way down.
- Tie each strip in a single knot right in the center of the stick.
- You want the ends to fan out evenly, like little branches.
- Push each new piece down snug so they layer nicely.
I messed this up at first by spacing them too far apart, and my tree looked skinny and weird. Don’t do that. Stack ‘em tight!
Step 3: Fluff, Adjust, and Trim
Once you’ve tied all the strips, step back and look at the shape. It’s probably a little wild. That’s fine.
- Fluff the layers and bend them until it looks tree-like.
- Then trim the edges into a triangle or natural slope. Think pine tree.
- Go slow here—you can always trim more, but you can’t glue fabric back on (trust me, I tried).
If you want it bushier, tie more strips closer together. Want it sparser and minimalist? Space it out a little and use solids. Totally your call.
Step 4 (Optional): Add a Base
If you want your tree to stand on its own, you’ll need a base. I’ve used:
- Wooden spools
- Clay blobs
- Random blocks from old toys
- Even a wine cork once (not elegant, but it worked)
Just hot glue the stick into the base and let it dry upright. Done.
Step 5: Add Finishing Touches
You can leave it as-is (still cute), or go the extra mile:
- Wrap twine around the bottom “branches”
- Glue on mini buttons, bells, or a star at the top
- Dust it with glitter if you’re feeling bold (and okay with cleanup)
And that’s it! Once you’ve made one, you’ll want to make five more. They’re the perfect DIY Christmas crafts—fast, cheap, cute, and ridiculously satisfying to display. I made a row of them for my windowsill, and they still make me smile every time I walk by.
Ready to get creative with how to show them off? Let’s talk display ideas next.
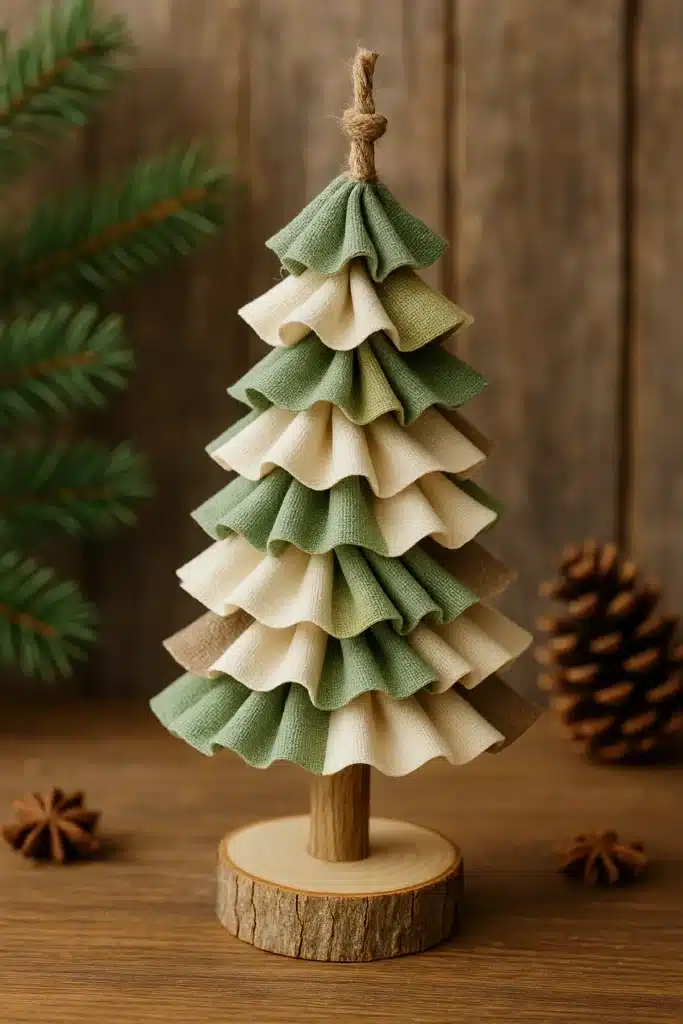
Creative Display Ideas for Fabric Scrap Trees
Alright, so you’ve got a batch of these adorable mini fabric scrap trees… now what? Time to show ‘em off! Honestly, the way you display these little guys is half the fun. I made a few just to decorate the mantel, and suddenly they ended up on windowsills, bookshelves, even the back of my toilet. No shame—they’re that cute.
Let me walk you through a few tried-and-true display ideas, plus some creative spots you might not have thought of yet.
The Mantel Makeover
This was my first instinct—and it totally delivered. I lined up about five trees of varying heights across the mantel, added some fairy lights and pinecones, and BAM. Instant cozy.
- Use wooden risers or stacked books to vary the height.
- Tuck in dried oranges or cinnamon sticks for that holiday market vibe.
- Bonus: no pine needles to clean up!
Windowsill Wonderland
These trees are perfect for a narrow ledge like a kitchen or hallway window.
- I like to put 2-3 in a row with little battery-operated candles in between.
- If you’re feeling extra crafty, string a mini garland behind them with pom-poms or clothespins.
At night, with the glow of the lights behind them? Chef’s kiss.
Centerpieces with Personality
One year, I made a whole forest for my holiday table. People were way more into my decorations than the turkey, not even kidding.
- Arrange the trees on a wooden tray with moss or faux snow underneath.
- Add a few cranberries or tea lights for a festive pop.
- I even tied little name tags to the trunks and used them as place cards. People LOVED that.
Shelf Fillers and Nook Decor
Ever have that awkward little corner of a shelf that just feels… empty? Pop one of these trees in there.
- I put a mini one next to a stack of cookbooks and it instantly looked intentional.
- Add a photo frame and one scented candle and you’ve got yourself a Pinterest shot.
Bathroom? Yep.
Sounds weird, but hear me out. I stuck a tiny one in a mason jar full of Epsom salts and set it on the bathroom counter. Cozy vibes while brushing my teeth? Yes, please.
These little trees are crazy versatile. Whether you’re decking the halls for Christmas, crafting on a budget, or just love showing off your eco-friendly crafts, they fit in just about anywhere. And once you start styling them, you’ll find yourself coming up with new ideas on the fly.
Wanna see how these little guys help you cut down on waste and save money too? Let’s get into the sustainable perks next.
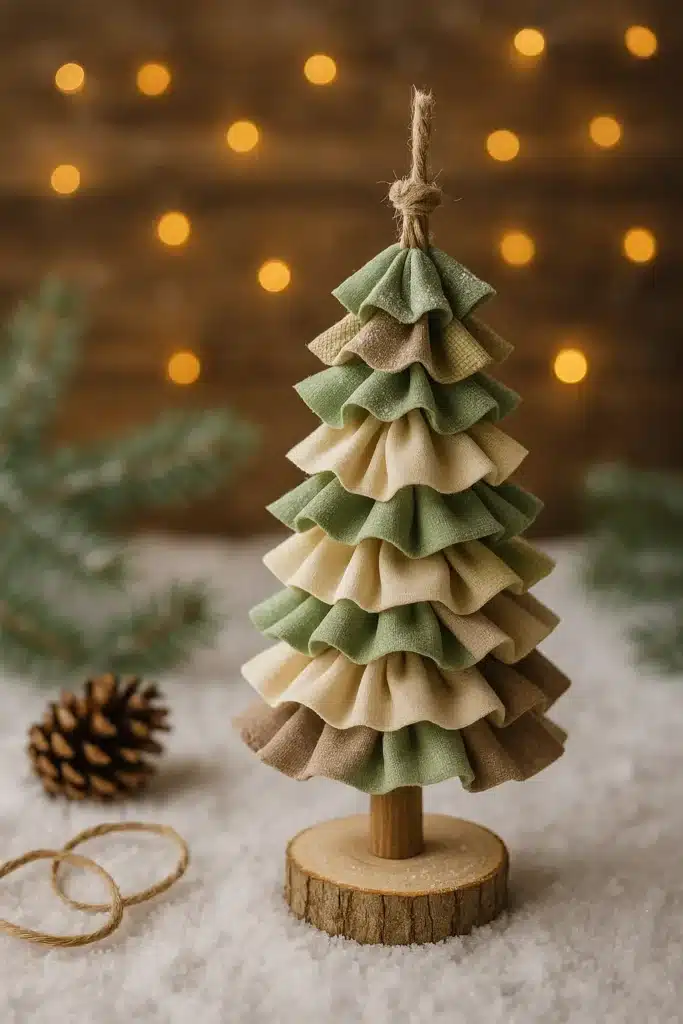
Eco-Friendly Benefits of Fabric Scrap Crafts
I’ll be real with you—when I first started making these little fabric scrap trees, I wasn’t trying to save the planet. I just wanted to clean out my craft drawer without feeling like a monster for throwing good stuff away. But once I realized how much waste I was not producing with this one simple project… yeah, it hit different.
Turns out, making cute stuff and being kind to the Earth can go hand in hand. Who knew?
You’re Reducing Textile Waste
The average person tosses about 70 pounds of clothing and textiles every year. Seventy. That’s bananas. Even if it’s just a handful of scraps, repurposing them into something useful keeps them out of the landfill—and that’s a win.
- Those weird-shaped leftovers from hemming curtains? Tree branches now.
- That shirt you stained beyond saving? Chop it up, give it a second life.
- I even used an old dish towel once. Looked rustic and kinda French-country.
No Need for Plastic Décor
You ever walk through the holiday aisle and see rows of cheap plastic trees that all look the same? Yeah… hard pass.
- With zero waste holiday decorations, every piece is one-of-a-kind.
- You’re not contributing to more mass-produced clutter.
- Plus, these trees actually feel personal. They’ve got texture, story, charm.
I had one made with plaid flannel from an old scarf, and my sister immediately recognized it. She was like, “Is this from your college dorm blanket?” It was. And now it’s sitting on her bookshelf every Christmas.
Budget-Friendly + Earth-Friendly
Let’s talk money. You can make an entire batch of these trees for less than what you’d spend on a single ornament at Target. No joke.
- I made ten trees for under $5 using only what I had on hand.
- Didn’t buy a single thing. Just used recycled fabric, twigs from the yard, and glue.
- The savings add up, especially if you’re making these as gifts or party favors.
It’s the kind of craft that makes you feel good twice—once when you’re making it, and again every time you see it on display and remember you didn’t trash the planet in the process.
Making these little trees got me thinking about all the other small ways we can do sustainable DIY projects without sacrificing style. It’s not about being perfect—it’s just about being creative with what you’ve got. And honestly? That’s way more fun than just buying stuff.
Who would’ve thought that a pile of leftover fabric and a twig from the yard could spark so much joy? But honestly, these mini fabric scrap trees have become one of my favorite holiday crafts—not just because they’re adorable, but because they mean something.
Every little tree tells a story. A flannel sleeve from an old shirt. A ribbon scrap from last Christmas. Bits and pieces that might’ve ended up in the trash, now standing proud on my mantel like tiny eco-friendly trophies.
Here’s the thing: crafting doesn’t have to be expensive, complicated, or wasteful. With just a few supplies, a bit of time, and some creativity, you can turn what you already have into something charming, sustainable, and Pinterest-worthy.
So go on—raid your scrap bin, take a walk for some twigs, and make yourself a tiny forest. It’s not just about decorating your space… it’s about creating something with your own two hands and giving new life to forgotten materials.
And hey, if you make a batch you’re proud of, share it! Post your trees on Pinterest and tag them—I’d love to see what you come up with. You might just inspire someone else to grab their scissors and do the same.
Happy crafting, and here’s to less waste and more warmth this season.
