“Did you know that pumpkin sales spike over 400% in October alone?!” That’s how much people love their fall flavors—and trust me, this Magic Pumpkin Cake takes that obsession to a whole new level. It’s not just a cake; it’s an experience! Soft pumpkin-spice base, a custard-like magic middle, and a whipped cream topping that tastes like a cloud kissed by cinnamon. I stumbled upon this gem last Thanksgiving and, oh boy, it disappeared faster than the turkey.
So whether you’re baking for your family or trying to impress the Pinterest crowd, get ready—this Magic Pumpkin Cake will become your new go-to fall dessert.
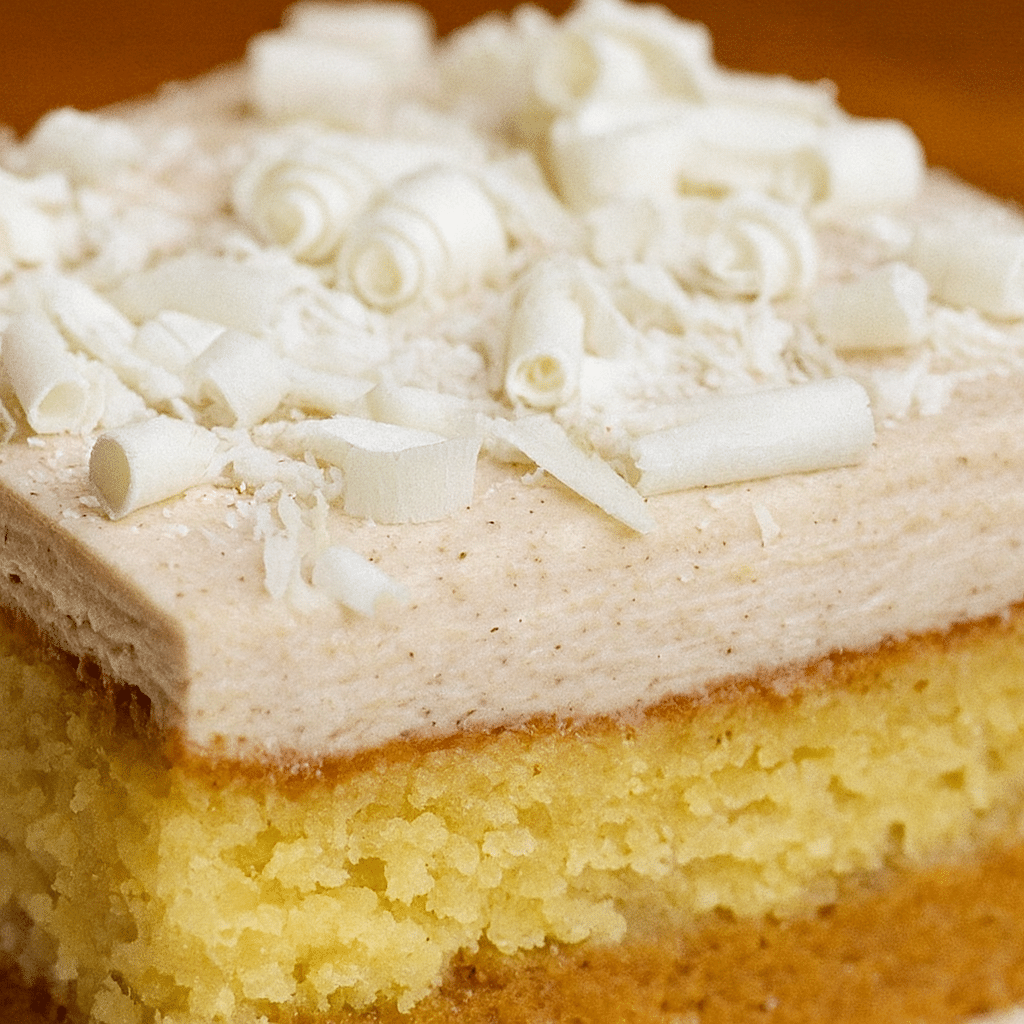
Ingredients You’ll Need (Simple Pantry Picks)
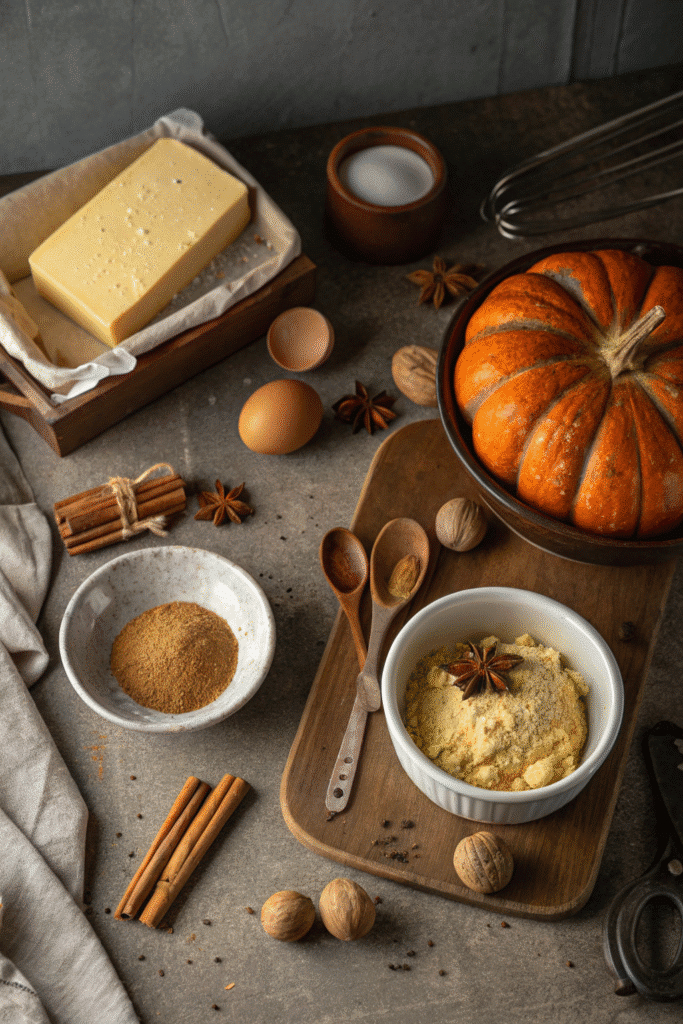
Okay, so here’s the thing—Magic Pumpkin Cake might sound like some fancy fall dessert, but it’s honestly made from the kind of stuff most of us already have in the kitchen. I remember the first time I made it, I didn’t even have to run to the store. That’s how simple it is.
Pumpkin Purée (But Not Pie Filling)
This tripped me up the first time. I grabbed pumpkin pie filling by mistake—total rookie move. It’s way too sweet and already spiced. What you want is 100% pure pumpkin purée. Just pumpkin. Nothing added. I usually keep a couple of cans stocked once September hits because I know I’ll go on a baking spree.
Butter, Eggs, Milk, and Sugar
These are your standard baking staples. I always go with unsalted butter so I can adjust the salt myself. Whole milk is best here—it gives the cake a rich, custard-like texture. As for the eggs, don’t pull them straight from the fridge. Let them sit on the counter until they’re room temp. No idea why it works better, but trust me, it does.
Spices: Pumpkin Pie Spice and Cinnamon
You could get away with just pumpkin pie spice, but I like to toss in some extra cinnamon too. Makes the house smell like a fall candle exploded, in the best possible way. That smell alone has people peeking into the kitchen like, “What are you baking!?”
All-Purpose Flour and Baking Powder
Nothing fancy here. Just regular flour and baking powder. The baking powder helps it rise slightly, but you don’t want too much lift. This isn’t a fluffy birthday cake. It’s got layers—literally—and they need to settle just right.
Whipping Cream for the Topping
You can absolutely use store-bought whipped cream. I’ve done it when I was short on time and no one complained. But if you’ve got five minutes, make your own. Heavy whipping cream, a bit of sugar, a splash of vanilla—beat it till soft peaks. It’s next-level good.
Quick Story: That One Time I Forgot the Baking Powder
I’ll never forget the year I made this for Friendsgiving and forgot the baking powder. It still tasted good, but it was basically pumpkin soup with crust. My friends were polite, but I could tell they were like, “Hmm… interesting texture.” Never again. Always double-check the list before mixing.
Basic Ingredient Checklist:
- 1 can pure pumpkin purée (15 oz)
- 3 large eggs (room temperature)
- 1 cup granulated sugar
- 1/2 cup unsalted butter (melted)
- 1 1/2 cups whole milk
- 1 cup all-purpose flour
- 2 teaspoons baking powder
- 1 teaspoon pumpkin pie spice
- 1/2 teaspoon cinnamon
- 1 cup heavy whipping cream (for topping)
- 2 tablespoons powdered sugar (optional, for whipped cream)
How to Make Magic Pumpkin Cake (Step-by-Step Guide)
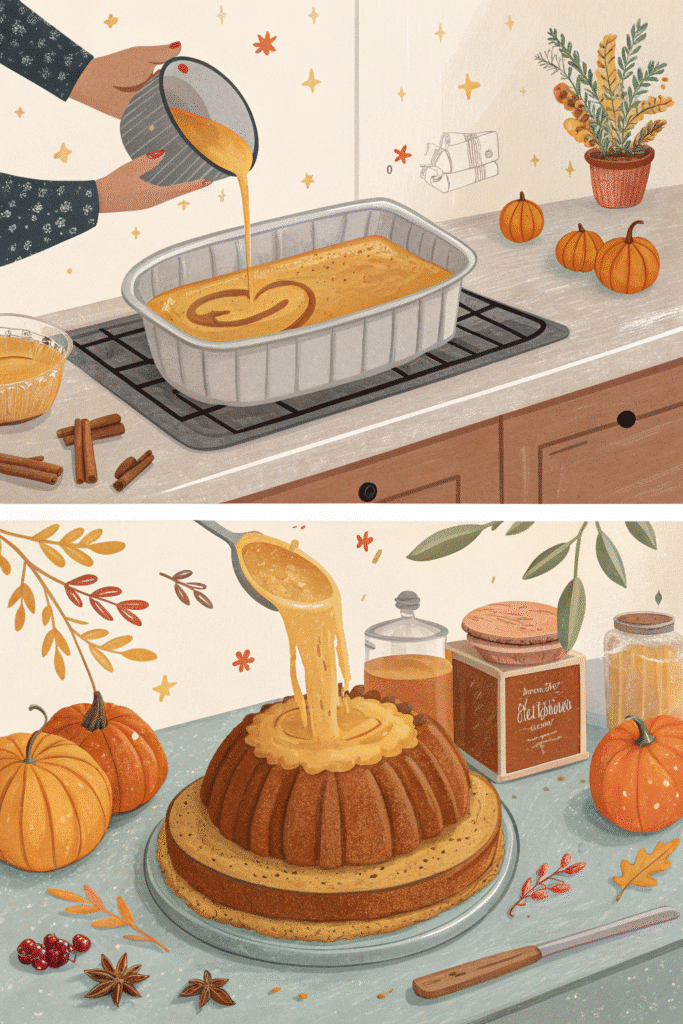
The first time I baked a Magic Pumpkin Cake, I was honestly confused. The batter was super thin and I thought, “There’s no way this is gonna work.” But trust the process—this is where the magic happens. The layers literally separate in the oven, no fancy tricks required. It’s kind of wild.
Step 1: Preheat and Prep
Preheat your oven to 325°F. Low and slow is key here. Grease an 8×8 or 9×9 baking dish—I use a glass one because it helps me spy on the layers as they form. Metal pans work too, but go for light-colored ones if you can.
Step 2: Separate Wet and Dry Ingredients
In one bowl, whisk together your flour, baking powder, pumpkin pie spice, and cinnamon. In another, beat the eggs and sugar until light and fluffy. It takes a few minutes, but don’t skip this—it helps create that soft cake layer on top.
Melt the butter and stir it into the egg mixture, then add your pumpkin purée and mix until smooth. Slowly pour in the milk while stirring. Yes, it’ll be runny. No, you didn’t mess it up.
Step 3: Combine and Pour
Now, gradually add the dry mix to the wet mix. I do this in thirds, stirring gently each time. By the end, you’ll have a thin, pourable batter. It looks too soupy—like “did I forget something?” soupy. But that’s exactly what you want.
Pour it all into your greased pan. Tap the dish lightly on the counter to release air bubbles. That little step actually helps the layers settle into place better while baking.
Step 4: Bake Low and Slow
Pop it into the oven for about 55–60 minutes. Don’t open the oven too early! It’ll puff up a bit and then settle into layers as it cools. The center should jiggle slightly when it’s done, but it shouldn’t be liquid. A knife inserted off-center should come out with just a bit of custard clinging to it.
Step 5: Cool Completely
This part’s tough because it smells so good. But seriously—let it cool for at least two hours. It firms up and the magic layers set during that time. If you cut it too soon, it turns into pumpkin pudding. Still tasty, but not the same.
My First-Timer Mistake
I made the rookie error of cranking the heat to 350°F thinking I’d “speed things up.” Big mistake. The top browned too fast, and the layers didn’t form right. So now, I always stick with 325°F. Patience is part of the magic.
Step-by-Step Summary:
- Preheat oven to 325°F
- Grease a square baking dish
- Whisk dry ingredients in one bowl
- Beat eggs and sugar until fluffy, then mix in butter, pumpkin, and milk
- Combine wet and dry ingredients into a thin batter
- Pour into pan and gently tap to settle
- Bake 55–60 minutes until lightly golden and slightly jiggly
- Cool completely for 2+ hours before cutting
Decorating & Serving Ideas for the Perfect Fall Vibe
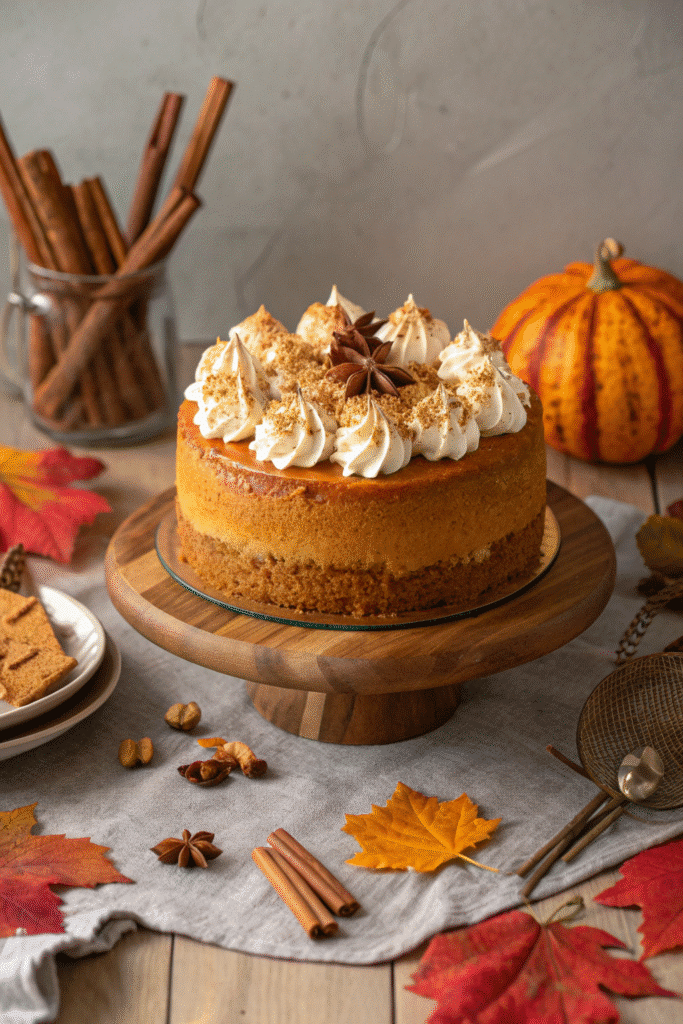
I’ll be honest—I used to just slap some whipped cream on top and call it a day. But then my cousin brought her “Pinterest-perfect” version of Magic Pumpkin Cake to Thanksgiving, and suddenly I was that person taking photos of dessert like it was a celebrity. Decorating this cake doesn’t need to be complicated, but wow does it elevate the whole thing.
Whipped Cream Swirls? Yes, Please
You can absolutely just spread a thick layer of whipped cream over the top. But if you’ve got a piping bag (or even a zip-top bag with the corner cut off), add little swirls or rosettes. It turns the cake into something people talk about. I’ve had guests say, “Did you buy this from a bakery?” Nope, just me and my piping tip.
If you made the whipped cream yourself, sprinkle in a pinch of cinnamon or pumpkin pie spice right into the mix before whipping. It gives the topping an extra warm, spicy note that ties everything together.
Add Some Garnish Drama
The simplest touch? A dusting of cinnamon or nutmeg on top. Super classy. But if you want to go big, stick a couple of cinnamon sticks on the serving tray, or even tiny decorative pumpkins. You know those dried orange slices? Yeah, those too. It’s like fall exploded—in a good way.
Last year, I pressed a few pumpkin-shaped sugar cookies into the whipped topping around the edge of the cake. Was it extra? Yes. Was it a hit? Also yes.
Serve It Cold or Just Warmed
This is a personal preference thing. I like mine chilled—there’s something about the custard layer being cold that makes it feel more dessert-like. But I’ve also reheated leftovers just slightly in the microwave and added a little drizzle of caramel sauce. It’s ridiculous in the best way.
Oh, and don’t forget presentation. I now serve this on a big white platter with a few fake fall leaves scattered around. It’s basic, but it works. People eat with their eyes first, right?
Rookie Move: Too Much Topping
One year, I went overboard on the whipped cream and it kind of drowned the cake. Like… it became more cream than cake. Lesson learned—balance is everything. The whipped topping should complement, not smother.
Quick Serving Tips:
- Pipe whipped cream swirls or spread evenly
- Dust with cinnamon, nutmeg, or even cocoa powder
- Decorate with cinnamon sticks, mini pumpkins, or edible fall décor
- Serve cold or gently warmed with caramel drizzle
- Plate on white or wood for that cozy, rustic look
Storage Tips & Make-Ahead Advice
I’ve learned the hard way that Magic Pumpkin Cake is one of those desserts that actually gets better the next day. The flavors deepen, the texture sets up just right, and the layers become more pronounced. So if you’re hosting a party or prepping for Thanksgiving chaos, making this ahead of time is honestly one of the best moves you can make.
Best Way to Store It
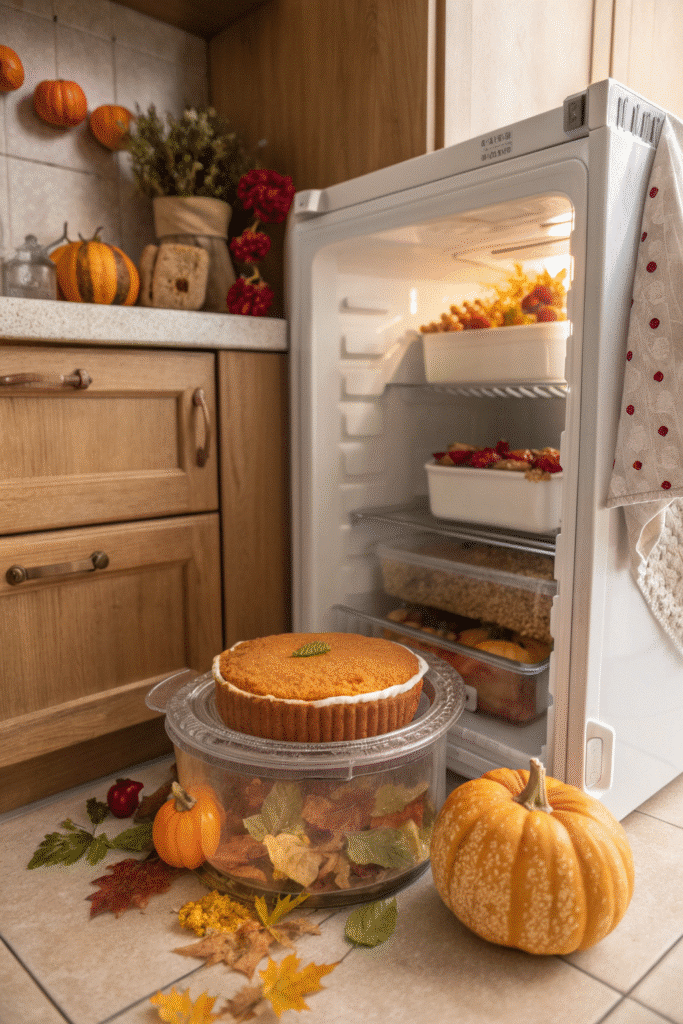
Let it cool completely—like, all the way—before even thinking about covering it. I usually let it sit on the counter for a good two hours. Once it’s cooled, cover it tightly with plastic wrap or foil and pop it in the fridge. If you’ve already added whipped cream, you’ll want to loosely tent the top so it doesn’t stick or smush the topping.
Glass containers with lids are great too, but make sure the seal is tight. I’ve used one of those with a locking lid and it stayed fresh for four full days. Still tasted like fall heaven on day four.
Don’t Freeze It
Okay, so here’s where I went wrong once. I thought I could freeze the leftovers to “enjoy later.” Bad idea. The custard layer turned weird—grainy and watery—and the whipped cream? A total mess. I ended up tossing half the pan. Lesson learned. This is a fridge-only situation.
Make-Ahead Tips
If you’re trying to get ahead for a big event or holiday, bake the cake the night before, but wait on the whipped cream. Add that the day of, or even right before serving. It only takes a few minutes and it’ll look (and taste) fresh.
If you have to add the whipped cream ahead of time—say, you’re transporting it—stabilize it with a bit of powdered sugar or use a whipped topping that holds up longer, like Cool Whip. Not ideal, but it works in a pinch.
What I Do for Parties
For potlucks or family dinners, I usually make it the day before and keep it in the fridge overnight. On the day of, I whip up the topping in the morning and decorate it before guests arrive. That way, it looks fresh but I’m not scrambling with a mixer when everyone’s already there.
Quick Storage & Make-Ahead Recap:
- Cool completely before storing
- Cover and refrigerate for up to 4 days
- Do not freeze—it messes with the texture
- Make cake base a day in advance for best results
- Add whipped cream the day of serving for max freshness
So there you have it—Magic Pumpkin Cake in all its layered, spiced, custard-filled glory. From pantry-staple ingredients to that magical bake that separates into soft cake and creamy custard, this dessert really does live up to its name. And when you dress it up with a few fall touches? Instant showstopper.
What I love most is how easy it is to make ahead. It’s perfect for busy fall weekends, last-minute dinner invites, or holiday tables that need just one more dessert. Honestly, once you make it, you’ll wonder where it’s been all your life.
If this recipe brought a little extra magic to your season, I’d love for you to share it on Pinterest. Your friends, your family—heck, even your future self—will thank you. Plus, there’s something kinda awesome about seeing your cake get saved, pinned, and maybe even go viral.
Happy baking, and may your kitchen smell like cinnamon for weeks!
Print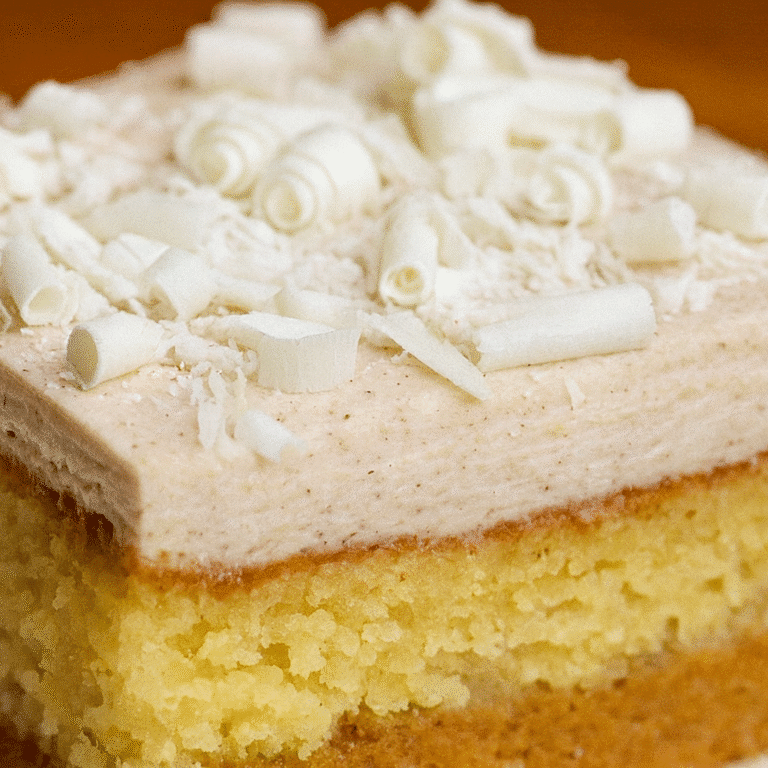
Magic Pumpkin Cake
This Magic Pumpkin Cake isn’t just a dessert—it’s a fall obsession. With a soft spiced cake layer, a custardy middle, and a cinnamon-kissed whipped cream topping, it’s like autumn on a plate. Easy to make, pantry-friendly, and always a showstopper!
- Total Time: 2 hours 20 minutes (including cooling)
- Yield: 9 squares 1x
Ingredients
- 1 can pure pumpkin purée (15 oz)
- 3 large eggs (room temperature)
- 1 cup granulated sugar
- 1/2 cup unsalted butter (melted)
- 1 1/2 cups whole milk
- 1 cup all-purpose flour
- 2 teaspoons baking powder
- 1 teaspoon pumpkin pie spice
- 1/2 teaspoon cinnamon
- 1 cup heavy whipping cream (for topping)
- 2 tablespoons powdered sugar (optional, for whipped cream)
Instructions
- Preheat oven to 325°F and grease a square baking dish (8×8 or 9×9).
- In one bowl, whisk together flour, baking powder, pumpkin pie spice, and cinnamon.
- In another bowl, beat eggs and sugar until light and fluffy.
- Stir in melted butter, then mix in pumpkin purée until smooth.
- Gradually pour in the milk while stirring—it will look runny.
- Add the dry ingredients to the wet mixture in thirds, mixing gently each time to create a thin batter.
- Pour batter into the greased pan and gently tap on the counter to release air bubbles.
- Bake for 55–60 minutes. The top should be lightly golden, and the center should jiggle slightly but not be liquid.
- Cool completely for at least 2 hours to let the layers set.
- Top with whipped cream before serving. Optional: dust with cinnamon or decorate with fall-themed toppings.
Notes
Cool the cake fully before cutting to ensure layers set properly. For best results, make the base the night before and add whipped cream topping just before serving. Do not freeze as the custard texture will be compromised.
- Prep Time: 20 minutes
- Cook Time: 60 minutes
- Category: Dessert
- Method: Baking
- Cuisine: American
Nutrition
- Serving Size: 1 square
- Calories: 285
- Sugar: 22g
- Sodium: 160mg
- Fat: 15g
- Saturated Fat: 9g
- Unsaturated Fat: 5g
- Trans Fat: 0g
- Carbohydrates: 32g
- Fiber: 2g
- Protein: 4g
- Cholesterol: 95mg

