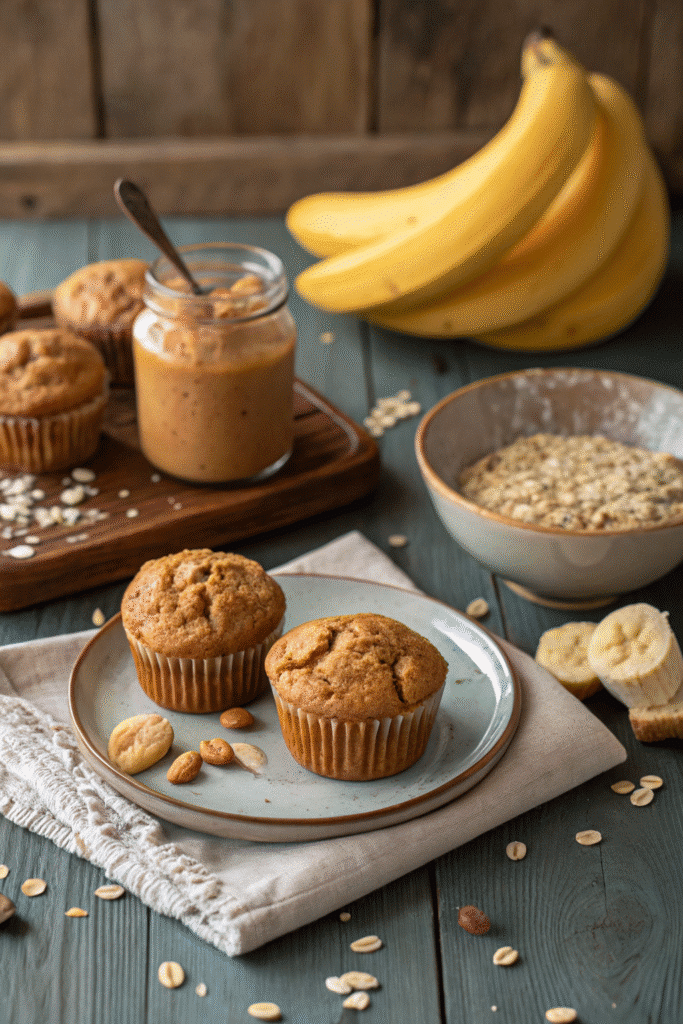
Did you know that over 30% of home bakers are exploring flourless recipes to reduce carbs and gluten? I jumped on that train when I needed something quick, healthy, and toddler-approved—and these Flourless Peanut Butter Banana Muffins nailed it!
They’re insanely moist, naturally sweetened, and whip up in a blender in under 30 minutes. No flour. No fuss. Just wholesome ingredients and flavor-packed bites that’ll make you ditch traditional muffins for good. Whether you’re avoiding gluten or just love easy, nourishing snacks, you’re going to want to bookmark this one!

Why Choose Flourless Peanut Butter Banana Muffins?
Let me tell you—once I made the switch to these flourless peanut butter banana muffins, I never looked back. It started out innocent enough… I was trying to clear out some overripe bananas before they turned to mush (as they always do), and I had a jar of natural peanut butter just begging to be used. I tossed a few things in a blender, crossed my fingers, and baked. What came out was pure gold.
Healthier Than You’d Think
What surprised me most? These muffins aren’t just tasty—they’re actually good for you. Like, you can eat them for breakfast and not feel like you’re cheating on your health goals. I’ve made them for my kids, my husband, and even my picky sister who lives off protein bars and green juice. They all loved them. The fact that they’re flourless makes them naturally gluten-free, which is a total win if you’ve got celiac folks in your circle—or if you just want to cut back on processed carbs.
Peanut butter gives them a solid punch of protein and healthy fat, which keeps you full way longer than your average muffin. Combine that with bananas, which bring natural sweetness, potassium, and fiber, and you’ve got something way more balanced than those sugary bakery muffins.
Great for Sensitive Stomachs
A few years ago, I started noticing my stomach would get upset after eating traditional baked goods. Too much refined flour, I think. When I started baking with fewer ingredients—especially skipping the flour and dairy—my gut thanked me. If you’ve got sensitivities or know someone who does, these muffins can be a game changer.
They’re also grain-free (depending on your mix-ins), so paleo folks can jump in too. I’ve even made a version with almond butter instead of peanut butter and added a dash of cinnamon—it was like dessert and breakfast had a baby.
Easy for Meal Prep & Busy Lives
I’m not a meal prepper by nature, but these muffins make it so stinkin’ easy. One blender. No bowls. No measuring cups if you eyeball like I do (okay, maybe not recommended, but hey—it works). You just blend, pour, and bake. Done in under 30 minutes.
I usually bake a dozen and throw half in the freezer. When I need a quick snack, I just microwave one for 20 seconds and boom—instant comfort food. They’re lifesavers during busy mornings when the coffee hasn’t even kicked in yet, and the kids are asking for snacks at 7:30am.
They Just Taste Damn Good
Look—I’ve tried “healthy” muffins before that tasted like cardboard with a side of disappointment. These ain’t that. They’re super moist (thanks to the bananas and eggs), slightly nutty, and naturally sweet. Add a few chocolate chips if you’re feeling wild and they’re basically dessert.
I’ve even brought these to potlucks and brunches and gotten recipe requests. When I tell people there’s no flour, they blink like I just told them I can bake with magic. That’s the thing—flourless peanut butter banana muffins feel like a trick, but they’re the real deal.
Ingredients Breakdown & Substitutions
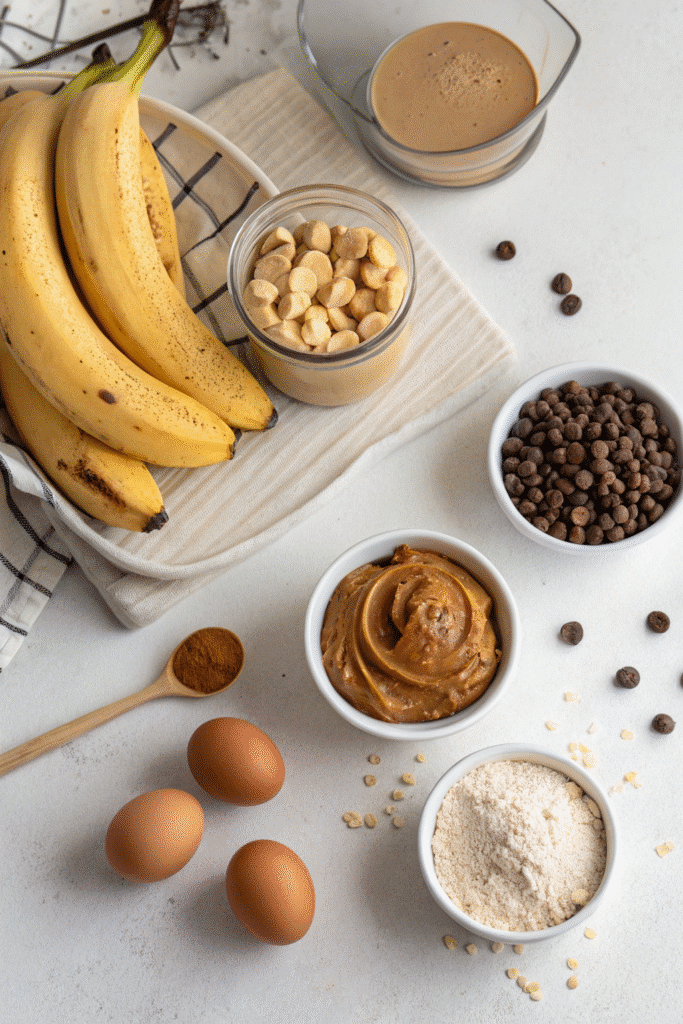
Let’s talk ingredients—because here’s where the magic of these flourless peanut butter banana muffins really kicks in. The list is short, sweet, and all things you probably already have sitting in your pantry. That’s what makes this recipe one of my go-tos. When I say “no fancy stuff,” I mean it.
Ripe Bananas: The Star of the Show
You need your bananas to be ripe. Like, borderline-too-soft-to-eat ripe. I’m talking brown speckles, slightly mushy, and super fragrant. If your bananas are still yellow and firm, don’t even bother—they won’t give you the sweetness or moisture these muffins need. I’ve made that mistake before and ended up with dry muffins that tasted kinda bland. No thanks.
If you’re in a pinch and only have semi-ripe bananas, you can bake them whole (with the peel on) at 300°F for about 15 minutes to soften and sweeten them up. Works like a charm.
Peanut Butter: Creamy or Crunchy?
I always use natural, creamy peanut butter with just peanuts and salt. It gives the muffins richness, a bit of saltiness, and that smooth nutty flavor that pairs perfectly with banana. I’ve tried crunchy peanut butter too—it gives a little texture, which is great if that’s your thing. But if you’re looking for fluffier muffins, go creamy.
Substitute alert: Almond butter works beautifully. Cashew butter’s decent, though it’s a bit more mellow. I tried sunflower seed butter once and it turned the muffins green—yep, green! Totally harmless, just a chemical reaction with the baking soda. Wild, right?
Eggs: The Binder
You need eggs to hold everything together. They also add moisture and protein. I’ve tested flax eggs for a vegan version—worked okay, a bit denser but still edible. Just don’t expect the same rise or texture.
Baking Soda: Don’t Skip It
This is your leavening agent. No flour means no gluten structure, so baking soda helps puff everything up. Make sure it’s fresh! If you’ve had that box sitting in your pantry since the last presidential election, toss it.
Optional Add-ins (a.k.a. Fun Stuff)
Here’s where you can get creative:
- Mini chocolate chips – I always do this. No regrets.
- Chopped nuts for crunch
- Cinnamon or nutmeg for warmth
- Flaxseed or chia for fiber boost
- A splash of vanilla extract for depth
One time I added a swirl of raspberry jam on top before baking… wow. Just wow.
Step-by-Step Recipe Instructions
When I say these flourless peanut butter banana muffins are easy, I mean blender-and-bake easy. You could probably make them half-asleep (and yep, I’ve done that). Here’s how to get perfect muffins every single time, even if you’re not much of a baker.
Step 1: Preheat the Oven & Prep Your Muffin Tin
First thing—preheat your oven to 350°F (175°C). Don’t skip this or you’ll end up with muffins that bake unevenly. I made that mistake once and half the batch was gooey in the center while the others were overbaked. Lesson learned.
Line a muffin tin with paper liners or just grease it with coconut oil or butter. I prefer silicone liners because they don’t stick at all. And they’re reusable, so bonus points for eco-friendly vibes.
Step 2: Blend the Ingredients
Into your blender (or food processor), toss:
- 2–3 very ripe bananas
- ½ cup of natural creamy peanut butter
- 2 large eggs
- 1 tsp baking soda
- A pinch of salt
- Optional: 1 tsp vanilla extract, a sprinkle of cinnamon, or a drizzle of honey/maple syrup if your bananas aren’t super sweet
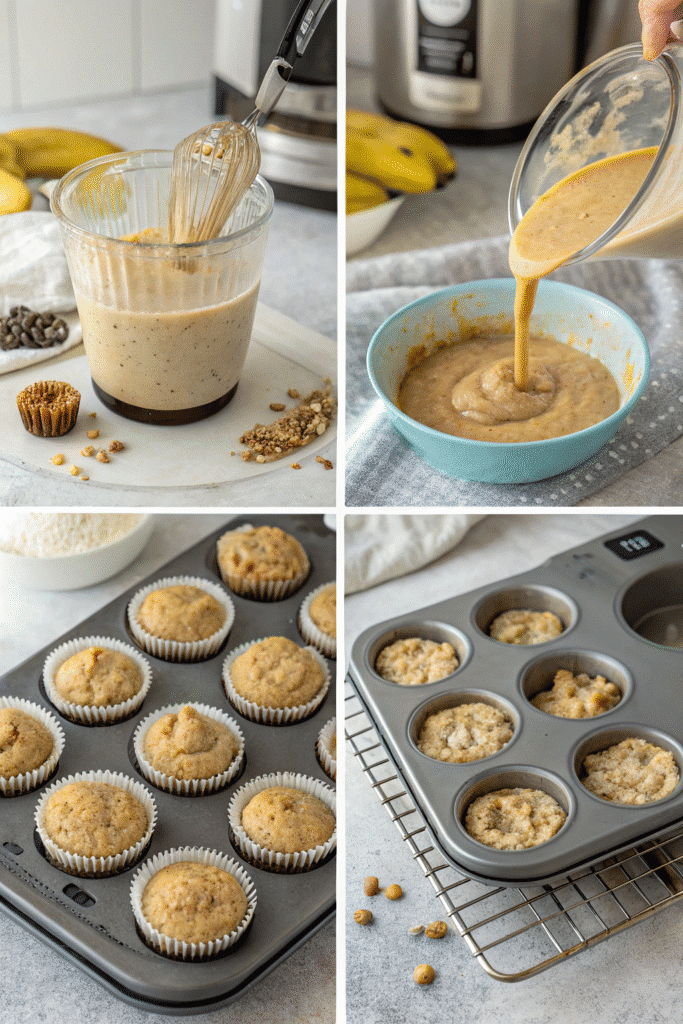
Now hit that blend button and watch the magic happen. I usually blend for 20–30 seconds—just until everything’s smooth. Don’t over-blend though, or you might lose that nice muffin texture.
Step 3: Add the Fun Stuff
This is totally optional but makes them extra special. Fold in:
- A handful of mini chocolate chips
- Chopped walnuts or pecans
- Ground flaxseed for fiber
Just stir them in gently by hand—you don’t want to pulverize your mix-ins.
Step 4: Pour & Bake
Pour the batter evenly into your muffin cups—filling each one about ¾ full. I use an ice cream scoop because it makes things way less messy. Bake for 18–22 minutes. Mine usually come out perfect right at 20 minutes, but ovens vary, so start checking around the 18-minute mark.
They should be golden brown on top and a toothpick poked in the center should come out clean. If it’s gooey, give them a couple more minutes.
Step 5: Cool Before Snacking (Seriously)
Here’s the hardest part—wait for them to cool. I know, I know. They smell amazing. But if you try to eat one straight out of the oven, it’ll fall apart. These muffins firm up as they cool. Give them 10–15 minutes and thank me later.
Storage, Freezing & Reheating Tips
Alright, so you’ve baked your beautiful batch of flourless peanut butter banana muffins—now what? If you’re like me and always make extras “just in case,” you’ll want to know how to store and reheat them without turning them into dry hockey pucks or weird mushy disasters (been there).
Storing on the Counter or Fridge
If you’re planning to eat them within 2–3 days, just store them in an airtight container on the counter. Let them cool completely first—completely—or they’ll steam inside the container and get soggy. I’ve ruined many good muffins rushing this part.
If your kitchen’s warm or it’s summer (hello banana fermentation!), pop them in the fridge instead. They’ll last 4–5 days and stay surprisingly moist. I usually wrap a paper towel around them in the container to absorb any extra moisture.
Freezing for Later (Yes, They Freeze Like a Dream)
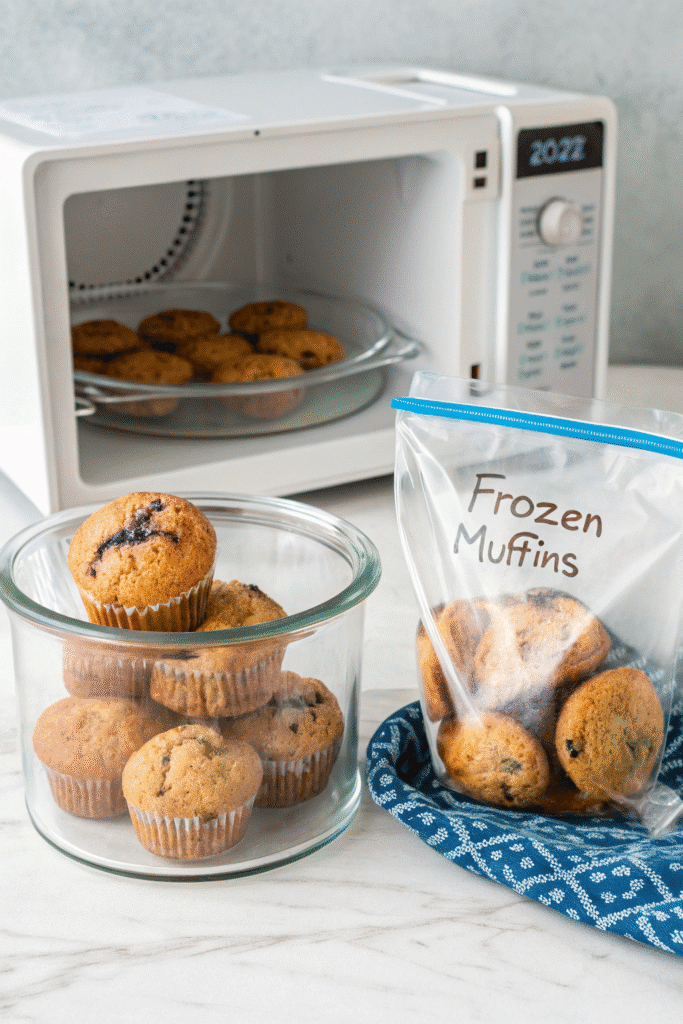
These muffins are total freezer champs. I bake a double batch just to stash some for later.
Here’s what works best:
- Let them cool fully.
- Wrap each muffin in plastic wrap or parchment paper.
- Toss them all into a freezer-safe ziplock bag and label it (trust me, you’ll forget what they are in a week).
They’ll stay good for up to 3 months, no problem. I’ve even pulled a muffin out after four months and it still tasted solid.
Reheating: Microwave vs. Oven
Microwave (quick fix):
Unwrap and nuke one muffin for 20–30 seconds. It comes out warm and soft like it’s fresh-baked. I love this method for busy mornings. Just don’t overdo it or you’ll end up with chewy rubber muffins. Ew.
Oven (if you’ve got time):
Preheat to 300°F and bake for 8–10 minutes. This method brings back that just-baked texture and even crisps the edges a bit if you’re into that.
Sometimes I’ll even slice a cold muffin in half, toast it, and slather it with peanut butter or a bit of butter. Game changer.
Common Mistakes to Avoid
Let’s be real for a sec—flourless peanut butter banana muffins are super easy, but they’re also weirdly easy to mess up if you’re not paying attention. Trust me, I’ve made every mistake in the book, and I’m here to save you from muffin heartbreak.
Using Unripe Bananas
This one’s the biggest offender. If your bananas aren’t brown and spotty, just wait. I’ve tried to rush it with slightly yellow ones and the muffins came out bland, dry, and kind of… sad. Ripe bananas add natural sweetness and moisture—non-negotiable if you want muffins that actually taste like something.
Pro tip: Stick underripe bananas in a paper bag overnight with an apple. Or bake them at 300°F for 15 minutes if you’re desperate.
Overmixing the Batter
I did this a lot in the beginning. You’re using a blender or food processor, so it’s easy to go overboard. But over-blending whips in too much air and makes the muffins gummy or sunken in the middle. Blend until smooth, yes—but no need to puree it into oblivion. A quick pulse does the trick.
Once you add chocolate chips or extras, fold them in by hand. Don’t be lazy and dump them into the blender unless you want chocolate dust muffins (which… no).
Overbaking or Underbaking
Sounds basic, but this tripped me up more than once. These muffins go from perfect to overbaked real fast. You want the tops just golden and a toothpick to come out with a few moist crumbs—not totally dry.
Set a timer for 18 minutes and check them. If the tops bounce back when you press lightly, you’re golden. If they’re pale and sticky, give ‘em another 2–3 minutes. Overbaking makes them weirdly crumbly and dry, especially without flour to cushion the texture.
Not Letting Them Cool Before Storing
This one got me so many times. I’d be in a rush, toss hot muffins in a container, and boom—condensation party. They’d get soggy bottoms and lose all that fluffy texture. Let them cool fully on a rack before sealing them up. Like, walk away and come back later. It’s worth the wait.
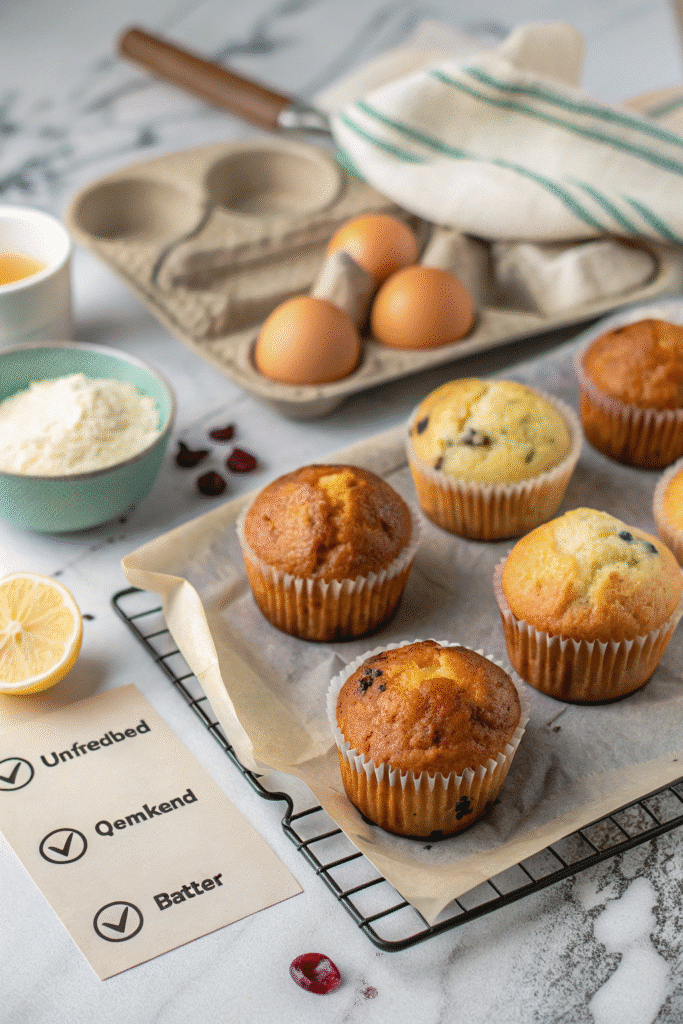
There you have it—your go-to guide for Flourless Peanut Butter Banana Muffins! These babies are healthy, kid-approved, and super easy to make. Plus, they freeze like a dream for busy weeks.
If you loved this recipe breakdown, why not share it on Pinterest and help others enjoy these guilt-free treats too? Happy baking!
Print
Flourless Peanut Butter Banana Muffins 2025
Insanely moist, naturally sweetened, and made in a blender—these flourless peanut butter banana muffins are a quick, healthy, and toddler-approved snack that’s gluten-free and loaded with flavor.
- Total Time: 25 minutes
- Yield: 12 muffins 1x
Ingredients
- 2–3 very ripe bananas
- ½ cup natural creamy peanut butter
- 2 large eggs
- 1 tsp baking soda
- Pinch of salt
- Optional: 1 tsp vanilla extract
- Optional: Sprinkle of cinnamon
- Optional: Drizzle of honey or maple syrup
- Optional Add-ins: Mini chocolate chips, chopped nuts, flaxseed, chia, raspberry jam swirl
Instructions
- Preheat oven to 350°F (175°C). Line or grease a muffin tin.
- In a blender or food processor, combine bananas, peanut butter, eggs, baking soda, salt, and any optional ingredients. Blend until smooth (about 20–30 seconds).
- Fold in chocolate chips, chopped nuts, or other add-ins by hand.
- Pour batter into muffin cups, filling about ¾ full.
- Bake for 18–22 minutes until tops are golden and a toothpick comes out clean.
- Let muffins cool for 10–15 minutes before removing and serving.
Notes
Store muffins in an airtight container at room temperature for 2–3 days, or refrigerate for up to 5 days. Freeze individually wrapped muffins for up to 3 months. Reheat in the microwave for 20–30 seconds or in the oven at 300°F for 8–10 minutes.
- Prep Time: 5 minutes
- Cook Time: 20 minutes
- Category: Snack
- Method: Baking
- Cuisine: American
Nutrition
- Serving Size: 1 muffin
- Calories: 150
- Sugar: 7g
- Sodium: 90mg
- Fat: 9g
- Saturated Fat: 2g
- Unsaturated Fat: 6g
- Trans Fat: 0g
- Carbohydrates: 13g
- Fiber: 2g
- Protein: 5g
- Cholesterol: 35mg


