I still remember the first time I tried kale chips—honestly, I was skeptical. But the sea salt and vinegar version? Game-changer. Did you know kale is one of the most nutrient-dense foods on the planet? Loaded with antioxidants, vitamins A, K, and C, it’s practically a super-snack. And when you crisp it up with a tangy twist of vinegar and a pinch of sea salt—oh boy—it’s like a flavor explosion that’s also guilt-free. Whether you’re a health nut or just looking to cut back on junk food, these kale chips are a crispy, crunchy lifesaver.
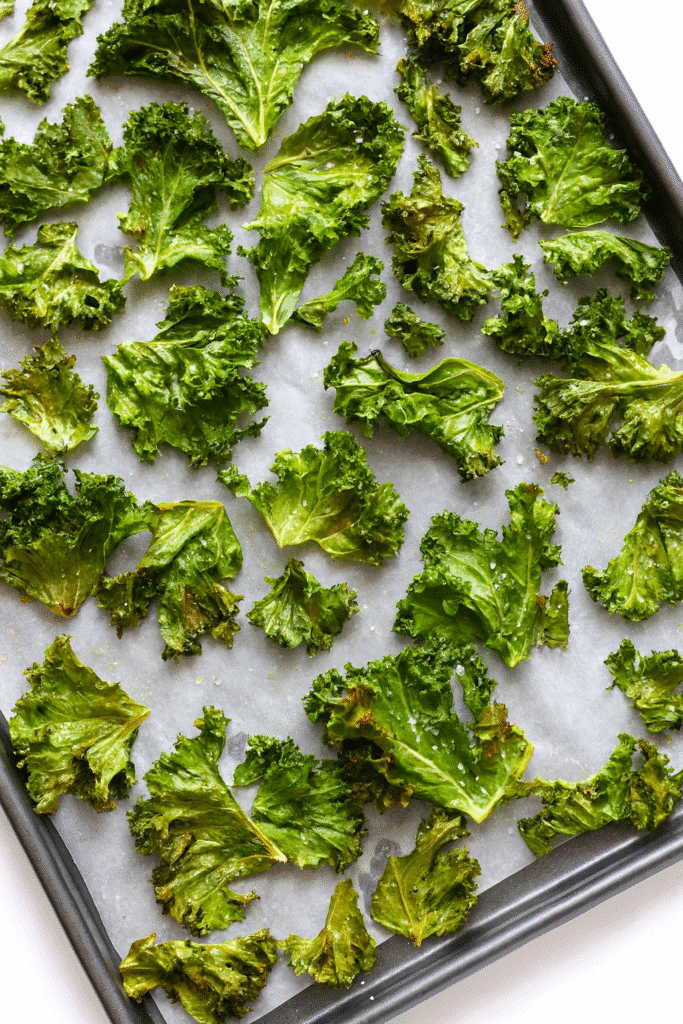
Why Choose Sea Salt and Vinegar Kale Chips?
Okay, real talk—I’m a sucker for anything salt and vinegar. Chips? Yup. Cashews? Tried those too. But when I stumbled into the whole kale chip craze, I thought… no way. Kale? That bitter leaf people pretend to like in salads? But curiosity got the best of me, and boom—sea salt and vinegar kale chips became my absolute go-to snack.
They Actually Taste Like Chips (but Better)
You ever crunch into something and your brain goes, “Yep, this is exactly what I needed”? That’s what these kale chips do. The vinegar hits first with that tangy zing—like a slap on the taste buds in the best way—then the sea salt smooths it all out. It’s kinda like that satisfying bite of a salt and vinegar potato chip… but way lighter. Plus, there’s this earthy flavor from the kale that just works.
And they’re not greasy! That was a big deal for me. I’ve eaten my fair share of potato chips and felt like I needed to scrub my fingers after. Not with these. You can snack and still scroll your phone—no oily fingerprints all over the place.
Nutrient-Packed Crunch
Let’s be honest—most snacks aren’t exactly health heroes. But kale? This leafy green is a nutrient powerhouse. We’re talkin’ vitamin K, A, and C out the wazoo. Antioxidants like quercetin and kaempferol (yep, those are real words) that fight inflammation and oxidative stress. And fiber! Like, actual digestion-helping, snack-satisfying fiber.
I used to munch on chips and be hungry 10 minutes later. With these, I stay full way longer. They’re also low in calories, so if you’re watching that kind of thing, they won’t blow your numbers.
They Help Cut the Cravings
I’ve always had a salty tooth. Chips, fries, crackers… name it. I needed something crunchy to replace my late-night munching habit, and sea salt and vinegar kale chips hit the spot. The vinegar’s acidity triggers the same craving satisfaction that junk food does, without the crash or regret.
One trick I learned? A splash of apple cider vinegar instead of white vinegar. It adds a tiny hint of sweetness and still brings that bold tang. Oh, and flaky sea salt? Chef’s kiss.
Diet-Friendly for Almost Everyone
What’s wild is how many diets these fit into. Vegan? Check. Gluten-free? Yep. Low-carb? You bet. I even brought a batch to a friend’s Whole30 dinner party and people were lowkey fighting over the last chip. No joke.
I also started making them for my kids, and they didn’t even realize they were eating vegetables. Total parenting win.
Better Than Store-Bought Chips? Yup.
Store-bought chips are loaded with mystery oils and preservatives I can’t pronounce. When I make kale chips myself, I know exactly what’s going in. Plus, they’re fresher. Crispy right out of the oven, still warm… you just can’t beat it.
So yeah, if you’ve been side-eyeing kale like I did for years, give sea salt and vinegar kale chips a try. They might just change your snack game completely.
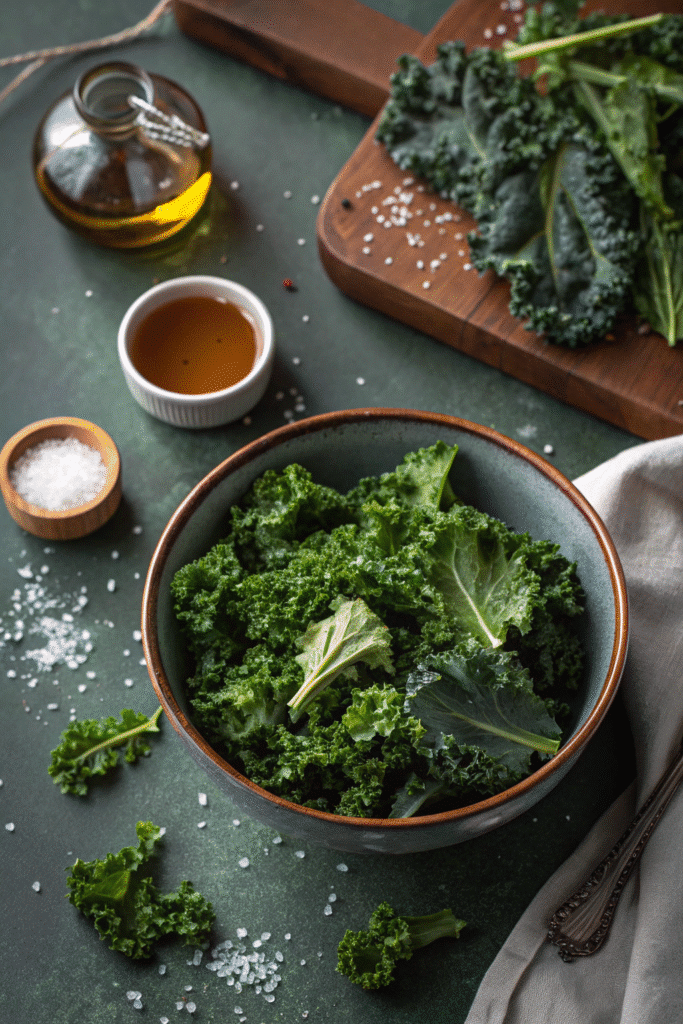
Ingredients You’ll Need
I used to think making kale chips would involve like…a food dehydrator, 16 ingredients, and a culinary degree. But nope. It’s ridiculously simple. You only need a few basic ingredients, and if you’re like me, you probably already have most of them in your kitchen.
The Kale: Your Crunchy Canvas
So first off—kale. You can’t make kale chips without it (duh), but the type of kale actually matters more than you’d think. I’ve tried curly kale, lacinato (aka dinosaur kale), and even purple kale once just to be fancy. Curly kale is my go-to—it crisps up really well and grabs onto the vinegar and salt like a champ. Lacinato gives a flatter chip, but it has this nice chewy crunch if that makes sense?
Just make sure it’s fresh. Limp kale = sad chips. I learned that the hard way. I once tried to revive an old bunch I found buried in the veggie drawer. Bad idea. Slimy in parts, burnt in others. Not good.
Vinegar: The Star of the Show
Now, let’s talk vinegar. I’m all about that tangy punch, and white vinegar delivers a sharp, classic hit—super nostalgic if you’re a salt-and-vinegar chip fan. But if you want something a bit smoother, try apple cider vinegar. It’s still tart but with a mellow, slightly sweet edge.
One time I got experimental and tried balsamic… yeah, don’t do that. The flavor was way too heavy, and the chips turned weirdly sticky. Lesson learned.
Oil: Keep It Light
You only need a little oil—just enough to coat the kale lightly so it crisps up instead of drying out and going chewy. I use avocado oil for its high smoke point and neutral flavor. Olive oil works great too, especially if it’s a good quality one. Just don’t overdo it. If the leaves are drenched, they won’t crisp—they’ll sog.
I used to pour the oil straight from the bottle. Rookie mistake. It’s way better to drizzle or even use a spray bottle if you’ve got one. That way you get an even coat without accidentally turning your healthy snack into a grease trap.
Sea Salt: Not Just Any Salt
Skip the regular table salt, okay? Trust me. Sea salt or kosher salt makes a huge difference. The texture’s better, and the flavor isn’t as harsh. I usually use flaky Maldon salt because it clings to the kale like magic. Plus, it looks kinda fancy. Just sprinkle it on after the vinegar so it doesn’t dissolve too fast.
Optional But Fun Additions
If you wanna get creative (and I usually do), try adding a sprinkle of garlic powder, onion powder, or even smoked paprika. I went through a phase where I added nutritional yeast to everything—it gives the chips a subtle cheesy vibe without any dairy.
Sometimes I’ll mix a pinch of chili flakes into the vinegar before tossing. Gives it a gentle burn. Perfect for movie nights when you need that extra something.
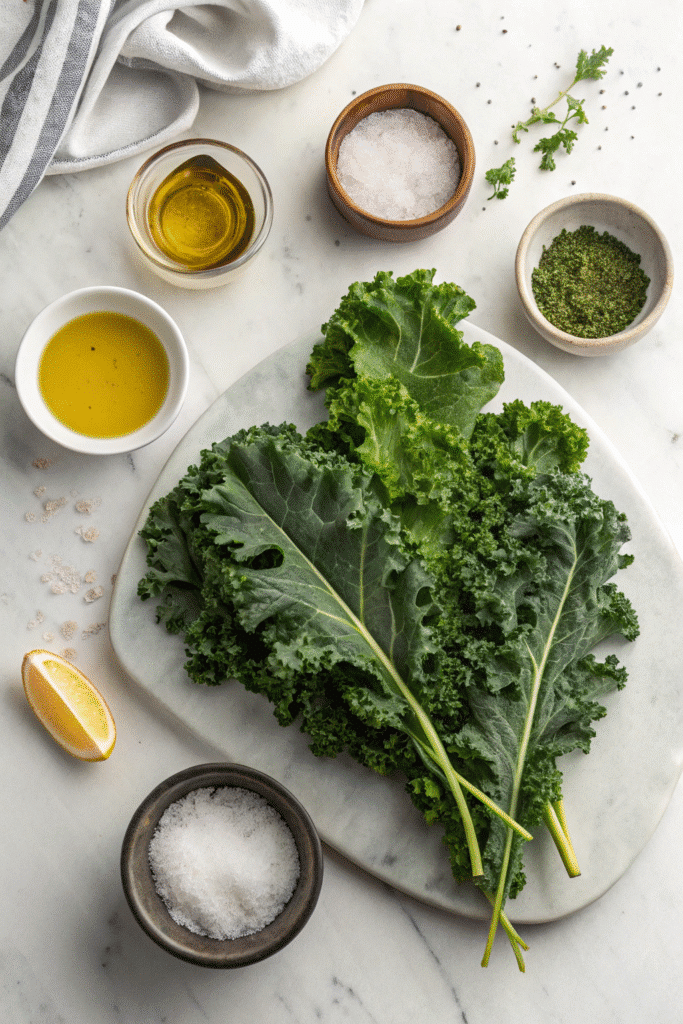
Step-by-Step Recipe Guide
Alright, here comes the fun part—making these sea salt and vinegar kale chips from scratch. I promise, it’s easier than baking cookies. Actually, it’s easier than boiling pasta, and I’ve definitely messed that up before.
1. Wash and Dry the Kale (Seriously, DRY It)
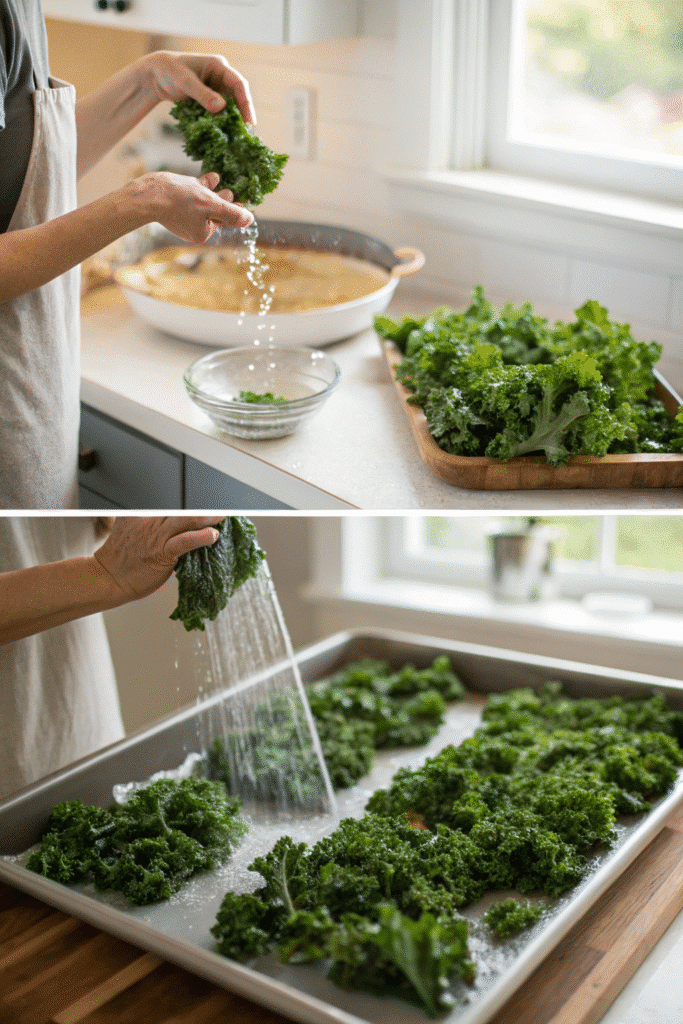
First, give your kale a good rinse. Even the organic stuff can be dusty or sandy, and nobody wants a gritty chip. I soak mine in a bowl of cold water, swish it around, then drain.
Here’s where most people mess up—and where I did the first time: you have to dry the kale completely. I’m talking bone dry. If it’s damp, it’ll steam in the oven instead of crisp. I use a salad spinner, then pat each leaf down with paper towels like I’m tucking it in for bed. Yes, it takes a few minutes, but trust me—it’s worth it.
2. Rip Off the Stems and Tear the Leaves
Don’t even try to bake the stems—they turn into woody little twigs. I tear the leaves into chip-sized pieces, maybe 2–3 inches wide. Keep in mind: they shrink a bit in the oven, so don’t go too small or you’ll end up with kale confetti.
3. Toss With Vinegar and Oil
Grab a big bowl. Throw in your kale, then drizzle with about 1 tablespoon of vinegar and 1 tablespoon of oil for every bunch of kale. The key is massaging it in. Not like a quick stir—I mean really get in there and rub each piece. I usually use my hands (and yes, it gets messy). Every leaf should feel slightly damp, but not soggy.
Pro tip: Let it sit for 5–10 minutes after massaging. The kale softens slightly, and it helps the vinegar soak in more evenly.
4. Spread It Out (No Overlap!)
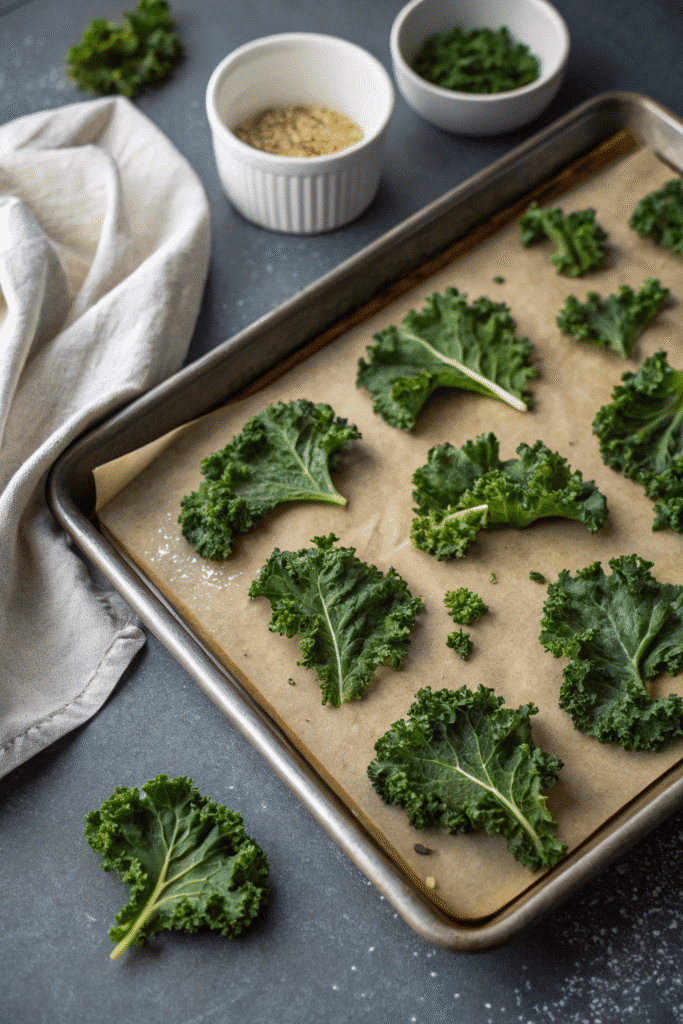
Line a baking sheet with parchment paper. Spread the kale out in a single layer—no clumping. If you pile it up, you’ll get soggy spots. Sometimes I use two trays if I’m doing a big batch. More space = more crisp.
5. Bake Low and Slow
I bake mine at 275°F (135°C) for 20–25 minutes. Every oven’s different, though. I check at 15 minutes, rotate the tray, and flip any chips that look like they’re browning too fast.
If you go too hot, you’ll burn them before they crisp. Learned that the hard way—my kitchen smelled like burnt grass for a day.
6. Cool for Extra Crunch
When they come out, they might still feel soft in the middle. That’s normal. Let them cool for 5–10 minutes and they’ll crisp up like magic. Kind of like cookies, ya know?
Sprinkle on your sea salt after baking—it keeps the flavor bold and fresh. Then boom. You’ve got yourself a batch of sea salt and vinegar kale chips that are crispy, tangy, and 100% snack-worthy.
Tips for Maximum Crispiness
I’ll be real with you—I didn’t nail the perfect kale chip on the first try. Or the second. Or even the third. I had limp chips, burnt chips, weird chewy ones that tasted like warm lettuce. Total kale fail. But after a lot of trial and error (and a few salty tantrums), I finally cracked the code for that addictive, crispy crunch.
Don’t Skip the Drying Step (Ever)
If you take anything from this post, let it be this: wet kale = soggy kale. The biggest mistake I used to make was rushing the drying process. I thought a quick spin in the salad spinner was enough—nope. I now spin, pat, and air dry for a few extra minutes. It feels extra, but dry kale is non-negotiable if you want that potato-chip crisp.
I even leave mine sitting on a towel for 10 minutes while I prep everything else. It helps. A lot.
Use the Right Amount of Oil
I used to drown my kale in oil thinking more oil = more crunch. That’s not how it works. Too much oil weighs the leaves down and basically deep-fries them in the oven. You want just enough to give each piece a light shimmer, not a greasy bath. I usually stick to 1 tablespoon per bunch—maybe a little more if I’m feeling generous.
Spray oils work great, by the way. You can control the amount better, and it helps with even distribution.
Low Heat is Your Friend
Kale’s delicate, so roasting it like sweet potatoes at 400°F? Recipe for disaster. I bake mine low and slow—275°F tops. It takes longer, but the chips crisp up evenly without scorching. Plus, the vinegar flavor stays punchy instead of evaporating into nothingness.
One time I cranked the temp to “save time” and ended up with charcoal chips. My smoke alarm wasn’t impressed.
Space Them Out
This one’s easy to overlook: overcrowding the tray is a crispy chip killer. If the leaves are overlapping, they’ll steam instead of roast. I always make sure there’s a little breathing room between pieces—even if it means using two pans. More batches, but way better texture.
Cool Completely Before Eating
This part used to confuse me. They come out of the oven a bit soft and you think, “Dang it, I messed up again.” But give them 5–10 minutes to cool and they crisp up beautifully. It’s like magic. The air hits them and they finish drying out.
Optional: Try a Dehydrator
If you’re really into it and happen to have a dehydrator, they work wonders. Takes longer—like 4–6 hours—but the texture is insanely consistent and you don’t risk burning anything. I borrowed a friend’s once and, not gonna lie, I’ve been tempted to buy one just for kale chips.
Creative Flavor Variations
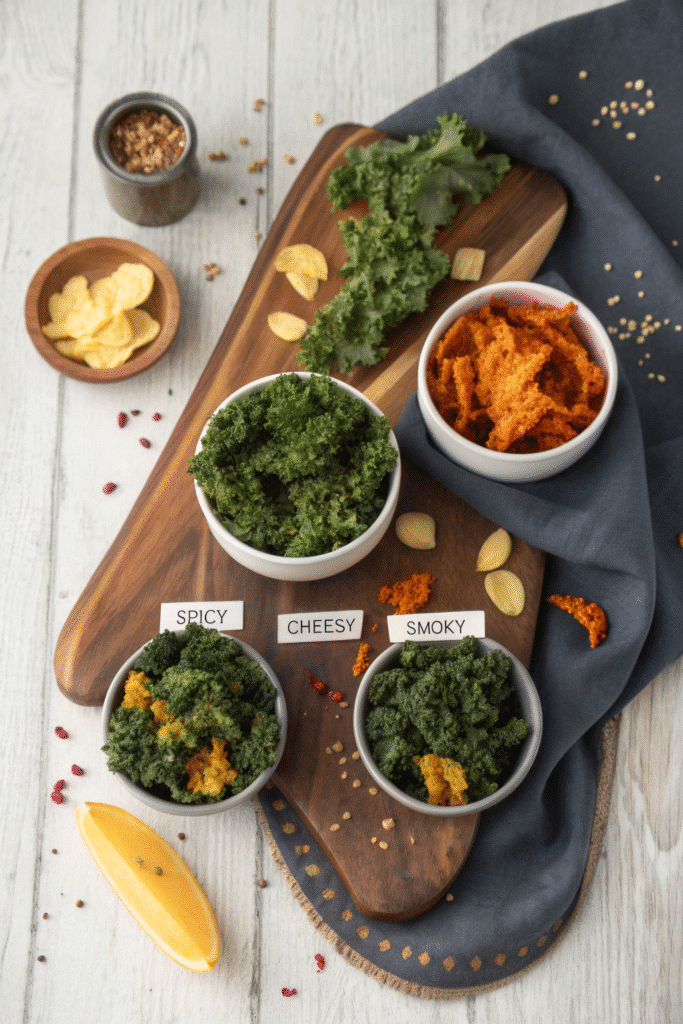
Okay, so once I got the basic sea salt and vinegar kale chip recipe down, I couldn’t help myself—I started experimenting. It’s kinda like once you master a solid pizza crust, you start trying new toppings every week. Kale chips are no different. And let me tell you, the flavor possibilities? Endless.
Cheesy Without the Cheese (Thank You, Nutritional Yeast)
This was the first variation I tried, and I’m still obsessed. Nutritional yeast is this magical, flaky stuff that tastes kinda cheesy but is totally dairy-free. It’s got B vitamins too, so bonus points there. I just toss it in after the vinegar and oil but before baking—about 1–2 tablespoons per bunch. The result? Crispy, tangy, cheesy kale goodness.
I once brought a batch of these to a potluck, and someone legit thought I used parmesan. Nailed it.
Turn Up the Heat: Spicy Kale Chips
For my fellow spice lovers, chili flakes are your new best friend. Just a pinch makes a difference, but I’ve gone heavy before and—whoa—it was basically fire chips. You can also mix in cayenne, hot smoked paprika, or even a few drops of hot sauce into the vinegar if you’re feeling bold.
Warning: wear gloves if you’re mixing with your hands. I didn’t once and then touched my eye. Yeah. That wasn’t cute.
Garlic and Onion Power Duo
You can’t go wrong with garlic powder and onion powder. It gives the chips a kinda “sour cream and onion” vibe but without the dairy. I usually go half a teaspoon of each per bunch. It’s subtle, but so good. One of my friends actually thought it was some kind of ranch seasoning.
If you’re feeling fancy, try roasted garlic powder—it’s deeper, richer, and adds a whole new layer.
Smoky BBQ Vibes
For a bold twist, I mix smoked paprika with a dash of maple syrup. Sounds weird, right? But it totally works. The paprika brings that backyard BBQ flavor, and the maple adds just a touch of sweetness. You get this savory-sweet, tangy chip that’s next level. Especially good for summer snacking.
Just don’t overdo the syrup—too much and you end up with sticky kale candy. Not a win.
Sweet and Tangy? Yep, That Too
This one surprised me. I once added a sprinkle of coconut sugar and cinnamon to a batch with apple cider vinegar, just out of curiosity. The result? A weirdly delicious snack that reminded me of kettle corn with a vinegar twist. Not for everyone, but if you like mixing sweet and sour, give it a shot.
Storage and Shelf Life
So you’ve made a beautiful, crispy batch of sea salt and vinegar kale chips. You’re proud. You want to show them off. But then—bam—they’re soggy the next day. Ugh. That happened to me so many times early on, I almost gave up making extra batches. But good news: with a couple of simple tweaks, you can keep your chips crispy for days.
Cool First, Always
Before storing anything, let the chips cool completely. If they’re even a little warm when you seal them up, the residual heat creates moisture, and boom—instant sog. I’m guilty of rushing this step more times than I can count. Now I just spread them out on a wire rack for 10–15 minutes after baking. That air circulation makes a big difference.
Best Containers for Crispiness
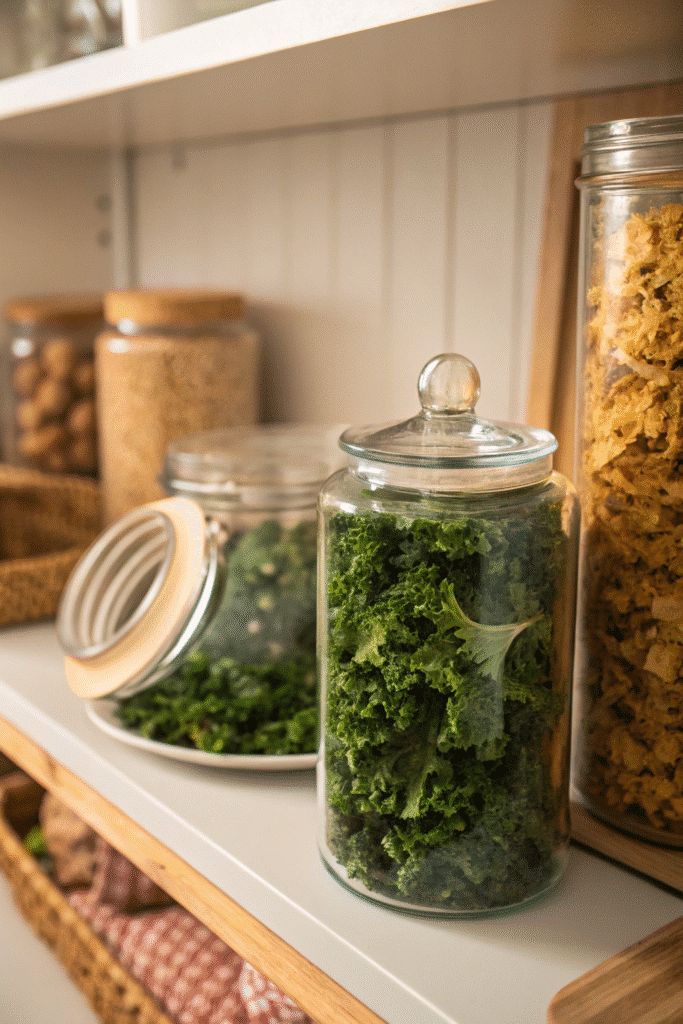
I’ve tested just about every container you can think of. Zip-top bags? Nah, too much trapped air. Plastic Tupperware? Better, but still not airtight enough. What finally worked? A big ol’ glass jar with a tight lid. Mason jars are my go-to. They keep the chips dry and safe from humidity, which is the real enemy here.
I also throw a dry paper towel in the jar. It helps absorb any sneaky moisture and keeps things crisp longer. Simple trick, but super effective.
How Long Do They Stay Good?
When stored right, these babies last about 3–4 days at peak crispness. After that, they start to lose their crunch but still taste fine. I try to eat mine within two days, though, because let’s be honest—I don’t have that much self-control when snacks are this good.
One time I forgot a jar in the back of my pantry and found it a week later. They were still edible but definitely… not what you’d call “snappy.” More like wilted.
Reviving Soggy Chips
Got a batch that went soft? Don’t toss them! You can totally re-crisp kale chips. Just spread them on a baking sheet and pop them back in the oven at 250°F for 5–7 minutes. Keep an eye on them, and let them cool again before storing. They won’t be exactly like fresh, but they’ll be close enough to munch.
I’ve even used the air fryer in a pinch—just a minute or two, no oil needed.
Sea salt and vinegar kale chips are more than a snack—they’re a lifestyle shift! Packed with nutrients, bursting with flavor, and ridiculously easy to make, they’re your go-to when cravings hit. Don’t keep this deliciousness to yourself—pin this recipe, share it with your health-conscious crew, and spread the crispiness!
Print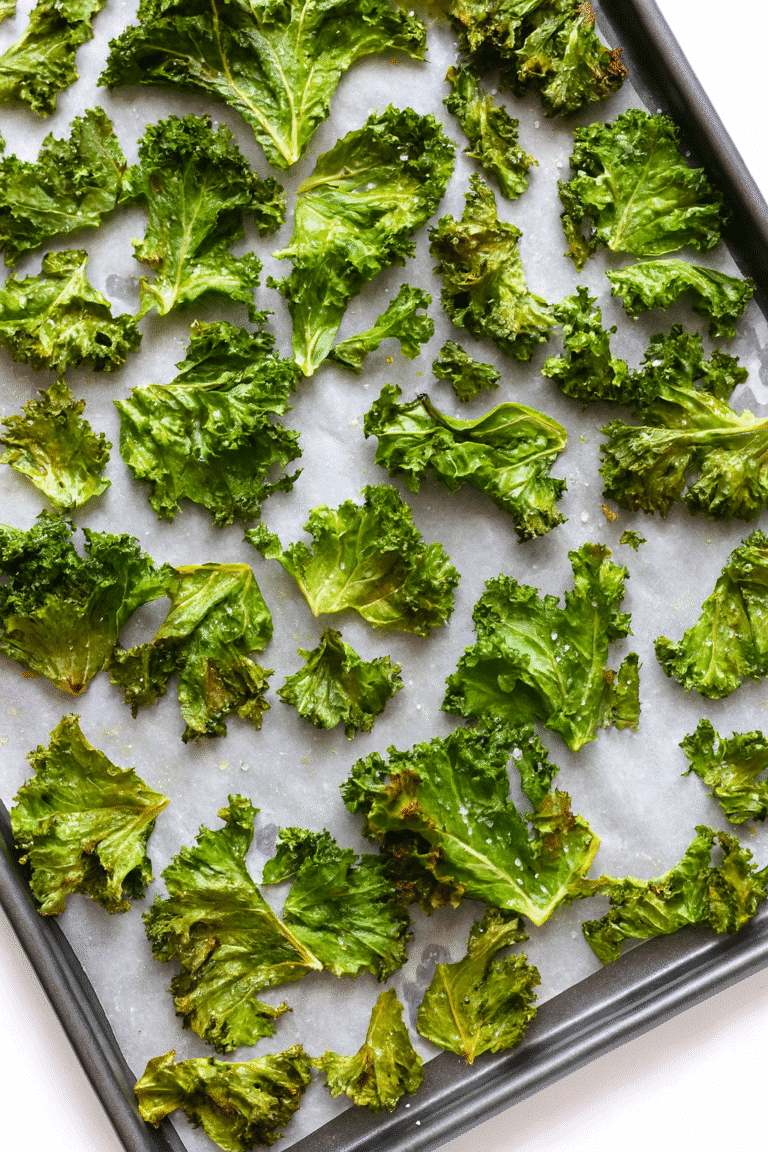
Sea Salt and Vinegar Kale Chips
These sea salt and vinegar kale chips are crispy, tangy, and wildly addictive. Packed with nutrients and flavor, they’re the perfect healthy snack that actually tastes like a treat.
- Total Time: 40 minutes
- Yield: 2–4 servings 1x
Ingredients
- 1 bunch curly kale (washed, stemmed, and torn into 2–3 inch pieces)
- 1 tbsp apple cider vinegar or white vinegar
- 1 tbsp avocado oil or olive oil
- Flaky sea salt (such as Maldon), to taste
- Optional: 1–2 tbsp nutritional yeast
- Optional: 1/2 tsp garlic powder
- Optional: 1/2 tsp onion powder
- Optional: 1/4 tsp chili flakes or cayenne pepper
- Optional: 1/2 tsp smoked paprika
Instructions
- Preheat oven to 275°F (135°C) and line a baking sheet with parchment paper.
- Wash kale thoroughly, then dry completely using a salad spinner and paper towels. Let air dry for 10 minutes.
- Remove stems and tear leaves into chip-sized pieces (about 2–3 inches wide).
- In a large bowl, drizzle kale with vinegar and oil. Massage gently by hand until all pieces are evenly coated and softened.
- Let sit for 5–10 minutes to absorb flavors.
- Spread kale out in a single layer on the prepared baking sheet, avoiding overlap. Use two trays if necessary.
- Bake for 20–25 minutes, checking at 15 minutes to rotate trays and flip any pieces browning early.
- Let chips cool for 5–10 minutes out of the oven to crisp fully.
- Sprinkle with flaky sea salt to taste and enjoy immediately or store once completely cool.
- Store in a glass jar with tight lid and a dry paper towel to maintain crispiness.
Notes
For extra flavor, try adding nutritional yeast for a cheesy kick or smoked paprika and maple for BBQ vibes. Use just enough oil to coat lightly—too much results in soggy chips. Always dry kale thoroughly before baking for max crunch.
- Prep Time: 15 minutes
- Cook Time: 25 minutes
- Category: Snack
- Method: Baking
- Cuisine: Healthy
- Diet: Vegan
Nutrition
- Serving Size: 1 cup
- Calories: 80
- Sugar: 0g
- Sodium: 200mg
- Fat: 6g
- Saturated Fat: 1g
- Unsaturated Fat: 5g
- Trans Fat: 0g
- Carbohydrates: 6g
- Fiber: 2g
- Protein: 3g
- Cholesterol: 0mg


