The first time I made roasted chickpeas, I burned my tongue trying one straight from the oven—totally worth it. They’re crispy, packed with protein, and ridiculously easy to make. With just chickpeas, a splash of oil, and your favorite spices, you’ve got a snack that’s healthier than chips but just as addictive.
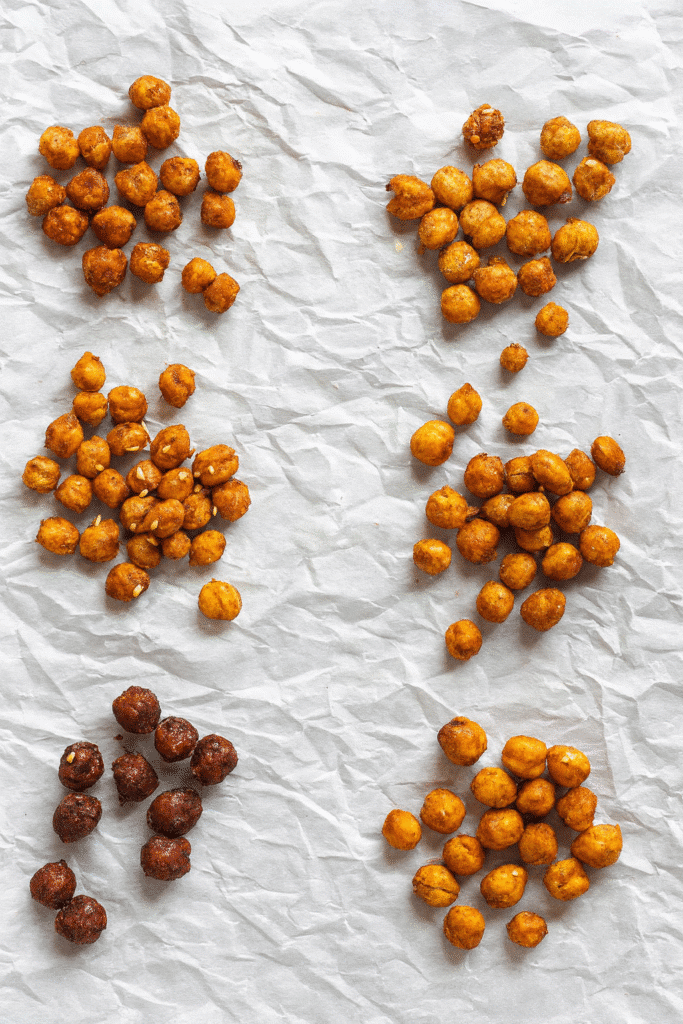
Ingredients You’ll Need for Perfectly Roasted Chickpeas
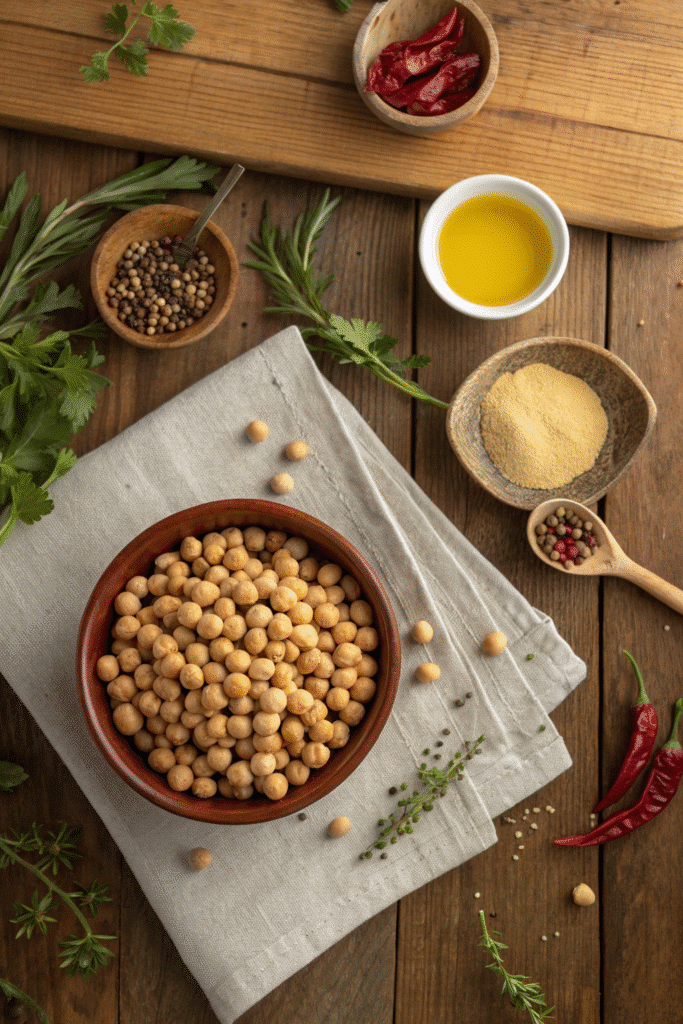
When I first started making roasted chickpeas, I thought I could just toss them in the oven with any old spice and oil, and boom—perfection. Yeah… not so much. Turns out, the ingredients you choose (and how you prep them) can make the difference between a batch that’s crispy and flavorful, and one that’s limp, bland, and a little depressing.
Chickpeas: The Star of the Show
You’ve got two main options here—canned or dried chickpeas. I’ll be real with you: nine times out of ten, I use canned because it’s just so easy. You pop open a can, drain, rinse, and you’re halfway there. But, if you’re in the mood for a weekend cooking project, dried chickpeas can be worth the effort. They’ve got a deeper, slightly nutty taste that just hits different. If you go that route, soak them overnight and cook until tender before roasting.
Oil: The Crispy Maker
I’m an olive oil person. Not the fancy extra-virgin stuff you save for drizzling over salads—just your standard good-quality olive oil that can handle the oven heat. It gives chickpeas that perfect golden-brown edge without making them greasy. You don’t need much, either—about 1 to 2 tablespoons per can. Too much oil, and you’ll end up steaming them instead of roasting.
Salt: Non-Negotiable
Salt isn’t optional here—it’s the thing that makes roasted chickpeas taste alive. I prefer fine sea salt because it sticks to the chickpeas better than chunky kosher salt, especially if you’re tossing them after roasting. If you’re doing a sweet version (yes, cinnamon sugar chickpeas are a thing), you’ll still want just a pinch of salt to balance the flavors.
Spices & Seasonings: Where the Fun Happens
This is where you can let your mood dictate the flavor:
- Savory: smoked paprika, cumin, garlic powder, onion powder, curry powder.
- Spicy: chili powder, cayenne, chipotle, harissa blend.
- Sweet: cinnamon, nutmeg, cocoa powder, pumpkin spice.
I’ve even done a maple syrup drizzle after roasting—messy, but incredible.
Pro Tip: Dry your chickpeas like your snack life depends on it. Spread them out on a clean kitchen towel, roll them around, and pat off every bit of moisture. I once skipped this step in a rush and ended up with sad, chewy beans. Never again.
With just these few ingredients, you’re set to make something that’s ridiculously simple but tastes like you put way more effort into it. And trust me—once you nail your seasoning game, you’ll start making double batches.
Step-by-Step Instructions for Roasting Chickpeas
I’ve messed this part up more times than I care to admit. Sometimes they came out soft, sometimes burnt on the outside but still mushy inside. But after plenty of trial (and way too much error), I’ve found the exact steps that guarantee that addictive crunch.
1. Preheat Your Oven Like You Mean It
Set your oven to 400°F (200°C). Don’t try to cheat by popping them in early while the oven’s still heating up—I’ve done that, and it’s a one-way ticket to sad chickpeas. The blast of consistent heat from the start is what makes them crisp.
2. Dry, Dry, Dry Those Chickpeas
This step is the game-changer. Whether you’re using canned or cooked-from-dry chickpeas, they have to be bone-dry before they hit the baking sheet. Spread them out on a clean kitchen towel, roll them around, and even let them air dry for 10 minutes. I learned the hard way that a little leftover moisture equals steamed chickpeas, not roasted ones.
3. Oil and Season Generously (But Smartly)
In a large bowl, toss your chickpeas with about 1 to 2 tablespoons of olive oil and your chosen seasonings. I keep it simple for the base—salt, pepper, maybe smoked paprika. If you’re adding sweet toppings like cinnamon sugar, save that for after roasting so the sugar doesn’t burn.
Pro Tip: Use your hands to toss. It’s messy, but you’ll coat them better than with a spoon.
4. Spread Them Out on the Pan
Crowded chickpeas = steamed chickpeas. Give them room to breathe—one single layer, with space between each. I use a large baking sheet lined with parchment paper for easy cleanup, but you can also go straight on the pan for extra crisp edges.
5. Roast and Rotate
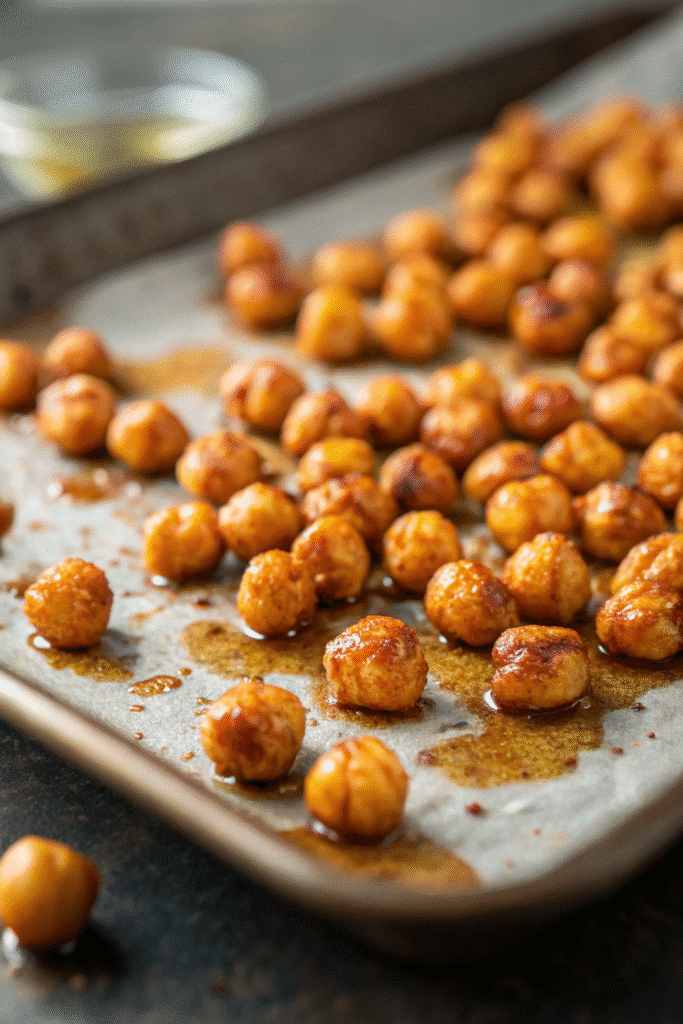
Pop the pan in the oven and roast for 20 to 30 minutes. Halfway through, pull them out and give them a good shake or stir so they cook evenly. You’ll know they’re done when they’re golden brown and sound hollow when you tap them with a spoon.
6. Cool Before Storing
This is the hardest part—waiting. Let them cool completely before putting them in an airtight jar. If you trap steam inside the container, they’ll go soft faster than you can say “snack time.”
I’ll be honest, I usually eat a handful (okay, several handfuls) straight off the tray. But when I do manage to save some, they keep their crunch for days… if they last that long.
Flavor Variations to Try
Once you’ve got the basic roasted chickpeas down, the fun really begins. Think of them like popcorn—you can dress them up in a hundred different ways, and every version feels like a new snack. I’ve had whole weeks where I roasted chickpeas daily just to experiment with new flavors. Some were genius, others… not so much (note to self: soy sauce + chocolate is a bad idea).
Savory Classics
My go-to savory blend is smoked paprika, garlic powder, and a pinch of cumin. It’s smoky, earthy, and just salty enough to keep you reaching for “one more.” Another crowd-pleaser is a simple herb mix—dried rosemary, thyme, and oregano tossed with olive oil. These flavors work great for topping salads too, adding crunch without croutons.
I’ve also tried a cheesy-style seasoning for my vegan friends—nutritional yeast, garlic powder, and a pinch of onion powder. It’s shockingly cheesy without any dairy, and it’s addictive in the best way.
Spicy Kicks
When I’m in the mood for heat, I go all in. Chili powder and cayenne make a fiery combo that sneaks up on you after the first bite. For a tangy-spicy twist, I do chili lime—toss them in chili powder before roasting, then squeeze fresh lime juice over them as soon as they come out of the oven.
If you’re feeling adventurous, a little harissa spice mix or chipotle powder brings deep, smoky heat that feels restaurant-worthy.
Sweet Treats
Here’s where people usually raise an eyebrow—sweet roasted chickpeas. But trust me, they’re a game changer. Cinnamon sugar is my top pick: roast them plain with just a little oil and salt, then toss in cinnamon and sugar while they’re still warm. They taste like churro bites.
Another favorite is maple cocoa—roast with a drizzle of maple syrup and a dusting of cocoa powder. You’ll need to watch them closely since sugar can burn, but the payoff is huge: slightly sticky, chocolatey, and still crunchy.
Mixing and Matching
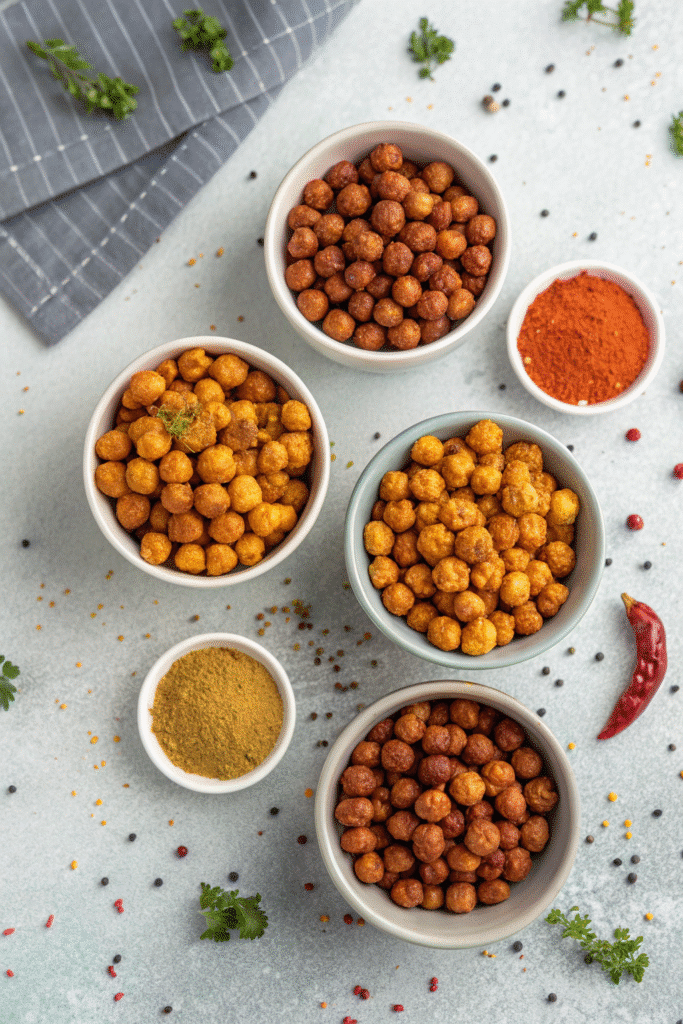
The best part? You can mix flavors to suit your mood. I’ve done sweet and spicy with cinnamon, cayenne, and a hint of honey—sounds weird, but it works. You can also make a roasted chickpea snack mix by combining different flavors in separate bowls and letting people choose their favorite.
Once you start experimenting, it’s hard to stop. I keep a little notebook in my kitchen just for flavor ideas—yes, I’m that person.
Tips for Storing and Keeping Chickpeas Crunchy
If there’s one thing that breaks my snack-loving heart, it’s biting into what should be a crispy roasted chickpea… only to get a sad, chewy bean instead. It’s not that they taste bad, but that perfect crunch is the whole point. I’ve learned a few storage tricks over the years that keep them crispy for days—sometimes even a week—if they make it that long in my kitchen.
Let Them Cool Completely
This is the golden rule. I can’t tell you how many times I’ve rushed to pack them up while they’re still warm, only to find them soft the next day. The heat traps steam inside the container, and steam is the enemy of crunch. I usually just spread them out on the baking sheet after roasting and let them hang out for 30 minutes or so.
Choose the Right Container
An airtight container is non-negotiable. I like using glass jars with tight-fitting lids—not only do they look nice sitting on the counter, but they keep air (and humidity) out. Plastic containers work too, but I’ve found glass seems to maintain texture a little better.
Pro Tip: If you live somewhere humid, throw a little piece of parchment paper or a dry paper towel in the container to absorb extra moisture.
Avoid the Fridge
I know the fridge feels like the answer to everything, but in this case, it’s a no-go. The cold air makes roasted chickpeas lose their crunch faster, and they can take on that weird “fridge flavor.” Room temperature is their happy place.
Refresh If Needed
Even with the best storage, they can start to soften after a few days. When that happens, I just toss them back in the oven at 350°F (175°C) for about 5 minutes. They come out tasting freshly roasted, and it’s the perfect excuse to “test” a few before putting them away again.
Make Smaller Batches
Honestly, my best tip might be to make just enough to last a couple of days. Roasted chickpeas are so easy to whip up that it’s worth making them fresh when you want them. Plus, it gives you the chance to try different seasonings every time.
I’ll admit—half the time, my chickpeas never even make it to storage. But on the rare occasion they do, these tips have saved me from soggy disappointment more times than I can count.
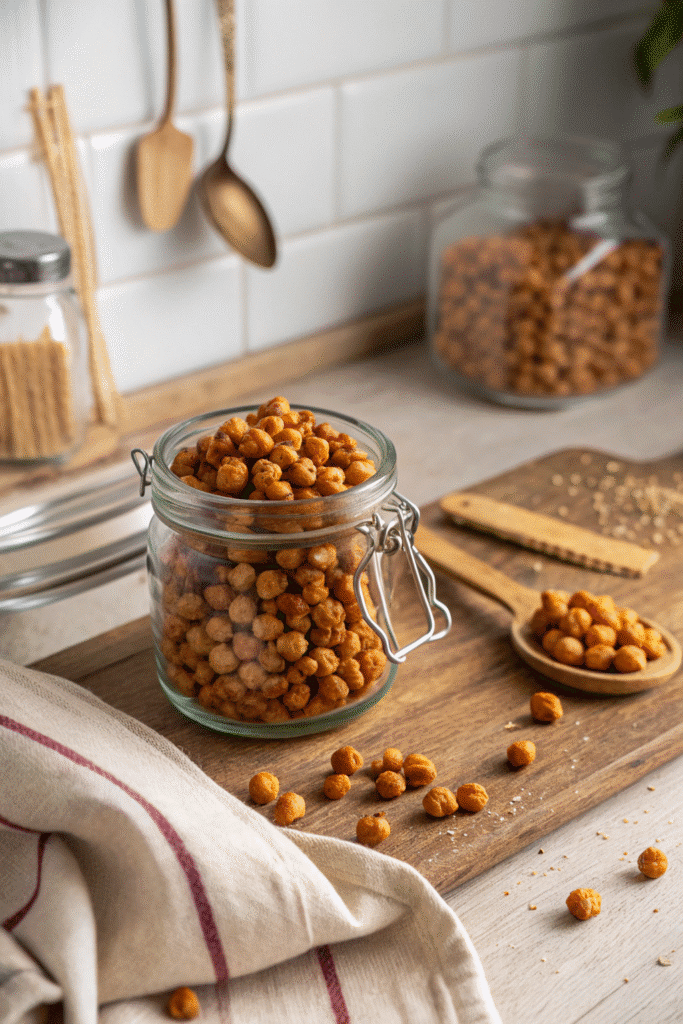
If you’ve made it this far, you’re probably already imagining a tray of golden, crispy roasted chickpeas cooling on your counter. And honestly? That’s exactly where I hope you’ll be in the next half hour. This recipe is simple, forgiving, and ridiculously adaptable—once you’ve done it a couple of times, it becomes second nature.
What I love most about roasted chickpeas is how they fit into any snacking situation. Need something to nibble while you work? Done. Want to top your salad with something crunchy instead of croutons? Easy. Looking for a sweet bite that’s not loaded with processed junk? Cinnamon sugar roasted chickpeas are your new best friend. They’re the definition of a “why haven’t I been making these all along?” kind of snack.
I’ve been through all the rookie mistakes—skipping the drying step, crowding the pan, storing them too soon. But the good news is, even the “failures” taste pretty great. That’s part of what makes them so approachable: it’s nearly impossible to make roasted chickpeas you won’t eat.
And then there’s the fun of flavor experimenting. I still keep a little list in my kitchen drawer of spice combos I’ve tried (or want to try). Some of my all-time favorites came from pure improvisation—like the time I ran out of paprika and ended up with a garlic-herb batch that disappeared in under an hour.
So here’s my challenge for you: make your first batch this week. Try a classic flavor, or go wild with something totally unexpected. Just remember the golden rules—dry them well, don’t crowd the pan, and let them cool before you stash them away (if they even make it that far).
And hey, if you end up loving them as much as I do, share the recipe! Snap a photo of your masterpiece, pin it on Pinterest, and let your friends in on the secret. Who knows—you might just start a roasted chickpea trend in your circle.
Trust me, once you’ve had a fresh, crispy, perfectly seasoned roasted chickpea, there’s no going back. You’ll be making them on repeat, and your snack game will never be the same.
Print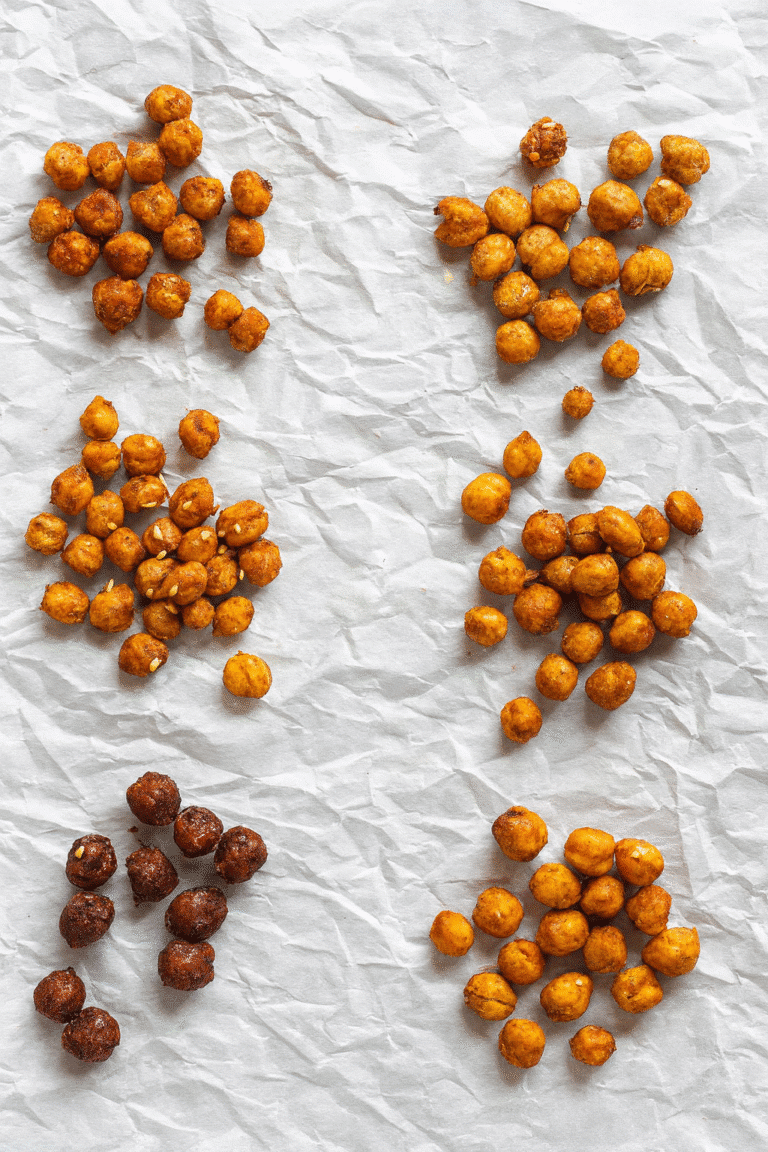
Crispy Roasted Chickpeas Recipe (2025)
Crispy, protein-packed roasted chickpeas that are easy to make and endlessly customizable with savory, spicy, or sweet seasonings.
- Total Time: 35 minutes
- Yield: 2 cups 1x
Ingredients
- 2 cups cooked chickpeas (or 1 can, drained and rinsed)
- 1–2 tablespoons olive oil
- 1/2–1 teaspoon fine sea salt
- Seasonings of choice (smoked paprika, cumin, garlic powder, chili powder, cinnamon, etc.)
Instructions
- Preheat oven to 400°F (200°C).
- Thoroughly dry chickpeas with a clean kitchen towel and let air dry for 10 minutes.
- Toss chickpeas in a large bowl with olive oil, salt, and chosen seasonings.
- Spread in a single layer on a baking sheet, leaving space between each chickpea.
- Roast for 20–30 minutes, shaking or stirring halfway through, until golden and crispy.
- Cool completely before storing in an airtight container.
Notes
For best crunch, always dry chickpeas well before roasting, don’t overcrowd the pan, and store only after completely cooled.
- Prep Time: 10 minutes
- Cook Time: 25 minutes
- Category: Snack
- Method: Oven Roasted
- Cuisine: International
- Diet: Vegan
Nutrition
- Serving Size: 1/2 cup
- Calories: 150
- Sugar: 1g
- Sodium: 200mg
- Fat: 5g
- Saturated Fat: 0.5g
- Unsaturated Fat: 4g
- Trans Fat: 0g
- Carbohydrates: 22g
- Fiber: 6g
- Protein: 6g
- Cholesterol: 0mg


