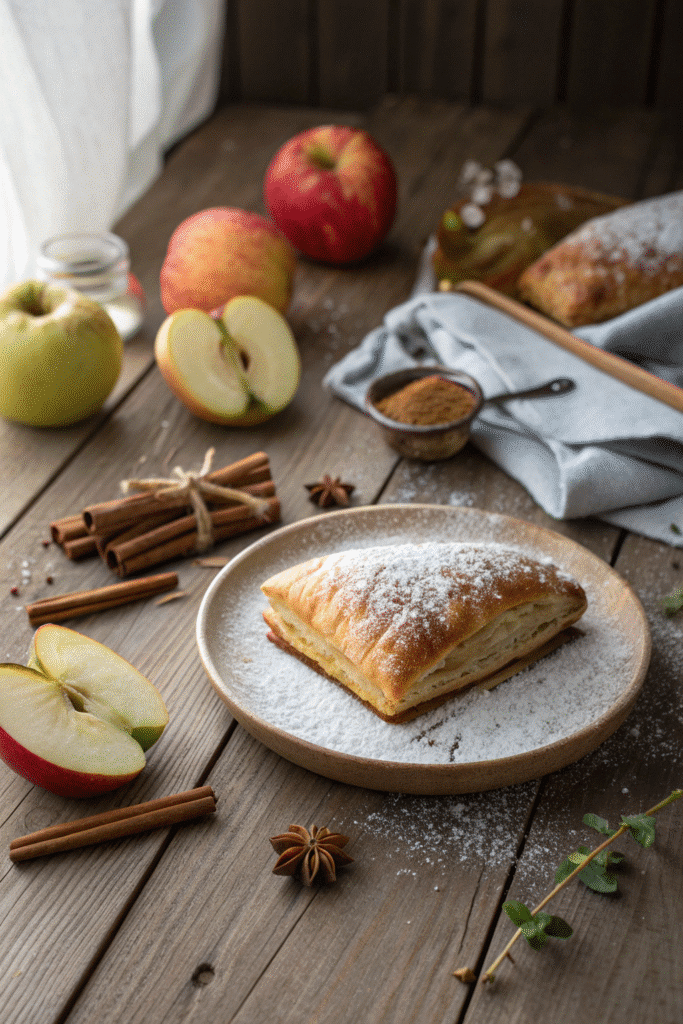
Did you know apple turnovers date back to 17th-century France and were once called “chaussons aux pommes”? That’s right—these flaky pockets of fruit-filled joy have stood the test of time. I still remember biting into my first homemade apple turnover and thinking, “This is better than any bakery.” The mix of tart apples, warm spices, and golden puff pastry is pure magic. Whether you’re baking for a cozy brunch, an afternoon treat, or a holiday feast, this guide will walk you through everything you need to know. Let’s roll up our sleeves and bake something amazing—starting with the basics of apple turnovers!

What Are Apple Turnovers?
Okay, so let me tell you—my first attempt at making apple turnovers was a complete disaster. I used phyllo dough instead of puff pastry (don’t ask why, I thought I was being “creative”), and the whole thing fell apart into a gooey, sticky mess. But that fail taught me something kinda cool: you have to respect the simplicity of a classic.
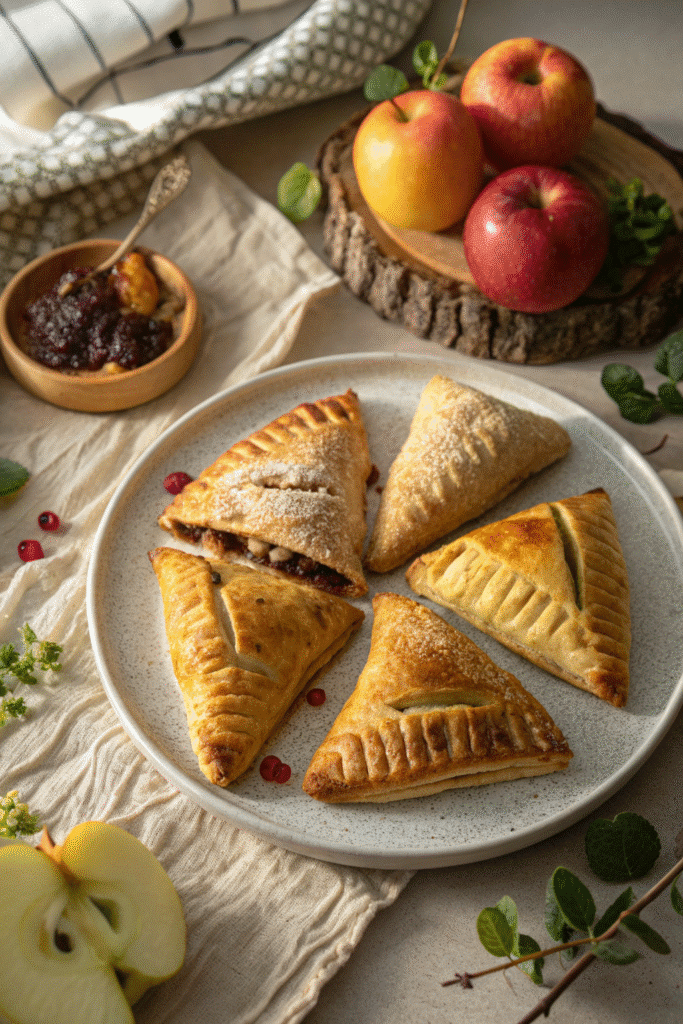
Apple turnovers are basically flaky pastry triangles stuffed with sweet, spiced apple filling. Think of them like a cozy little hand pie—but lighter, crispier, and way faster to make than a full apple pie. They’re what I call “shortcut baking wins.”
A Sweet Slice of History
These bad boys actually come from France—originally called chaussons aux pommes. I like to picture some pastry chef back in the day thinking, “Why bake a whole pie when I can make these little pockets of heaven?” Smart move, right? Over time, they made their way into bakeries everywhere, especially in the U.S., where apple became the go-to filling.
Turnovers vs. Hand Pies
Now, here’s something I used to get confused about—are turnovers the same as hand pies? Not quite. Hand pies are usually made with a sturdier dough (kinda like pie crust), while turnovers lean on puff pastry or a similar flaky dough that gets those gorgeous golden layers. Also, turnovers are usually triangle-shaped, folded once, while hand pies can be round or even rectangular. It’s small stuff, but it matters if you’re aiming for that bakery-style finish.
Why Apples Are the MVP
So why do apples steal the spotlight? Honestly, they just work. They hold their shape, soak up spices like cinnamon and nutmeg like champs, and balance tart and sweet perfectly. My personal fave is a mix of Granny Smith (for tartness) and Honeycrisp (for that sweet crunch). But you do you—use whatever apples you’ve got lying around. Even slightly bruised ones? Perfect for filling.
It’s All About That Puff
Now puff pastry… don’t even get me started. It’s what makes a turnover a turnover. Flaky, buttery, golden layers that puff up like magic in the oven. I usually go with store-bought because making puff pastry from scratch is a weekend project and a half. Just make sure it’s thawed properly before you start—learned that the hard way when I tried to rush and ended up with pastry shrapnel all over my counter.
If you’re just getting into baking or want a dessert that looks fancy but is secretly super easy, apple turnovers are your new best friend. They’re kinda like the cozy sweater of the pastry world—reliable, warm, and always hits the spot.
Ingredients You’ll Need for Apple Turnovers
The first time I made these, I was way too confident. I thought, “Pffft, I’ve got apples and dough—what could go wrong?” Turns out, a lot. Like using the wrong apples that turned to mush. Or forgetting the egg wash and ending up with sad, pale pastries. But hey, mistakes make you better, right?
Now I’ve got my ingredient game dialed in—and you will too.
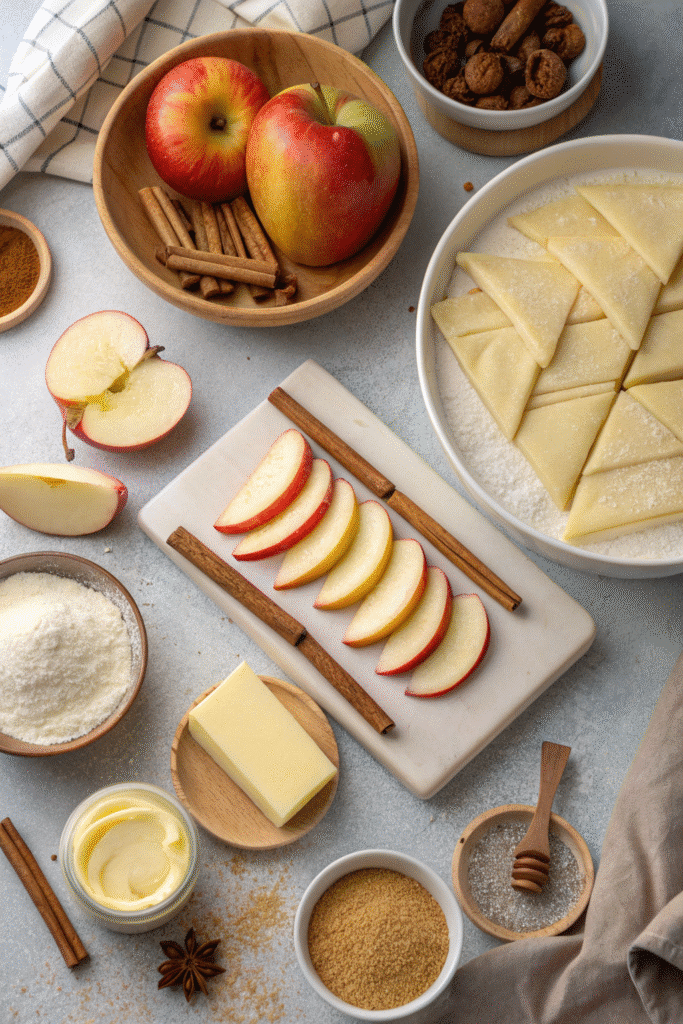
The Apples 🍏
Let’s talk apples. The heart of the whole thing. You want apples that hold their shape and give you a little bite after baking. Granny Smith is my go-to—super tart, firm, and they don’t turn into applesauce in the oven. Sometimes I throw in a Honeycrisp or Fuji for a bit of sweetness. It’s like a flavor tag team.
Avoid Red Delicious. Trust me. They just turn into mushy blobs and no one wants that.
Puff Pastry (Don’t Be a Hero)
Unless you’re planning to spend three hours folding butter into dough like a contestant on Bake Off, just grab the frozen stuff. Store-bought puff pastry is totally fine—I swear by Pepperidge Farm, but use whatever you can find. Just let it thaw in the fridge overnight. Don’t microwave it. Learned that the messy, sticky way.
The Sweet Stuff
You’ll need:
- Brown sugar – adds that molasses depth.
- White sugar – for a bit of crisp.
- Optional: maple syrup or honey if you’re feeling fancy.
I like mixing both sugars. Something about that combo makes the filling feel like warm apple pie.
Spice It Up
Cinnamon is non-negotiable. But don’t sleep on nutmeg or allspice. Just a pinch. One time I accidentally doubled the nutmeg and yeah… we were drinking a lot of water that night. Too spicy. 😂
You could also toss in some ground ginger or cardamom if you want to play around.
A Little Acid
A squeeze of lemon juice does wonders. It brightens the filling and keeps your apples from browning too fast. I skip it sometimes when I’m lazy, but I always notice the difference.
Butter & Cornstarch
Butter makes everything better—just a little in the filling helps it turn silky and rich. Cornstarch or a bit of flour thickens things so the filling doesn’t ooze out all over your tray. (Been there. It’s not fun scraping burnt sugar off parchment.)
Optional Add-ins
Want to go wild? Try:
- Raisins or dried cranberries (soaked in a little rum = 👌)
- Chopped pecans or walnuts
- A drizzle of caramel in the filling
- Or even a bit of cream cheese for a richer twist
Just don’t overdo it—overstuffing = leaks = chaos.
These ingredients are super basic, but the magic is in how they come together. Keep it simple, use good apples, and don’t stress. Even if they’re a little messy, they’ll still taste amazing—especially warm with a scoop of vanilla ice cream. Game-changer.
Step-by-Step Apple Turnover Recipe
Alright, here’s where the real fun starts—and where I’ve made almost every mistake in the book. I’ve forgotten to seal the edges, skipped the egg wash, even baked them on foil instead of parchment (don’t do that, unless you like foil stuck to your food). But once you get this down, it’s a total breeze.
1. Peel, Core, and Slice Those Apples
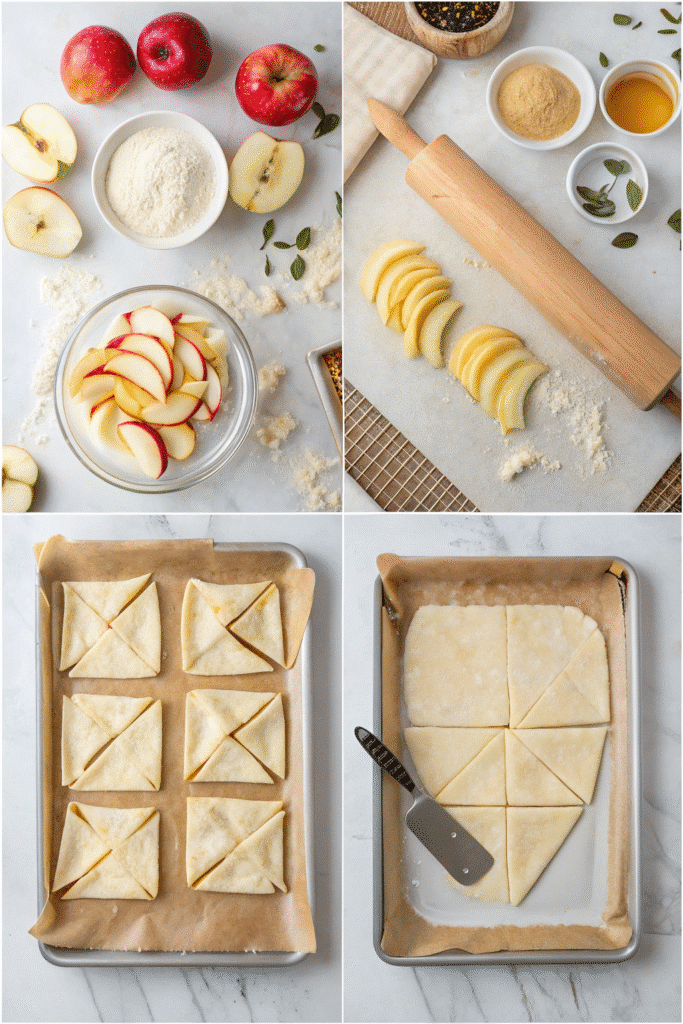
I used to skip peeling because I was lazy. Bad idea. The peels get weird and chewy—not in a good way. Use a peeler and slice the apples thin so they cook evenly. I aim for about 1/4-inch slices or dice if I’m feeling extra thorough.
Pro Tip: Toss ’em in a bowl with lemon juice as you slice so they don’t brown while you’re prepping.
2. Make the Filling
Throw your apples in a saucepan with:
- A tablespoon or two of butter
- Brown sugar (about 1/4 cup)
- A sprinkle of cinnamon and nutmeg
- A tiny pinch of salt (trust me, it matters)
- A spoon of cornstarch or flour to thicken
Let it cook down on medium heat until the apples soften just a bit and everything’s syrupy. You don’t want them too soft—they’ll finish cooking in the oven. I usually stop when it smells like Thanksgiving in my kitchen.
Let it cool before you use it. Hot filling will melt the puff pastry and make it tear. Learned that the hard way—twice.
3. Roll Out the Puff Pastry
Flour your surface lightly—just enough so it doesn’t stick. Unfold the pastry sheet (usually it’s in thirds), and roll it just a bit if it’s super thick. I cut mine into 4 or 6 squares depending on how big I want them. Don’t overthink it.
4. Add the Filling (But Not Too Much!)
Spoon about 2 tablespoons of apple filling into the center or slightly to one side. Overfilling is the #1 way to wreck a turnover. Trust me, it’s tempting—but don’t do it.
If you’re adding extras (nuts, caramel, etc.), this is the moment.
5. Seal and Crimp
Fold the pastry diagonally to make a triangle. Use your fingers to press the edges, then go around with a fork to crimp them closed. It looks cute and helps keep the filling inside. You can also brush the edges with water to help seal them if they’re being stubborn.
6. Add the Egg Wash
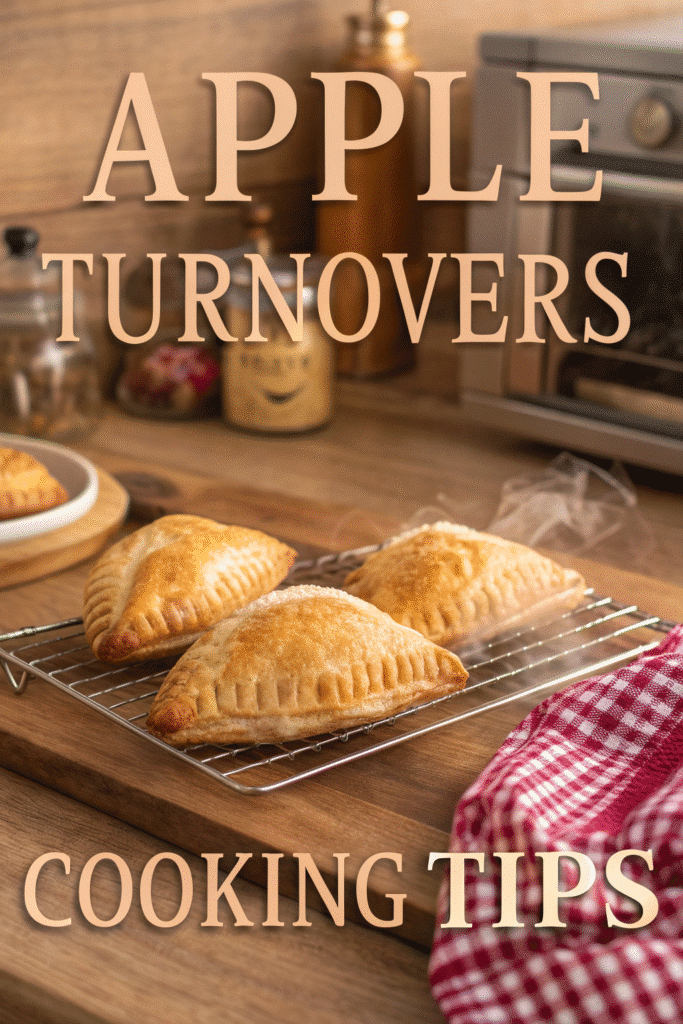
Crack an egg, mix it with a splash of water or milk, and brush it over the top. This gives you that glossy, bakery-style golden crust. Don’t skip this step—it makes a huge difference.
Sometimes I sprinkle a little raw sugar or cinnamon-sugar on top too. Totally optional, but it adds a nice crunch.
7. Bake ‘Em Up
Pop them on a baking sheet lined with parchment paper (not foil, remember?) and bake at 400°F (200°C) for 18–22 minutes. You’ll know they’re done when they’re puffed, golden, and your whole house smells like a pastry shop.
Let them cool for a few minutes so you don’t burn your tongue. I know it’s hard. They look innocent, but that filling is lava straight from the oven.
And that’s it—boom, you’re holding a fresh, warm apple turnover that you made yourself. It might not be perfect the first time, but honestly? Even the “ugly” ones taste amazing.
Tips for Perfect Apple Turnovers Every Time
Let me be real—I’ve had more than a few turnover “oops” moments. Burnt bottoms, leaking filling, dough stuck to the counter… it’s all happened. But after a dozen batches (and a few tears), I figured out some solid hacks to get them right every time.
Don’t Overfill (Even Though You’ll Want To)
I get it—you made this amazing apple filling and now you wanna pack as much of it in as possible. But don’t. Two tablespoons max per turnover. Any more and the pastry will burst open like a crime scene in your oven. Not cute. Definitely not fun to clean.
Chill That Dough
This one changed my baking life. If the pastry gets too warm while you’re working, it’ll turn floppy and be impossible to fold or seal. If that happens? Just pop it in the fridge for 10 minutes before assembling. Cold dough puffs better and holds its shape.
Honestly, sometimes I assemble all the turnovers, then throw the whole tray in the fridge for 15 minutes before baking. The puff is chef’s kiss after that.
Parchment Paper is Your Best Friend
Ever tried to scrape caramelized filling off a metal pan? Yeah, don’t do that. Always bake on parchment. Easy cleanup, no sticking, and your bottoms won’t get scorched. (Foil is a no from me—it reflects heat too much and burns the pastry.)
Go Heavy on the Egg Wash
I used to skimp on egg wash because I didn’t think it mattered. BIG mistake. A good egg wash gives you that bakery-level golden shine. No wash = sad, pale turnovers that taste fine but look…meh. You want ‘gram-worthy pastries, right?
Use a pastry brush, get every corner, and don’t forget the edges.
Air Vents = Less Drama
Cut a little slit or two on the top of each turnover before baking. It’s like a steam escape hatch. Without it, steam builds up and you’ll get puffy weird bubbles or worse—explosions that split the whole thing open.
Want Crisp Bottoms? Preheat Your Tray
This one’s for the real overachievers: heat your baking tray in the oven while it preheats. Then carefully place your parchment + turnovers onto the hot tray. That heat from the bottom gives the pastry a nice boost and prevents sogginess. Fancy, right?
Bonus Flavor Tricks
- Add a pinch of lemon zest to your filling for brightness.
- A tiny splash of vanilla or bourbon? Yes please.
- Brush the tops with a little maple syrup the last 2 minutes of baking for a glazed effect.
These aren’t huge changes, but they make a huge difference. Like going from “meh” to “OMG did you make these?” level good. And when you get that first batch that turns out just right? Total baking win. You’ll be grinning like a fool pulling them out of the oven.
Variations of Apple Turnovers to Try
Look, I love the classic apple turnover as much as the next sugar-fiend, but sometimes… you just wanna shake things up. The cool thing? Once you’ve nailed the base recipe, there’s a ton of room to play. I’ve tried everything from savory cheddar combos to full-on dessert explosions—and yeah, not all of them were winners (apple + chili powder was…a bold experiment), but some were so good I had to write ’em down.
1. Vegan Apple Turnovers 🌱
This one’s easier than you think! Most store-bought puff pastry brands are accidentally vegan (just check the label). Swap out butter in the filling for vegan margarine or coconut oil, and brush the tops with plant milk + maple syrup instead of egg wash. I tried oat milk once and it browned up just fine—surprisingly pretty, too.
Flavor tip: add a handful of chopped dates or raisins for extra richness.
2. Gluten-Free Option (That Doesn’t Suck)
Okay, gluten-free pastry can be tricky. Like, rage-quit tricky. But if you use a legit GF puff pastry brand (I’ve had luck with Schär), it’s totally doable. Just be gentle—GF dough is more delicate and dries out fast. Keep it wrapped until you’re ready to use it and work quickly.
Bonus: use almond flour in the filling thickener to add a nutty twist.
3. Apple & Cheddar (Yes, Really)
I KNOW. It sounds weird. But sweet and savory together? Total magic. I mix shredded sharp cheddar into the apple filling and add a little black pepper. Sounds crazy, tastes gourmet. Serve with a drizzle of honey on top. People will ask for the recipe, I swear.
4. Apple + Pear Combo
This is my go-to fall twist. Use half apples and half ripe pears. It’s sweeter, softer, and feels fancy without being extra. I usually go heavy on cinnamon and toss in a splash of vanilla extract. Top-tier comfort food right here.
Add-ins that work great with this:
- Toasted pecans
- Dried cranberries
- Orange zest
5. Cream Cheese Glaze Topping
For when you want to turn a humble turnover into a brunch showstopper. Just mix:
- 2 oz cream cheese
- 1/4 cup powdered sugar
- 1 tbsp milk
- Dash of vanilla
Drizzle it over warm turnovers and try not to eat three in a row. I failed that test more than once.
What I love about these variations is they all start with the same simple base. Once you’re comfy making apple turnovers, it’s like a blank canvas. Just mix in new flavors, tweak the spices, or go rogue with cheeses and nuts. Worst case? You eat the “failures” with a spoon and call it rustic.
How to Store and Reheat Apple Turnovers
Alright, so you’ve made a whole batch of apple turnovers—go you! 🎉 But unless you’ve got a house full of teenagers or an endless appetite (guilty), you’re probably gonna have leftovers. And lemme tell you, storing them right is the key to keeping that flaky, crispy magic alive. Otherwise, you’re just eating sad, soggy pastries. And no one deserves that.
Storing at Room Temp (Short-Term)
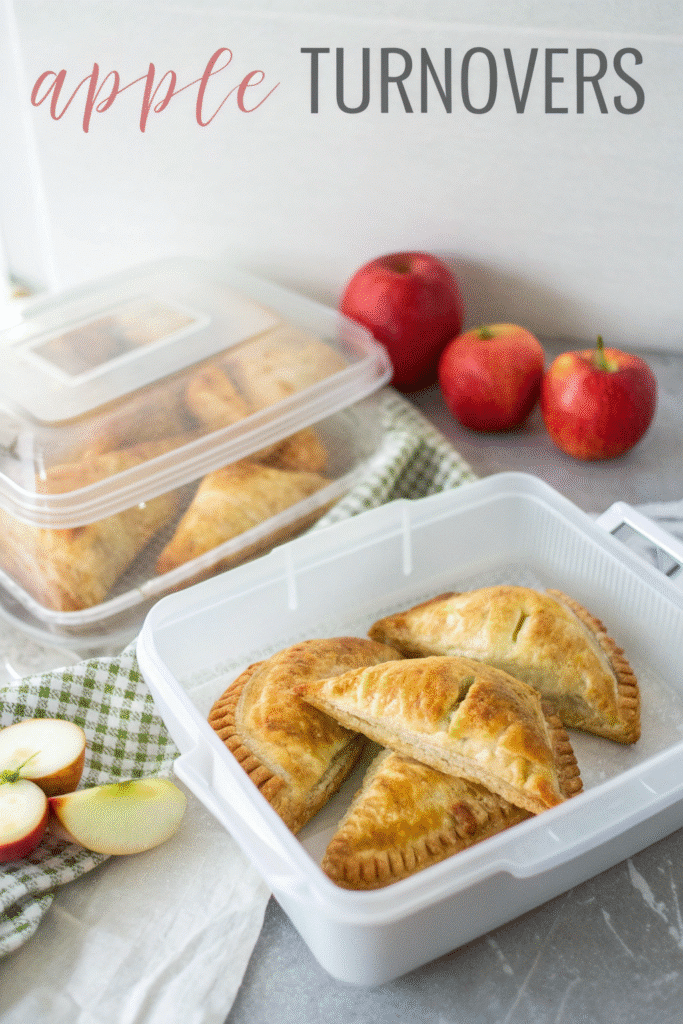
If you’re gonna eat them within a day or so, just pop ’em in an airtight container on the counter. But—and this is a big BUT—only if your kitchen isn’t humid. Moisture is the enemy of flake.
I line the bottom of the container with a paper towel to absorb any extra moisture and keep them from turning limp. Flip ’em upside down if the tops are glazed, so they don’t stick. Little tip I picked up after a gooey mess last Thanksgiving.
Fridge Storage (If You Must)
Okay, real talk—I don’t love refrigerating turnovers. It makes the pastry a bit chewy. But if you have to (like if there’s cream cheese glaze or you live somewhere super hot), make sure they’re totally cool first and wrap them loosely in foil or parchment before boxing them up. They’ll keep for about 3–4 days in the fridge.
Don’t seal them in plastic. That traps moisture and wrecks the texture.
Freezing for Later
YES, you can freeze them. And YES, they’ll still taste great. The trick is wrapping each one individually in plastic wrap, then tossing them all in a zip-top freezer bag or airtight container. They’ll keep for 2–3 months easy.
To freeze unbaked turnovers (which I highly recommend for future lazy day baking), do all the prep, seal them, and freeze on a tray until solid. Then bag ’em up. Bake straight from frozen—just add 5–7 extra minutes in the oven. Boom. Instant treat.
Reheating Tips (And Pitfalls)
Microwave? Only if you like mushy pastry. Honestly, just don’t.
Here’s the best way:
- Oven or toaster oven at 350°F (175°C)
- 5–10 minutes for refrigerated
- 15–20 minutes for frozen
I usually pop them on a rack instead of a tray so the bottoms crisp up. If they look dry, brush a teeny bit of butter or milk on top before reheating.
And no, air fryers aren’t cheating. They work GREAT for turnovers. Just don’t overcrowd, and check after 5 minutes to avoid burning.
There’s something so satisfying about pulling out a perfectly reheated turnover that tastes just as good as it did fresh. It’s like winning twice. So yeah—store ’em smart, reheat ‘em right, and you’ll be sneaking midnight pastries like a pro in no time.
Apple turnovers might seem fancy, but honestly? They’re so doable once you get the hang of it. And the best part is that they’re forgiving. Messy edges? Still tasty. Leaky filling? Still smells like a dream. Burnt one side a little? Slap some powdered sugar on it and pretend it’s rustic. 😂
What started as a casual weekend baking project for me turned into a full-blown obsession. There’s just something about buttery, golden pastry wrapped around warm, spiced apples that feels like a hug in food form. Whether you stick to the classic or get creative with crazy-good variations, these little guys are a win every time.
If you made these (or even if you just drooled over the pics), do me a solid—save this recipe to Pinterest and share it with your food-loving friends. You never know who needs a little apple turnover therapy in their life.
Happy baking! 🥰
Print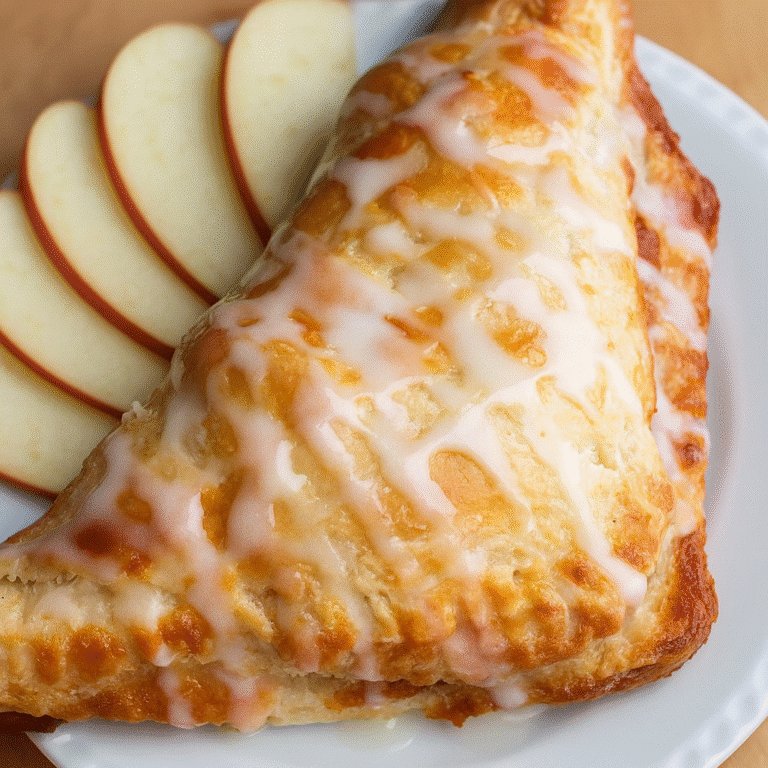
Crispy Apple Turnovers Recipe
Flaky, golden pastry pockets filled with warm, spiced apples—these apple turnovers are the ultimate shortcut dessert. Whether you’re baking for brunch or sneaking a midnight snack, they always hit the spot.
- Total Time: 40 minutes
- Yield: 4–6 turnovers 1x
Ingredients
- 2–3 Granny Smith apples, peeled, cored, and diced
- 1 tbsp lemon juice
- 2 tbsp unsalted butter
- 1/4 cup brown sugar
- 2 tbsp white sugar
- 1/2 tsp ground cinnamon
- 1/4 tsp nutmeg (optional)
- Pinch of salt
- 1 tbsp cornstarch or flour (to thicken)
- 1 sheet puff pastry, thawed
- 1 egg (for egg wash)
- 1 tbsp water or milk (for egg wash)
- Optional toppings: raw sugar, cinnamon sugar
Instructions
- Preheat oven to 400°F (200°C). Line a baking sheet with parchment paper.
- Peel, core, and dice the apples. Toss with lemon juice in a bowl to prevent browning.
- In a saucepan, melt butter over medium heat. Add apples, brown sugar, white sugar, cinnamon, nutmeg, and salt. Stir in cornstarch or flour.
- Cook until apples are slightly softened and mixture is syrupy, about 5–7 minutes. Let cool completely.
- Lightly flour your surface and unfold the puff pastry. Roll out slightly and cut into 4 or 6 squares.
- Spoon 2 tbsp of apple filling onto each square. Fold diagonally into a triangle. Seal edges with fingers and crimp with a fork.
- Mix egg with water or milk and brush over each turnover. Optionally, sprinkle raw sugar or cinnamon sugar on top.
- Cut a small slit in each turnover for steam to escape.
- Bake 18–22 minutes, or until golden and puffed. Cool slightly before serving.
Notes
For best results, keep puff pastry cold and avoid overfilling. You can freeze unbaked turnovers and bake straight from frozen—just add 5–7 extra minutes.
- Prep Time: 20 minutes
- Cook Time: 20 minutes
- Category: Dessert
- Method: Baking
- Cuisine: American
Nutrition
- Serving Size: 1 turnover
- Calories: 280
- Sugar: 14g
- Sodium: 170mg
- Fat: 15g
- Saturated Fat: 8g
- Unsaturated Fat: 6g
- Trans Fat: 0g
- Carbohydrates: 34g
- Fiber: 2g
- Protein: 3g
- Cholesterol: 40mg


