Did you know that Americans consume over 26 pounds of candy per person each year? That’s wild! And if you’re anything like me, you want your sweets with a little crunch, a little goo, and a whole lotta chocolate. That’s where Chocolate Turtle Apple Slices swoop in like candy-coated superheroes.
This treat is basically what happens when a caramel apple and a turtle candy have a lovechild—and it’s ridiculously easy to make. Plus, it’s way less messy than biting into a whole caramel apple! Whether you’re planning a fall party, need a Thanksgiving platter idea, or just want something to munch while binging your favorite series, these slices are a win.

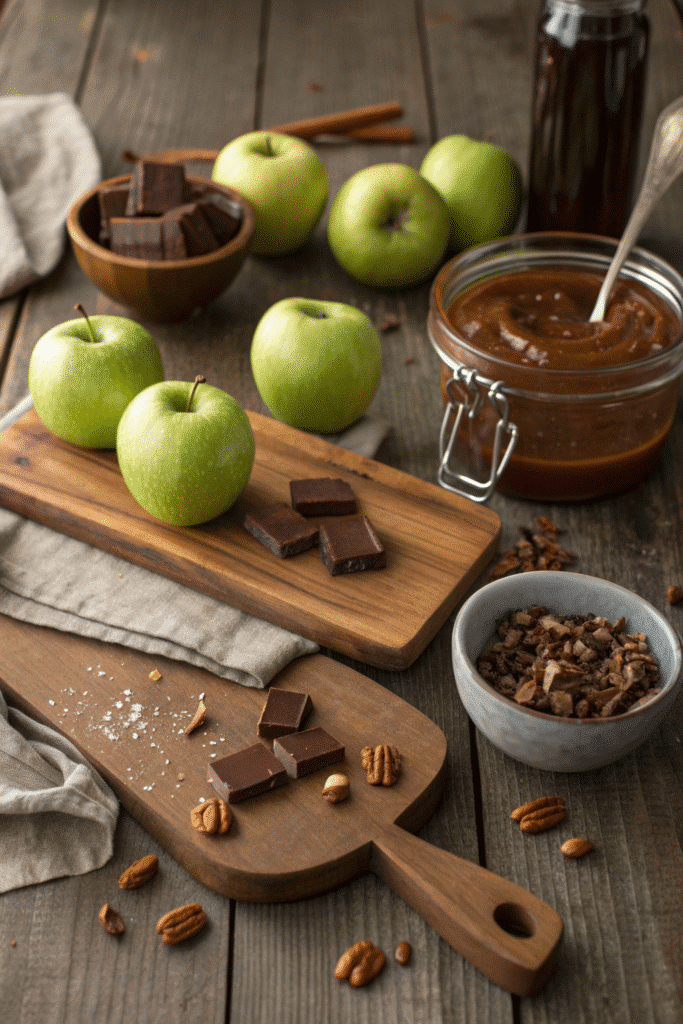
Ingredients You’ll Need for Chocolate Turtle Apple Slices
Alright, let me level with you—the first time I tried to make these, I thought, “How hard can it be? It’s just apples and candy, right?” Ha. Rookie mistake. Turns out, if you don’t start with the right ingredients, you’ll end up with sad, soggy slices that slide right off the stick or taste like a sugar bomb exploded in your mouth. Been there, cleaned that mess.
So let’s get you set up with the good stuff—the kind that’ll have your friends begging for the recipe and your kids fighting over the last piece (speaking from experience…).
Choose the Right Apples
I’ve tested a bunch, and Granny Smith is still the MVP. That tart snap cuts through all the sweetness from the caramel and chocolate like a champ. If you’re not into sour apples, Honeycrisp or Fuji are solid backups—crisp, juicy, and sweet without being cloying.
Don’t use Red Delicious. They’re mushy and just…no.
Caramel That Actually Sticks
This one’s tricky. I once tried using store-bought caramel sauce from a squeeze bottle. You know, the kind made for ice cream? Yeah, don’t do that. It turns into a slippery mess that never sets.
The best bet? Those soft wrapped caramel candies you melt down with a splash of milk or cream. Or if you’re feeling brave (and want serious street cred), go homemade. Just watch it like a hawk so it doesn’t burn. I like using about 25 caramels with 1 tbsp of heavy cream—microwave in 30-second bursts.
Chocolate: Go Semi-Sweet or Dark
Semi-sweet chocolate chips are your safest bet. They’re sweet enough to feel indulgent but not so sweet that they overpower everything else. I’ve also done it with dark chocolate, which feels super fancy.
Pro tip: add ½ tsp of coconut oil to the chocolate when melting. Makes it silky smooth and perfect for drizzling.
Pecans, Toasted if You Can Swing It
Raw pecans are fine, but toasting them? Game-changer. Toss them on a baking sheet, pop ’em in the oven at 350°F for 5–7 minutes, and your kitchen will smell like heaven. Just don’t forget them—I’ve burned more batches than I’d like to admit.
Also, chop them pretty small so they stick better and don’t make biting into the slices awkward.
Optional But Awesome Toppings
This is where you can have fun:
- Sea salt flakes for that bougie salted caramel vibe.
- Mini marshmallows (the kids go nuts for these).
- Crushed pretzels for crunch and a salty punch.
- A light cinnamon sugar dusting for fall flair.
Just don’t overload them or it turns into a balancing act from hell.
Bottom line? These Chocolate Turtle Apple Slices are only as good as what you start with. Don’t skimp on the apples. Use real caramel. Get that chocolate smooth. And for the love of dessert—toast your pecans.
Step-by-Step Instructions (With Pro Tips!)
Alright, let’s get into the nitty-gritty. I promise—once you’ve done these Chocolate Turtle Apple Slices once, you’ll wonder why you ever bothered with full caramel apples. But here’s the thing: the steps look easy, but a few small mistakes can turn your Pinterest dream into a gooey disaster.
Been there. Multiple times. So here’s how to actually make these slices without losing your mind.
Step 1: Slice Those Apples Right
This is where it starts. Cut your apples into ½-inch thick rounds—not wedges. Rounds are key. Why? More surface area. You want enough space to fit all that caramel and chocolate goodness without it slipping off the edge.
Don’t forget to remove the core and seeds. I use a small circular cookie cutter or just a paring knife. Do not try to jam a stick through the center unless you’re trying to break your apple slice in half. Trust me, that was an unfortunate lesson.
Step 2: Dry the Apple Slices Like Crazy
Here’s where most people mess up. Apples are juicy. That juice? It’s the enemy of caramel and chocolate sticking. After slicing, pat those suckers dry with paper towels—like really dry. Sometimes I even lay them out for 10 minutes to air-dry while I prep the caramel.
Skip this step and everything will slide off. Learned that the hard way—twice.
Step 3: Melt the Caramel
Grab your soft caramel candies. Unwrap about 25-30 and toss them into a microwave-safe bowl with a tablespoon of heavy cream. Microwave in 30-second bursts, stirring in between, until it’s smooth and creamy.
You can also do this on the stove with a double boiler if you’re fancy. I’m not. I’ve scorched the caramel more than once trying to rush it—don’t do that. Keep it low and slow.
Step 4: Coat or Drizzle the Caramel
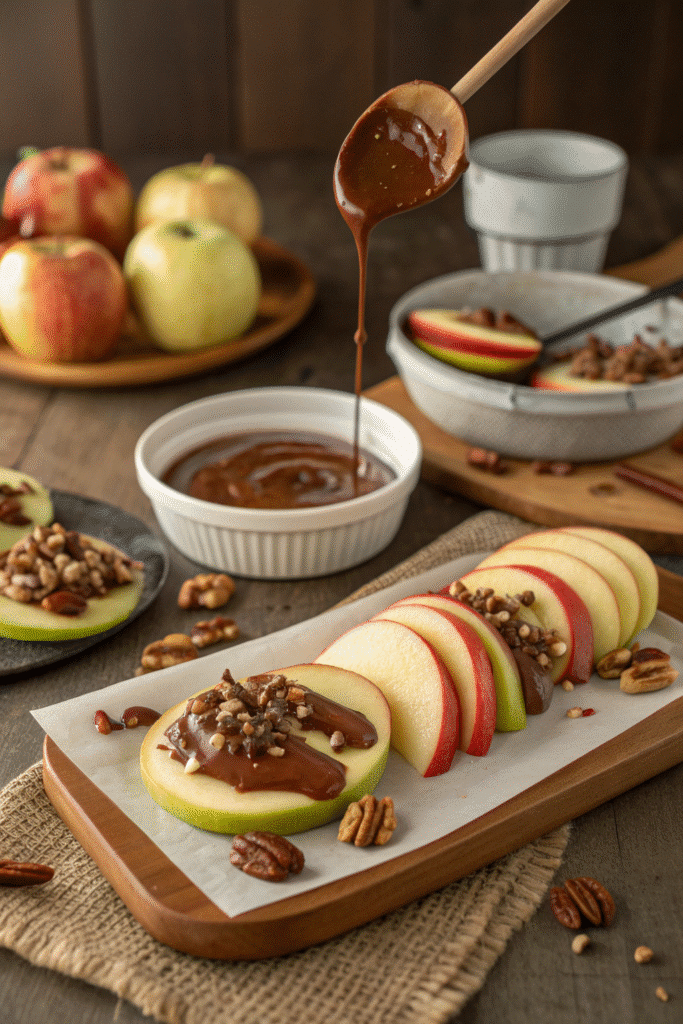
Here’s where you choose your style. I like to dip the bottom half of the apple slices into caramel so the tops stay a bit neater. Some folks prefer to drizzle caramel over the top using a spoon. Both work, but dipping makes them look cleaner on a platter.
Set the dipped slices onto parchment paper to cool slightly. Don’t touch them yet—they’re sticky little monsters until they set.
Step 5: Melt and Drizzle Chocolate
Same drill as the caramel. Microwave your semi-sweet chocolate chips with a bit of coconut oil (about half a teaspoon per cup). Stir it until it’s glossy and smooth.
Use a spoon or small piping bag to drizzle the chocolate in zig-zags. Again, parchment paper is your best friend here. Chocolate likes to go everywhere, and cleanup without it is a nightmare.
Step 6: Sprinkle Pecans Immediately
The key word is immediately. Don’t wait for the chocolate to set or the pecans won’t stick. Sprinkle them on while everything’s still warm and gooey.
I always keep my chopped pecans in a little bowl nearby so I can grab and go as I drizzle.
Step 7: Chill to Set
Pop the slices in the fridge for about 10 to 15 minutes. Just enough to firm everything up. If you chill them too long, the caramel can get rock hard and bite weird. Just long enough to hold their shape and not make a mess.
Tips for Perfect Texture and Flavor
You know what’s annoying? Spending all that time melting caramel and chocolate, only to have your apple slices turn into a sticky, soggy mess an hour later. Or worse—biting into one and realizing the caramel slid off like it had somewhere more important to be. I’ve made every mistake in the book with these Chocolate Turtle Apple Slices, and over the years, I’ve picked up a bunch of tricks that save time, prevent disaster, and make the final result taste like you bought it from a fancy candy shop.
So here are the real-deal tips I wish someone had told me the first time.
Use Tart Apples for Balance
This one might sound simple, but it’s important. If you go with sweet apples like Gala or Red Delicious, and then pile on caramel and chocolate, it gets too sweet real fast. Tart apples—Granny Smith is my go-to—give you a crisp, tangy base that cuts through the richness like a dream.
Honeycrisp works too if you want a bit of both worlds: slightly sweet, still plenty crisp.
Chill Apples Before Dipping
Ever dip an apple slice in caramel and watch it just… slide right off?
Here’s the fix: chill your sliced apples in the fridge for 20 minutes before dipping. Cold apples help the caramel set faster and stick better. Just make sure they’re dry before you dunk them. Moisture is your worst enemy here. It ruins everything. I learned this after two batches where the caramel just refused to stay put.
Don’t Skip the Drying Step
Let me say it again: dry your slices like your dessert depends on it—because it does. I’ve started laying them out between two layers of paper towels while I prep everything else. That extra time makes a difference.
Any leftover moisture will act like oil in a frying pan—your caramel will just slide off like it hit Teflon.
Toast the Pecans
I didn’t use to toast my pecans. I thought, “Why bother?” But one day I did, and wow. Game changer.
Five minutes in a 350-degree oven is all it takes. They come out nuttier, more flavorful, and make the entire dessert feel ten times fancier. Just keep an eye on them. Pecans burn fast, and once you burn them, you’ll know. That smell lingers.
Add Toppings While Chocolate’s Wet
Timing is everything here. As soon as you drizzle the chocolate, start sprinkling the chopped pecans or whatever topping you’re using. If you wait even five minutes, the chocolate starts to firm up and the toppings just roll off.
I keep toppings prepped in little bowls on the counter so I can go slice by slice without missing that sticky window.
Use Parchment Paper. Always.
This one isn’t about flavor, but it’ll save your sanity. Caramel and chocolate love to stick—especially to plates or foil. Parchment paper gives you clean edges, easy removal, and way less mess. Wax paper? Don’t do it. I’ve had caramel melt right through it and glue to the counter. Lesson learned.
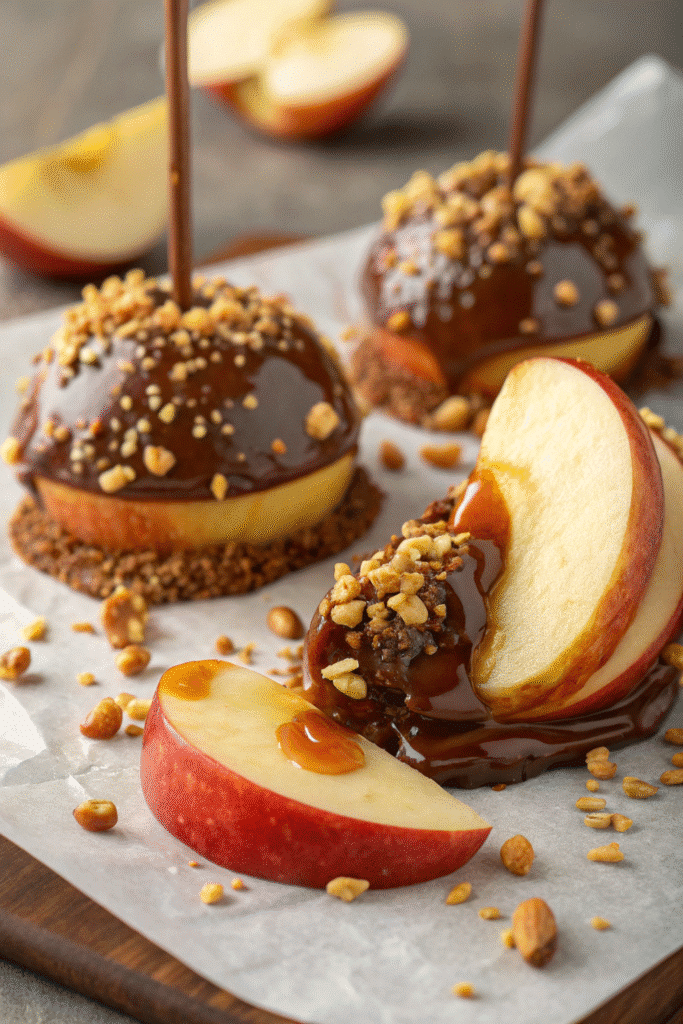
Once you dial in these little tweaks, Chocolate Turtle Apple Slices go from decent to “who made these and can I get the recipe?” levels of good. Every slice gets that perfect snap from the apple, a gooey bite from the caramel, the rich chocolate finish, and a little nutty crunch on top. And best of all—they hold up. They don’t melt into a puddle after 20 minutes on the table.
Fun Variations and Topping Ideas
Here’s the part where things get dangerously fun—and a little addictive. Once you’ve nailed the classic Chocolate Turtle Apple Slices, it’s impossible not to start thinking, “What if I added this… or that…” Next thing you know, your kitchen looks like a candy lab exploded and your friends think you moonlight as a chocolatier.
Been there. No regrets.
Playing around with toppings and flavors isn’t just fun—it’s the easiest way to turn this basic recipe into something that fits any season, holiday, or craving. Here are a few tried-and-true variations I’ve tested over the years, and a few that accidentally turned out great.
Make It Kid-Friendly With Mini M&M’s
One time I made a batch for my niece’s birthday party and swapped the pecans for mini M&M’s. Huge hit. Not only are they colorful and fun, but they also add a crunch without the allergy risk. Just make sure you press them in while the chocolate is wet—they don’t stick well otherwise.
Also: avoid the full-size ones. They’re way too heavy for the chocolate to hold. I learned that the messy way.
Holiday Flair With White Chocolate and Cranberries
For Thanksgiving or Christmas, I’ll melt white chocolate instead of regular and pair it with dried cranberries or chopped candied pecans. It gives off serious holiday tray vibes, especially if you drizzle both dark and white chocolate in layers. Looks fancy without the effort.
Bonus: Add a pinch of cinnamon to the caramel while melting it. You won’t regret it.
Crushed Pretzels for Salty-Sweet Heaven
This one might be my personal favorite. Crushed pretzels add a salty crunch that makes the whole thing taste like a gourmet snack you’d find at a high-end food market. I usually grab a handful, toss them in a Ziploc, and crush them with a rolling pin. Don’t turn them to powder—you want texture.
Also: if you’re using pretzels, skip the sea salt flakes. It gets too salty, fast.
S’mores Vibe With Mini Marshmallows and Graham Cracker Crumbs
Tried this once for a backyard bonfire night and ended up making two more batches before the night was over. Mini marshmallows + a light sprinkle of graham cracker crumbs over the chocolate = full s’mores effect. You can even toast the marshmallows with a kitchen torch if you’re feeling wild.
The only downside? These don’t store well overnight. Eat them the same day while everything is still soft and gooey.
Add Some Spice
If you’re into bold flavors, dust your caramel-coated slices with a pinch of cayenne pepper or a tiny bit of chili powder before adding chocolate. It’s subtle, but gives it a warm kick. Not for everyone, but those who like heat will love it.
Once you start experimenting, it’s hard to stop. Every topping adds a new texture or flavor twist, and suddenly you’ve got something different for every occasion—from birthday parties to bake sales to quiet Sunday cravings.
How to Serve and Store Them
Let’s talk logistics. Because here’s the deal—making Chocolate Turtle Apple Slices is only half the battle. The real trick is figuring out how to serve them without ending up with a sticky pile of chocolate-goo chaos… or worse, soggy apples that taste like leftovers from last week.
I had to learn the hard way. First time I made a batch for a potluck, I wrapped them in plastic wrap and stacked them in a container. Opened it an hour later, and everything had melted into a sad, caramel-drenched mess. Do not be like me. Here’s how to store and serve them the right way.
Serve Them Within 24 Hours (But Fresh Is Best)
These are best when they’re fresh. Like, made-today fresh. That’s when the apples are still crisp, the caramel is chewy but soft, and the chocolate hasn’t started sweating. If you serve them more than a day later, you risk the apples weeping juice and turning the whole thing into a soggy mess.
That said, you can still make them a little ahead of time—just follow the tips below.
Use Parchment Paper to Layer and Separate
If you’re planning to make them ahead or transport them, parchment paper is your best friend. Cut it into squares and place it between layers if you’re stacking them. No parchment? Wax paper works in a pinch, but parchment holds up better in the fridge.
And whatever you do, don’t just toss them in a container loose. They will stick together. I learned that one when I tried to “just gently stack them”—spoiler: it was not gentle and it was not stackable.
Airtight Containers Only
Once they’re fully set (chocolate and caramel both hardened), place the slices in an airtight container. Keep them in a single layer if you can. If you need to double up, separate with parchment as mentioned.
This helps preserve their crispness and keeps fridge smells from creeping in. Apples are like sponges—they’ll soak up everything from last night’s spaghetti to that questionable tuna salad in the back of your fridge.
Refrigerate—But Don’t Serve Ice-Cold
Stick the container in the fridge, but pull them out about 10–15 minutes before serving. That gives the chocolate and caramel time to soften up slightly so you’re not biting into rock-hard toppings.
One time I served them straight from the fridge and my friend nearly cracked a molar. They were polite about it, but yeah—don’t skip the warm-up.
How to Present Them
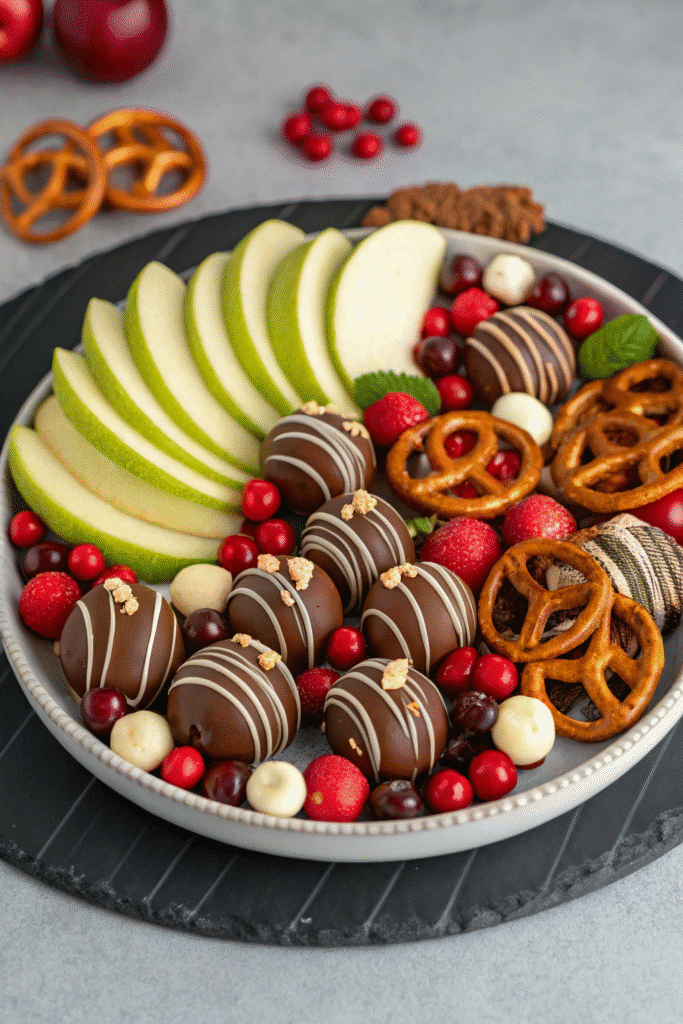
If you’re serving at a party, use a large platter and space them out slightly so they don’t stick together. You can even add little toothpicks or popsicle sticks to make them easier to grab—especially helpful for kids or buffet-style setups.
If it’s for gifting, I love wrapping each slice in a little wax paper pouch and tying it with baker’s twine. Looks cute and keeps things clean.
So yeah, they’re not just easy to make—they’re also super easy to serve and share if you plan ahead. Whether it’s a fall party, school snack, or holiday platter, Chocolate Turtle Apple Slices are always a hit… as long as you don’t let them melt into apple soup.
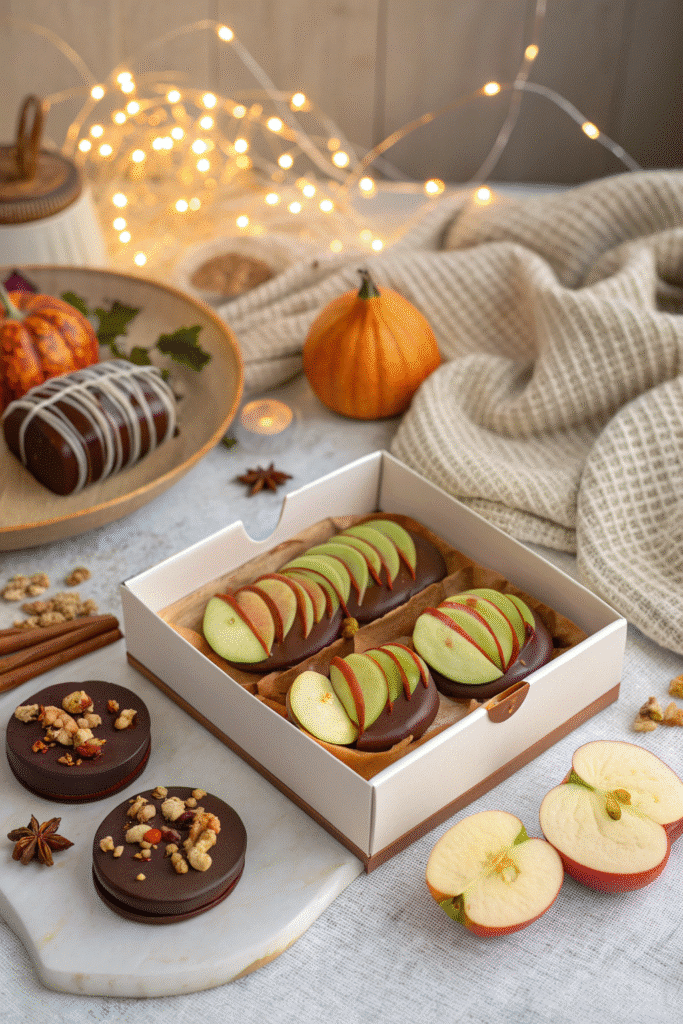
So there you have it—Chocolate Turtle Apple Slices in all their crunchy, gooey, chocolate-drizzled glory. Whether you’re pulling them together for a quick fall snack, showing off at a potluck, or just treating yourself after a long day, they hit that perfect balance between sweet and salty, chewy and crisp.
The best part? They’re way easier (and less messy) than full-on caramel apples. You don’t need fancy gear or professional candy skills—just good ingredients, a little prep, and a whole lot of flavor. And once you start experimenting with different toppings like pretzels, marshmallows, or even a touch of sea salt, it becomes your own signature treat.
I’ve made these for bake sales, teacher gifts, birthday parties—you name it. And every single time, someone says, “Wait, what are these?!” followed by, “Can I have the recipe?” That’s how you know it’s a keeper.
If this recipe made your day a little sweeter, why not pin it to your Pinterest board? Share it with friends, save it for later, or bookmark it for your next get-together. These slices are more than just dessert—they’re a small way to bring a little joy into your kitchen.
Now go make a batch—and maybe hide a few for yourself before they disappear.
Print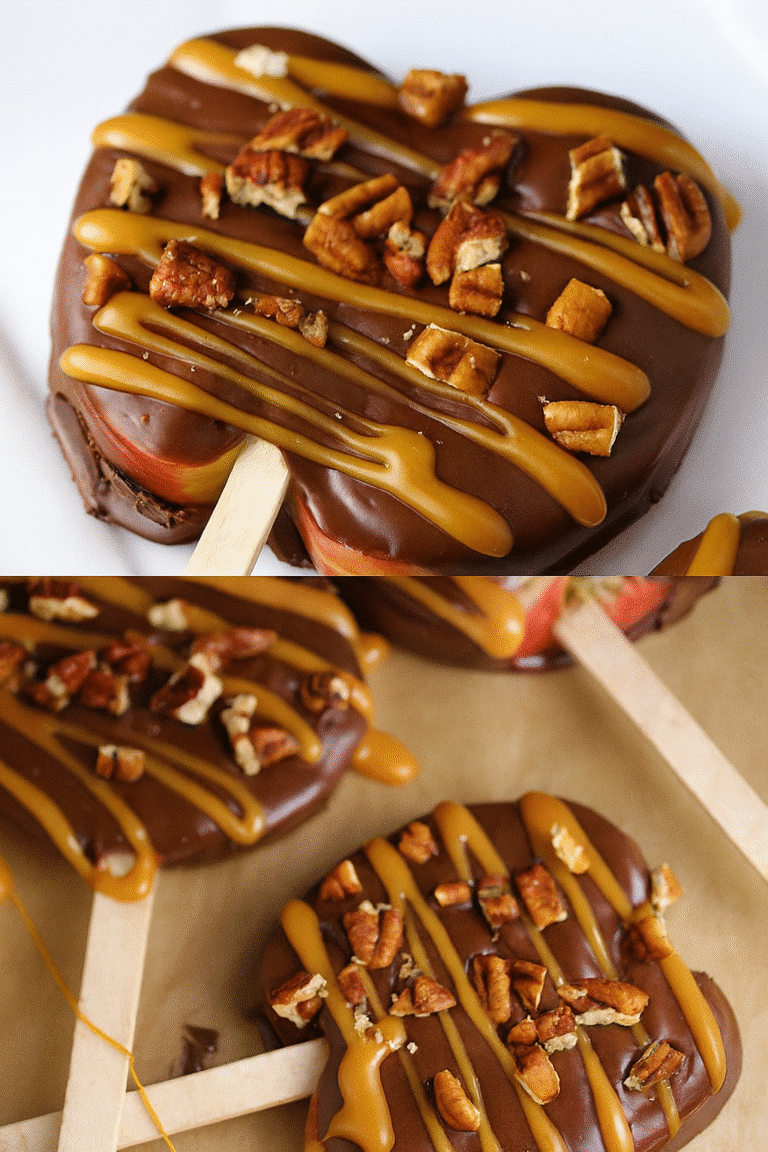
Chocolate Turtle Apple Slices Recipe (2025 Edition)
These Chocolate Turtle Apple Slices are a gooey, crunchy, chocolate-drizzled dream. They’re basically what happens when caramel apples and turtle candies join forces—without the sticky mess. Perfect for fall parties, Thanksgiving platters, or just a cozy snack while binging your favorite series.
- Total Time: 30 minutes
- Yield: 12–15 slices 1x
Ingredients
- 3–4 Granny Smith apples (or Honeycrisp/Fuji)
- 25–30 soft caramel candies
- 1 tbsp heavy cream
- 1 cup semi-sweet chocolate chips
- ½ tsp coconut oil
- ½ cup chopped pecans (toasted preferred)
- Optional: Sea salt flakes, mini marshmallows, crushed pretzels, cinnamon sugar
Instructions
- Slice apples into ½-inch thick rounds and remove cores.
- Pat slices completely dry with paper towels and let them air dry for 10 minutes.
- Unwrap caramels and melt with heavy cream in 30-second microwave bursts, stirring until smooth.
- Dip or drizzle apple slices with caramel and place on parchment paper to cool slightly.
- Melt chocolate chips with coconut oil in the microwave, stirring until smooth and glossy.
- Drizzle chocolate over the caramel apples using a spoon or piping bag.
- Immediately sprinkle chopped pecans and any optional toppings over wet chocolate.
- Chill in the fridge for 10–15 minutes until set, then serve slightly warmed for best texture.
Notes
Drying the apple slices thoroughly is crucial—moisture will make the caramel and chocolate slide right off. Toasting the pecans adds amazing flavor. Serve within 24 hours and store in an airtight container layered with parchment paper to avoid sticking.
- Prep Time: 20 minutes
- Cook Time: 10 minutes
- Category: Dessert
- Method: No-Bake
- Cuisine: American
Nutrition
- Serving Size: 1 slice
- Calories: 180
- Sugar: 18g
- Sodium: 60mg
- Fat: 9g
- Saturated Fat: 4g
- Unsaturated Fat: 4g
- Trans Fat: 0g
- Carbohydrates: 25g
- Fiber: 1g
- Protein: 1g
- Cholesterol: 5mg


