Who doesn’t love the sweet crunch of caramel apple slices? They’re everything we adore about fall fairs and cozy kitchen gatherings—just in a bite-sized, mess-free version! Did you know that caramel apples date back to the 1950s, when a Kraft candy maker accidentally invented them while experimenting with leftover caramel? Today, caramel apple slices have become a go-to dessert for parties, school snacks, and festive spreads. In this guide, I’ll show you not only how to make them taste amazing but also how to dress them up for Pinterest-worthy photos!

How to Make Caramel Apple Slices at Home
I still remember the first time I tried making caramel apple slices at home. Thought it would be easy-peasy. Slice, dip, done, right? Nope. The caramel slid right off and pooled into a sticky mess on the plate. I almost gave up, but after a couple of tries (and a few curse words), I figured out a system that actually works.
Choosing the Right Apples
The apple matters more than you’d think. I used to grab whatever was in the fridge, but some varieties just don’t hold up. Granny Smith is my go-to because that tart bite cuts through the sweetness of caramel. Honeycrisp works too if you want something a bit juicier. Avoid super soft apples—they just turn soggy.
The Caramel Problem
Here’s where I really messed up at first: I used store-bought caramel candies, melted them, and dunked the slices. Looked great… until I realized the caramel wouldn’t stick. Turns out, you need to pat the apple slices dry—like really dry. A little moisture and the caramel just slides off. I started blotting them with paper towels, and boom—problem solved.
Quick vs. Slow Method
If I’m in a rush, I’ll toss caramel candies with a splash of heavy cream in the microwave. Takes two minutes. But when I’ve got time, I’ll make caramel on the stovetop with butter, sugar, and cream. The stovetop caramel is thicker and tastes way richer, but the microwave hack is perfect for last-minute cravings.
Keeping It Together
Here’s a trick I learned the hard way: stick skewers or lollipop sticks into the slices before dipping. Not only does it make them easier to eat, but it also helps coat them evenly without dunking your fingers in molten caramel. And if you don’t want the caramel sticking to the plate? Lay the slices on parchment paper—wax paper just makes a mess.
Looking back, I wish someone had told me these things sooner. I wasted a lot of apples before I got it right. But now, making caramel apple slices is second nature, and honestly, it’s one of my favorite “lazy fancy” desserts.
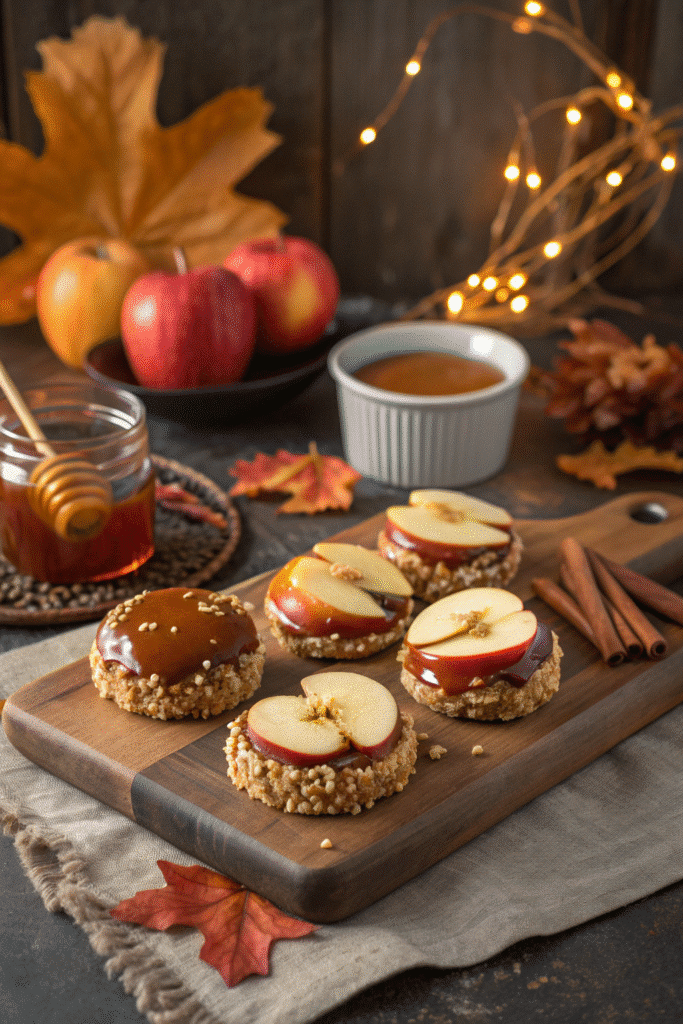
Creative Caramel Apple Slice Toppings
Once I got the hang of making caramel apple slices, the real fun began—toppings! The first time I set out a tray with different toppings, my kids went wild like it was some kind of caramel apple bar. Honestly, I think I enjoyed it even more than they did.
Classic Toppings I Can’t Quit
The old-school combo of caramel and chopped peanuts is still my personal favorite. Something about that salty crunch just feels right. Sprinkles are always a hit with kids, though I’ll admit I once dropped half a bottle of rainbow sprinkles on the counter. That cleanup was not fun. Lesson learned: keep the sprinkles in a shallow bowl, not straight from the container.
Going Gourmet
When I want to impress guests, I step it up with toppings like crushed Oreos, toasted coconut flakes, or even sea salt. Sea salt was a game-changer for me. That tiny sprinkle makes the caramel taste richer, almost like fancy chocolate. I once drizzled dark chocolate over the slices and added a pinch of flaky salt—let’s just say people thought I bought them from a bakery.
Kid-Friendly Favorites
Mini M&M’s, crushed graham crackers, and tiny marshmallows always keep the little ones happy. I’ll be honest, though—I’ve caught myself sneaking the M&M version more than once. Something about the mix of crunchy candy shell and gooey caramel just hits different.
Seasonal Twists
Around Halloween, I use crushed candy corn (even though half my family hates it). For Thanksgiving, pecans and a drizzle of white chocolate feel extra festive. And at Christmas, I once tried crushed peppermint—didn’t think it would work, but it actually tasted amazing with the caramel.
Playing around with toppings turned caramel apple slices from a simple snack into a full-on event at my house. The best part is you really can’t mess it up—well, unless you pile on too much and everything falls off (been there). But hey, that’s part of the fun.
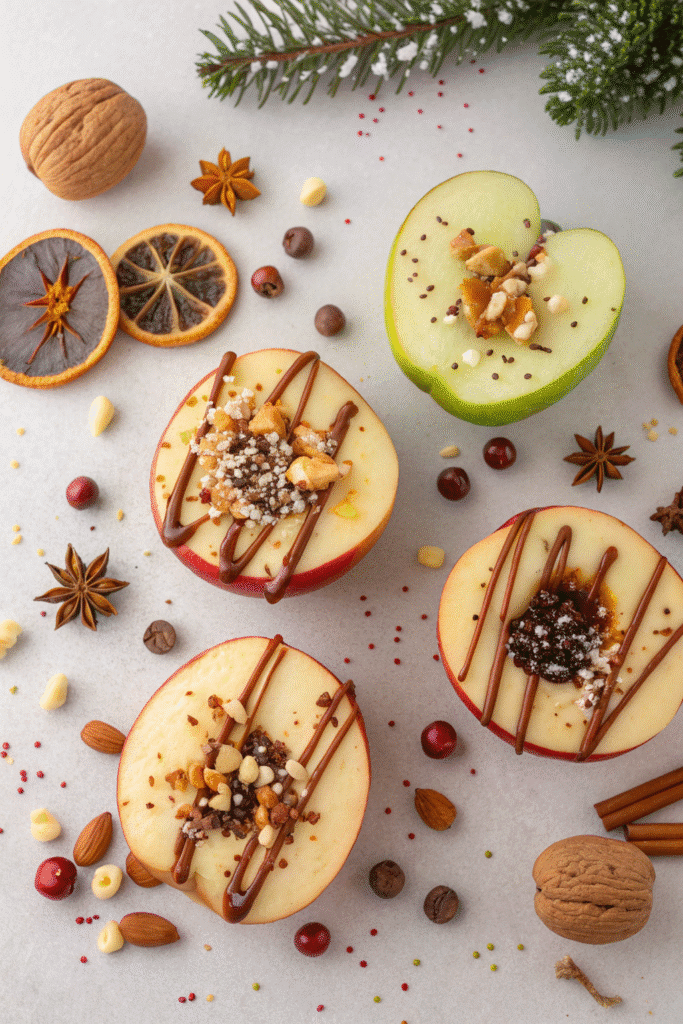
Tips for Serving and Presentation
I’ll be honest, the first few times I made caramel apple slices, they looked… well, kind of sad. Tasted amazing, but on the plate? A sticky pile of chaos. Over time, I picked up some tricks to make them look party-ready, and now people actually ask me how I got them “Pinterest perfect.” Spoiler: it’s not as hard as it looks.
Party-Friendly Serving
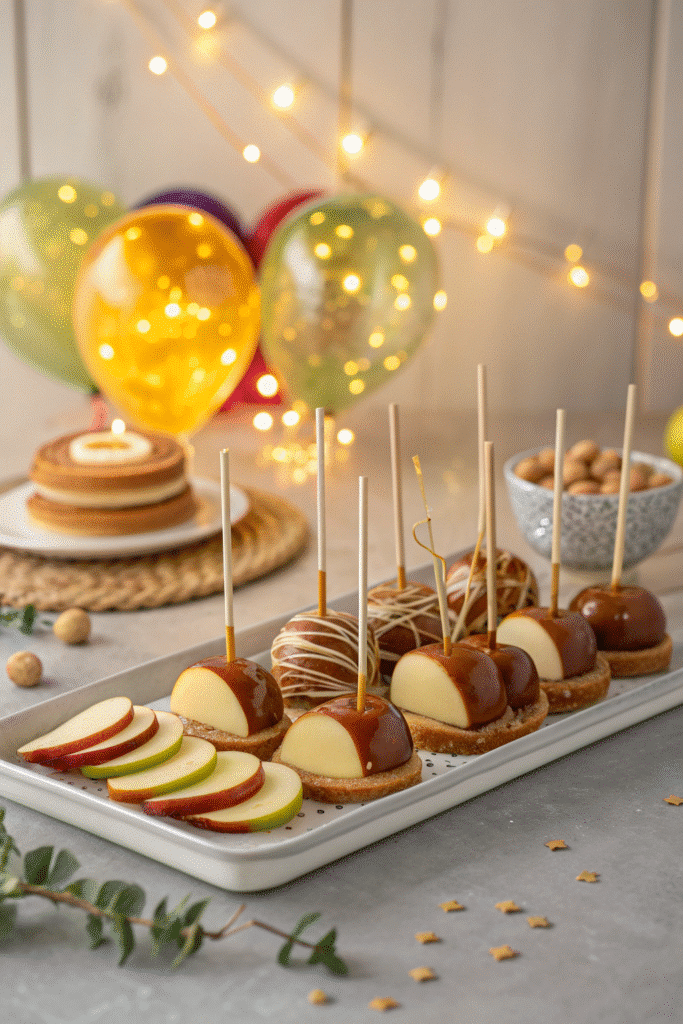
Skewers are my lifesaver. Pop a little stick into each slice and suddenly they go from snack to party food. I once served them without sticks at a birthday party—big mistake. Kids’ fingers were coated in caramel, and parents were giving me the look. Now, skewers or even little paper straws cut in half are my go-to.
The Browning Issue
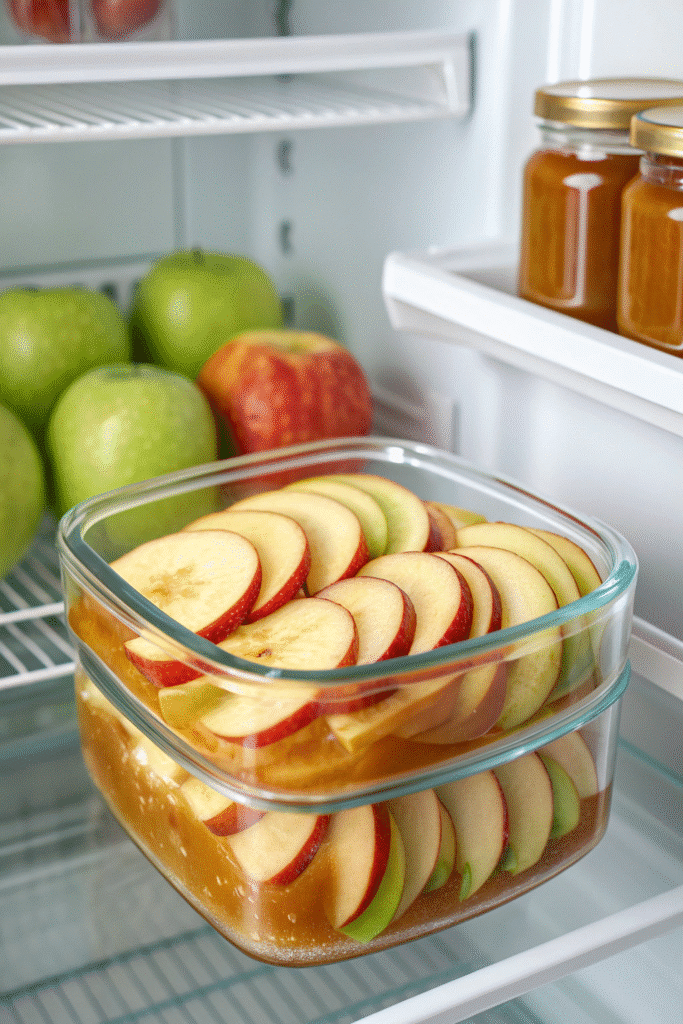
This one drove me nuts. I’d slice the apples too early, and by the time guests arrived, they looked like they’d been sitting out for days. I tried the lemon juice trick, but it left a sour taste. Then I discovered dipping them quickly in Sprite or 7Up works like magic. No weird flavor, and the apples stay fresh longer. Total game changer.
No Sticky Mess
Another rookie mistake? Putting them straight onto a plate. The caramel glued itself down like cement. Now I always use parchment paper or even silicone mats. Makes cleanup about a hundred times easier, and the slices peel off clean.
Making It Pinterest-Worthy
Here’s my favorite part: arranging them. Instead of stacking them in a messy pile, I fan the slices out in circles on a big platter, alternating toppings so it looks colorful. If I’m feeling extra, I’ll drizzle chocolate over the whole tray at the end for that “wow” factor. Once, I even added little cinnamon sticks and fake leaves around the platter—it looked like a mini fall centerpiece.
At the end of the day, presentation is what makes caramel apple slices go from a casual snack to the star of the dessert table. And trust me, once you’ve nailed the look, people will assume you spent way more time on them than you actually did.
Storage and Make-Ahead Tips
I’ll admit it: I used to think caramel apple slices had to be eaten right away. My first attempt at making them ahead of time? Total flop. By the next morning, the apples were brown, the caramel was sliding off, and everything looked like it had survived a food fight. But after a few trials (and errors I’d rather forget), I finally figured out how to keep them fresh.
How Long They Last
Freshly made caramel apple slices are best eaten the same day, no doubt about it. But if you’re prepping for a party, you can stretch them up to 2–3 days in the fridge. I once tried to keep them for a full week—big mistake. The apples turned mushy and the caramel went grainy. Lesson learned: short-term only.
Wrapping and Storing
Plastic wrap doesn’t cut it. The caramel sticks, pulls, and you’re left with a sticky disaster. What works? Laying the slices on parchment paper and then storing them in an airtight container. I’ll sometimes separate layers with parchment too, just to keep them from gluing themselves together.
Can You Freeze Them?
Okay, I’ve tested this so you don’t have to. Freezing caramel apple slices sounds like a clever idea… until you thaw them. The apples turn watery, the caramel cracks, and you’re left with something that belongs in the trash. In short: don’t do it.
Make-Ahead Tricks
If I’m prepping for a party, I’ll slice the apples the night before, give them a quick dip in lemon-lime soda, then store them in a sealed container. On the day of, I dip them in caramel and add toppings. That way, they’re fresh but I’m not scrambling at the last minute. For smaller gatherings, I’ll make the full slices a few hours in advance and keep them chilled until serving.
Honestly, learning these storage tricks saved me so much stress. Now I can whip up caramel apple slices the day before and actually enjoy the party instead of being stuck in the kitchen, covered in caramel.
So there you have it—everything I’ve learned (the hard way) about caramel apple slices. From picking the right apples to keeping the caramel from sliding off, to making them look like they belong in a Pinterest board, it’s been a journey. Funny thing is, what used to frustrate me in the kitchen is now one of my favorite little traditions.
If you take anything away from this, it’s that caramel apple slices don’t have to be complicated. Dry the apples, use parchment, and have fun with toppings. That’s it. And trust me—once you serve these at a party, people will ask for them again and again. I’ve even had friends text me later for “the secret” like I’m running some underground caramel apple business.
Now it’s your turn. Try them out, get creative, and don’t stress if they’re not perfect the first time. Half the fun is experimenting (and taste-testing along the way). And hey, if you liked these tips, do me a favor—save this on Pinterest so you’ll have it handy the next time you’re craving something sweet, crunchy, and a little messy. Because honestly? Caramel apple slices are worth every sticky finger.
Print
Caramel Apple Slices: The Perfect Treat for 2025
Who doesn’t love the sweet crunch of caramel apple slices? They’re everything we adore about fall fairs and cozy kitchen gatherings—just in a bite-sized, mess-free version!
- Total Time: 25 minutes
- Yield: 12 slices 1x
Ingredients
- 3–4 Granny Smith or Honeycrisp apples
- 1 bag of caramel candies or homemade caramel
- 2 tbsp heavy cream (if using caramel candies)
- Assorted toppings: chopped peanuts, crushed Oreos, mini M&M’s, sprinkles, sea salt, toasted coconut, crushed graham crackers, mini marshmallows, crushed candy corn, crushed peppermint, white or dark chocolate for drizzle
- Skewers, lollipop sticks, or paper straws (cut in half)
- Parchment paper or silicone mats
- Optional: lemon-lime soda for pre-soaking slices
Instructions
- Wash and slice apples into thick wedges.
- Pat the apple slices completely dry using paper towels.
- If using caramel candies, melt them with 2 tbsp heavy cream in the microwave in 30-second intervals, stirring until smooth. For stovetop method, melt butter and sugar with cream until thick and golden.
- Dip the tip of each slice into the caramel and twirl to coat. Use a skewer or lollipop stick for easier handling.
- Quickly add your toppings before the caramel sets.
- Place dipped slices on a parchment or silicone-lined tray.
- Optional: fan out on a serving platter and drizzle chocolate over the top for a festive look.
- For best results, serve immediately or refrigerate for up to 2–3 days in an airtight container.
Notes
Dip apple slices in Sprite or 7Up before drying to prevent browning without affecting flavor. Avoid freezing. Always use parchment or silicone to prevent sticky messes.
- Prep Time: 20 minutes
- Cook Time: 5 minutes
- Category: Dessert
- Method: No-Bake
- Cuisine: American
Nutrition
- Serving Size: 1 slice
- Calories: 120
- Sugar: 16g
- Sodium: 60mg
- Fat: 4g
- Saturated Fat: 2g
- Unsaturated Fat: 1g
- Trans Fat: 0g
- Carbohydrates: 22g
- Fiber: 1g
- Protein: 0g
- Cholesterol: 5mg


