There’s something magical about biting into a dessert that tastes like fall wrapped in a warm hug. Did you know that apple desserts are among the top 5 most searched fall recipes every year? 🍂 Well, these Caramel Apple Cheesecake Crumble Bars take the crown! They’re sweet, creamy, buttery, and spiced just right — a total game-changer for potlucks, bake sales, or cozy nights in. I still remember the first time I made these; the kitchen smelled like a bakery, and the bars disappeared before they even cooled. Let’s dive in and bake up some joy!

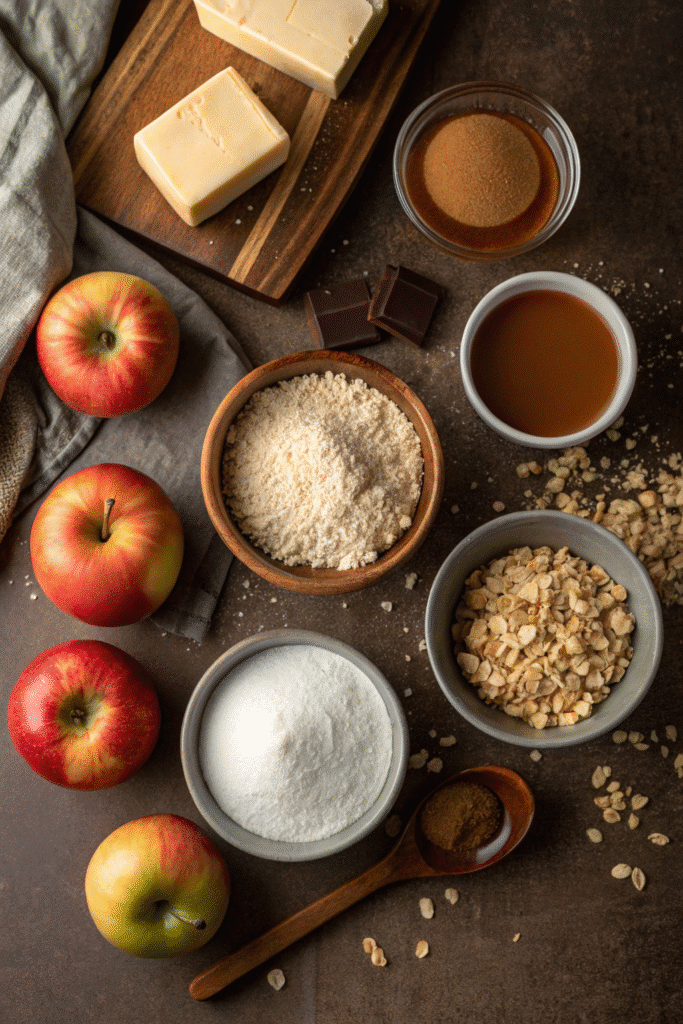
Ingredients You’ll Need
I’m gonna be real with you—back in the day, I thought I could just eyeball ingredients and still end up with a Pinterest-worthy dessert. Spoiler alert: I ended up with a soggy mess that tasted more like sweet scrambled eggs than cheesecake. So trust me when I say, these Caramel Apple Cheesecake Crumble Bars only turn out amazing when you’ve got the right lineup in your kitchen.
Let’s break it down layer by glorious layer.
The Buttery Crust
- All-purpose flour: This forms the structure of the base. Nothing fancy needed—just regular unbleached flour does the job perfectly.
- Brown sugar: Adds sweetness with a deep, molasses kick that white sugar can’t compete with. I always pack it tight in the cup.
- Salted butter: I use salted. Always have, always will. It cuts through the sweetness, and honestly, it’s what’s usually in my fridge. Soften it, don’t melt it—there’s a difference. Melted butter gives you sludge, not a crust.
This layer bakes up like a cookie foundation. If it’s too dry, it crumbles. Too wet? It turns gummy. I once used margarine thinking it wouldn’t matter—huge mistake. The flavor was flat and the texture? Spongy. Never again.
The Cheesecake Filling
- Cream cheese: Full fat. Don’t skimp here. Light versions make the mixture runny and weird. Let it come to room temp or you’ll be fighting lumps with a hand mixer for days.
- Granulated sugar: Keeps things sweet but balanced. I’ve tried honey or maple syrup instead, and while those are fun, they totally change the texture.
- Egg: Just one. It binds the layer together. If you overmix this, it’ll puff up and crack like a bad soufflé. Been there, done that.
- Vanilla extract: Real stuff if you can swing it. Adds depth and warmth that fake vanilla just doesn’t deliver.
The cheesecake layer is honestly what makes these bars feel special. Rich but not too heavy. Just sweet enough without making your teeth ache.
The Apple Layer
- Granny Smith apples: Tart, firm, and they don’t turn to mush when baked. I peel and dice them small so they melt right into the cheesecake.
- Cinnamon and nutmeg: I eyeball it, but usually around a teaspoon of cinnamon and a pinch of nutmeg. Don’t go overboard or it starts tasting like a candle.
- All-purpose flour (again): Just a tablespoon tossed with the apples so they don’t leak juice and ruin the texture. Learned this the hard way after ending up with soggy bars.
You can use other apples, sure. But avoid Red Delicious—they’re terrible for baking. Mushy, watery, just no.
The Crumble Topping
- Oats: Old-fashioned rolled oats only. Quick oats get mushy, steel-cut are too hard. Ask me how I know.
- Brown sugar and flour: Same as the crust, just in smaller amounts.
- More butter: Yes, more. Cut in cold butter until you’ve got pea-sized chunks. I use a fork, but a pastry cutter makes it quicker.
When this topping crisps up in the oven and mixes with the gooey caramel? Pure bliss.
Optional But Awesome
- Caramel sauce: Store-bought works, but homemade is next level. Drizzle it after baking for that gooey finish.
- Sea salt: Just a sprinkle on top if you like salty-sweet contrast. I skip it when serving kids, but it’s my favorite twist.
That’s it. Keep these ingredients on hand during fall and you’ll always be ten minutes away from dessert greatness. Next up? Let’s actually bake these bars without messing it up like I did the first three times.
Step-by-Step Baking Instructions
Okay, so now that you’ve got all your ingredients laid out—hopefully without subbing margarine for butter or skipping the apples (yes, I’ve seen that happen)—let’s get into the actual baking. I’ll walk you through it like I’m in the kitchen next to you, because I’ve messed this up enough times to know exactly where things can go sideways.
1. Preheat and Prep
Start by preheating your oven to 350°F. Don’t wait to do this later. You want it hot and ready by the time your crust is assembled. I usually grease a 9×13 pan and line it with parchment paper. The parchment isn’t just for looks—it makes it way easier to lift the bars out clean later. I forgot it once and ended up chipping away at the pan like I was mining for treasure.
2. Make the Crust
In a medium bowl, mix flour and brown sugar together first, then cut in your softened butter until it’s crumbly but still holds together when you press it. Think damp sand. Press this mixture evenly into your prepared pan. Use the bottom of a measuring cup for even pressure—trust me, fingers leave dips.
Bake this base layer for about 12–15 minutes, or until the edges just start turning golden. Don’t overbake here. It still has to go back in with the other layers.
3. Cheesecake Layer Time
While the crust is baking, whip your cream cheese until smooth. Like, actually smooth. No chunks. Add sugar, then the egg, then vanilla. In that order. Mix just until it all comes together. Overbeating adds air and leads to cracks. I learned that one during Thanksgiving when my bars split like the Grand Canyon.
Pour this cheesecake mixture gently over your hot crust. Don’t worry if the crust is warm—the cheesecake will settle right in.
4. Apple Magic
Toss your chopped Granny Smiths with cinnamon, nutmeg, and a touch of flour. That flour is key—it keeps the apple juice from pooling up and drowning your cheesecake. Scatter the coated apples evenly over the cheesecake. Not too clumpy. Try to cover most of the surface.
5. Crumble Like a Pro
Now for the buttery oat crumble. Combine your oats, flour, brown sugar, and cold butter. Cut it in until you’ve got small, uneven crumbs. It should resemble coarse granola, not a paste. Sprinkle that mess generously over the apples. The unevenness actually helps with the crunch factor.
6. Bake It All Together
Pop the whole pan back into the oven and bake for 35–40 minutes. The top should be golden brown and the center just slightly jiggly. Don’t overbake. If it’s too firm, the cheesecake gets rubbery. I usually start checking at 33 minutes, especially if my oven’s been acting moody.
7. Cooling Is Everything
Once it’s out, don’t even think about cutting into it yet. Let it cool to room temp, then stick it in the fridge for at least 3 hours—overnight is best. I once served them warm out of impatience, and the layers collapsed into a blob. Still tasted good, but it wasn’t pretty.
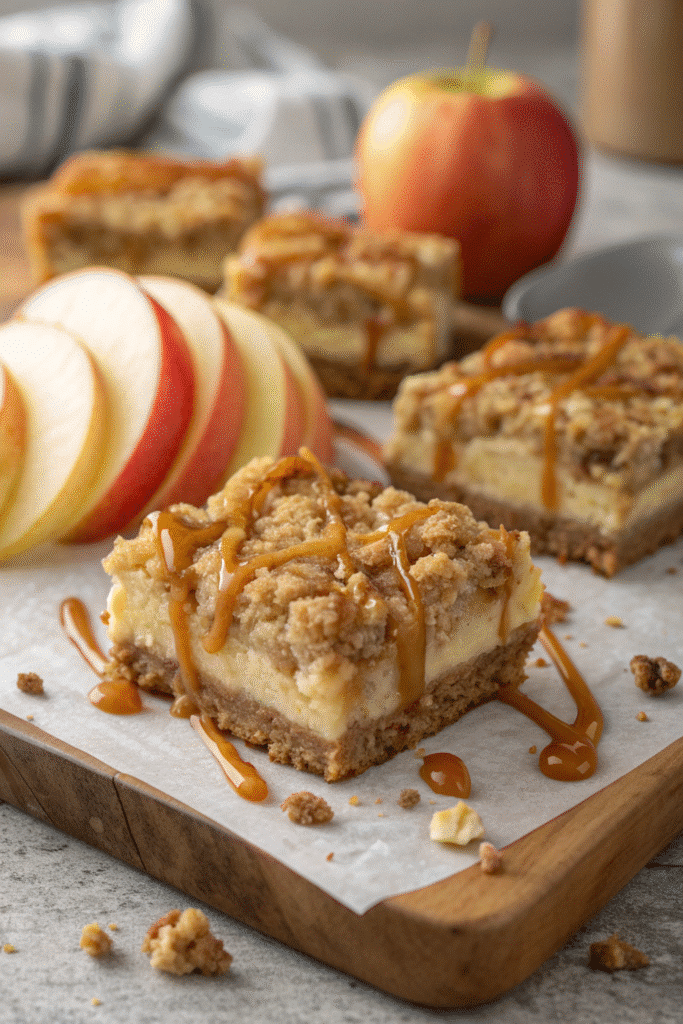
After they’ve chilled, slice into bars with a sharp knife. Wipe between cuts for those perfect edges. And don’t forget to drizzle caramel over the top if you want to go full showstopper mode.
There you go—bar-by-bar instructions without the fluff. Up next? Let me tell you about all the dumb little mistakes I made and how you can avoid them in the tips section.
Tips for Perfect Apple Cheesecake Bars
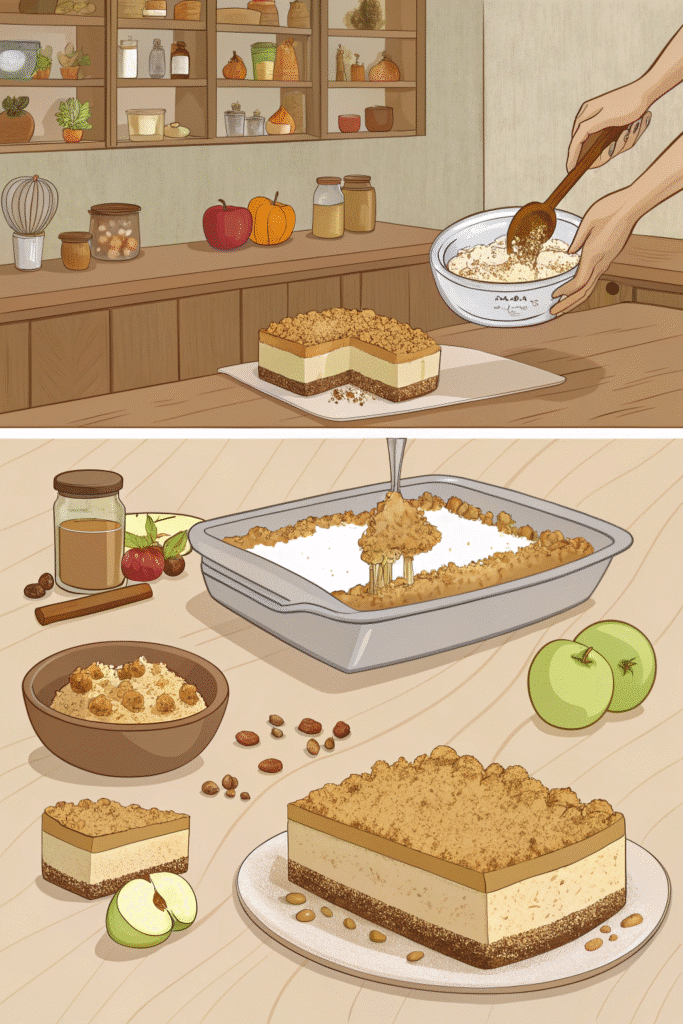
You’d think a dessert with layers of crust, cheesecake, apples, and crumble would be bulletproof, right? Yeah, no. These Caramel Apple Cheesecake Crumble Bars are totally worth it, but man, they’ve taught me a few lessons the hard way. So here’s everything I wish someone had told me before my first three failed batches.
Don’t Skip the Room Temp Cream Cheese
I used to think I could save time by tossing cold cream cheese straight into the mixer. Big mistake. What I ended up with was lumpy batter that no amount of mixing could fix. And the more I mixed, the more air I whipped in—which led to cracked cheesecake and weird, bubbly texture. Let your cream cheese sit out for at least an hour before you start. It should feel soft and spreadable. Trust me, it’s worth the wait.
Don’t Overmix the Cheesecake Filling
You want the cheesecake layer smooth, not fluffy. This isn’t a mousse. Mix it just until the ingredients are combined. If you go too long, you’ll end up with air pockets that rise and fall like a bad soufflé. I’ve had batches where the center sank so hard it looked like someone stomped on it.
Use Firm Apples, Always
Granny Smith apples are your best bet. They hold their shape and give you that nice tart contrast to the sweet layers. I tried using Gala once—too soft. They practically disappeared after baking. If you want texture, stick with firm apples. And chop them small so you get that nice bite in every bar.
Toss the Apples with Flour
Seems like a tiny step, but skipping this ruined a whole batch for me. The apples released so much juice, the crust turned soggy and the cheesecake layer slid around like pudding. A tablespoon of flour helps soak up the extra moisture and keeps the layers intact.
Don’t Melt the Butter for the Crust or Crumble
Softened butter is key. Melted butter turns your crust into a greasy mess and your crumble into a paste. I use a fork or pastry cutter to mix in cold or softened butter. It takes a bit longer, but you get that perfect, crumbly texture instead of an oily blob.
Chill the Bars Before Cutting
I know, it’s hard. They smell amazing, and it’s tempting to dive in right out of the oven. But you need to chill them. Otherwise, you’ll end up with a delicious, gooey mess that doesn’t hold its shape. Let them cool completely on the counter, then refrigerate for at least 3 hours. I usually make them the night before and cut them in the morning.
Don’t Skimp on the Caramel Drizzle
It’s not just for looks. That drizzle of caramel adds a layer of flavor that pulls everything together. I’ve used both store-bought and homemade, and honestly? They both work. Just don’t skip it. The saltiness and sweetness bring out the apple and cream cheese beautifully.
Look, these aren’t one-bowl brownies. But if you follow these tips, they’ll turn out bakery-quality every time. Next up, I’ll show you exactly how to store and freeze them without losing that perfect texture.
How to Store and Freeze Them
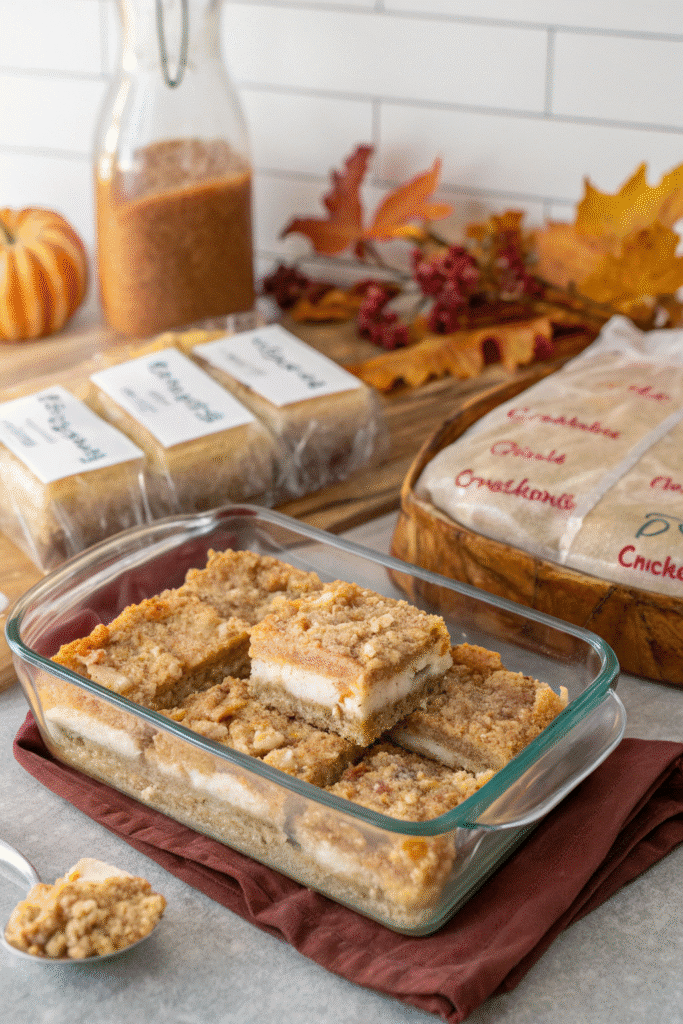
Here’s the thing no one tells you after you’ve just spent over an hour baking these: storage makes or breaks the leftovers. I used to just toss the pan in the fridge uncovered and hope for the best. Spoiler: that never ends well. These Caramel Apple Cheesecake Crumble Bars are like a good lasagna—they’re even better the next day if you store them right.
Storing in the Fridge
First off, they absolutely need to be stored in the refrigerator. You’ve got cream cheese in there, and that means it’s a dairy situation. Leave them out overnight and you’ll end up with a questionable science experiment. I cut the bars once they’ve chilled fully—usually after three or four hours in the fridge—then store them in a single layer in an airtight container.
If I’m stacking them (which I try to avoid), I use parchment paper between layers to keep the crumble topping from sticking to the bottom of the bar above it. Learned that the hard way when half the topping came off and stuck to the lid.
Stored this way, they’ll last 4–5 days and still taste fresh. In fact, I think they hit peak flavor around day two. The layers firm up a little, and the flavors meld together just right. But don’t push it beyond five days. The apples start getting soft, and the crumble topping loses its magic.
Freezing Like a Pro
Now, freezing. Yes, it can be done, and yes, it works beautifully if you do it right. I’ve had success freezing a full batch when prepping ahead for Thanksgiving chaos. Here’s how:
Let the bars cool completely and chill them in the fridge first. You want them cold and set before freezing or they’ll stick together and get freezer burn.
Wrap each bar individually in plastic wrap—tight, like a little cheesecake burrito. Then pop them into a freezer-safe container or a big zip-top bag. Make sure to press out as much air as you can.
When you’re ready to eat, just unwrap and thaw them in the fridge overnight. They’ll be slightly softer, but honestly still amazing. Don’t try microwaving them. I made that mistake once and ended up with soggy crust and rubbery cheesecake. It was sad.
Also, skip the caramel drizzle before freezing. Add that fresh after thawing, or it’ll just get weird in texture. You can store the drizzle separately in a little jar in the fridge—it lasts weeks and is perfect for pancakes too, by the way.
These bars freeze well for up to two months, but they rarely last that long in my house. I swear someone always finds them no matter how well I hide the container.
So yeah—store them smart, and you’ll get to enjoy your hard work over a few days (or weeks). Next up, let’s talk about fun ways to serve these and a few tweaks to make them fit every kind of sweet tooth.
Serving Ideas and Variations
Once you’ve nailed the base recipe—and I know you will—there’s so much room to get creative with these Caramel Apple Cheesecake Crumble Bars. I’ve tried a bunch of variations, both on purpose and by accident (don’t ask), and honestly? A few of those “oops” moments turned into regular favorites.
Let’s Start with Serving
First off, these bars aren’t just for dessert. I’ve served them at brunch, wrapped them in wax paper for school lunches, and even snuck one for breakfast with my coffee. No regrets. They’re rich, yes, but somehow not too heavy. That combo of apple, cinnamon, and cheesecake just hits the right notes any time of day.
One of my favorite ways to serve them is with a scoop of vanilla bean ice cream. Sounds obvious, but it takes things to another level. The warm spices from the bars plus the cold, creamy ice cream? Pure comfort. If I’m feeling extra, I whip up some cinnamon-spiked whipped cream and pipe it on top. Fancy, but easy.
Want a little crunch? A sprinkle of toasted pecans or walnuts right before serving works like magic. The texture contrast is seriously underrated. I’ve also dusted them with powdered sugar just before plating. It adds that “bakery touch” even if they’ve been chilling in my fridge for three days.
And don’t forget the caramel drizzle. If you’ve got a thick salted caramel sauce—homemade or store-bought—hit each square with a little zigzag before serving. It ties all the flavors together.
Variations Worth Trying
Now, let’s talk tweaks. I’ve made these gluten-free by swapping the flour with a 1:1 gluten-free blend. Bob’s Red Mill is my go-to. The crust turns out a bit softer, but still holds up well.
For a dairy-free version, I’ve subbed in dairy-free cream cheese (the Kite Hill one works pretty well) and used a plant-based butter for the crust and crumble. You’ll want to avoid apples that are too juicy here—Fuji or Gala get too wet when baked without the structure of regular cream cheese.
Another fun twist? Turn the bars into mini parfaits. I did this for a baby shower once—layered crumbled crust, the cheesecake filling, and sautéed apples in little mason jars. Topped with crumble and caramel, of course. Huge hit. Plus, it meant no slicing or serving mess.
You can even swap out the apples for pears or mixed berries if apples aren’t your thing. Just make sure to adjust the spice level. Cinnamon and nutmeg go great with apples, but berries might need a little vanilla and lemon zest instead.
So whether you’re serving them at a fancy dinner or just eating one straight out of the container in your pajamas (guilty), these bars can flex to fit any occasion. That’s part of what makes them so addictive.
Next up, I’ll wrap things up with a quick recap and a little nudge to share the love—because yes, people will want the recipe.
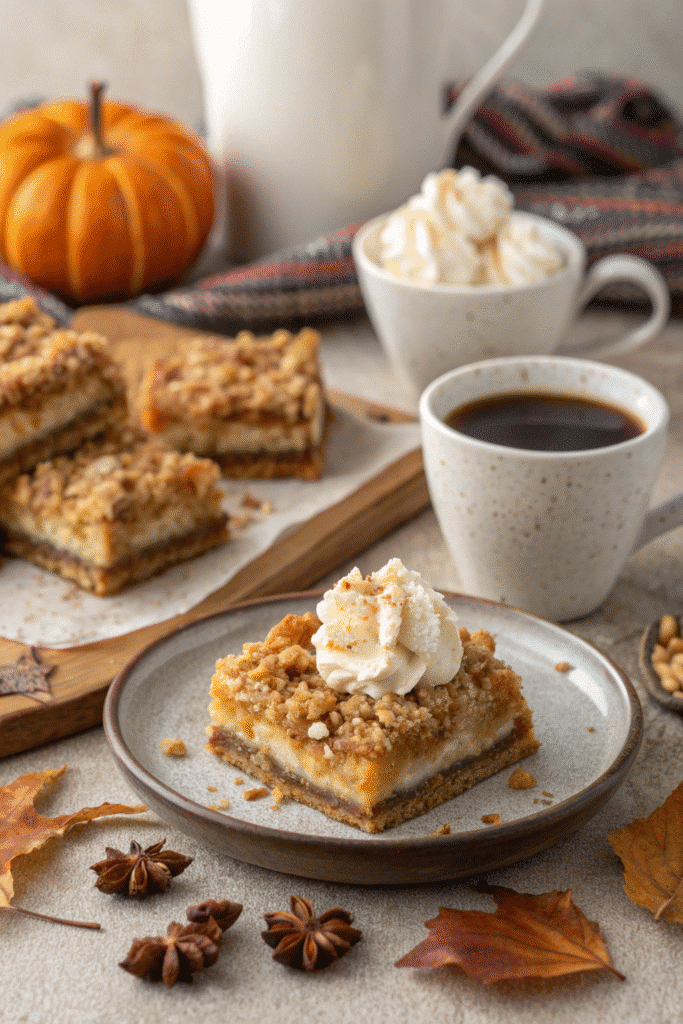
So there you have it—Caramel Apple Cheesecake Crumble Bars from top to bottom. If you made it this far, I hope you’re either halfway through baking these or at least seriously considering it. Because trust me, this recipe is one of those gems that ends up in your regular rotation whether you meant for it to or not.
We’ve covered everything—from picking the right apples (Granny Smith or bust), to getting that cheesecake layer smooth as silk, to not skipping the chill time (seriously, just don’t). Whether you serve these up warm with ice cream or straight from the fridge with a spoon, they deliver every single time. The layers hit just right—the buttery base, the creamy middle, the tart apples, that crumbly top, and then that final caramel drizzle tying it all together. It’s fall in bar form.
And yeah, I’ve made mistakes with this recipe. Plenty. But that’s how I figured out all the little tips that actually make a difference. So if your first batch comes out a little wonky? Try again. You’ll get there. And once you do? You’ll be hooked. These bars are like the baking version of a crowd-pleasing playlist—something for everyone, and zero complaints.
One last thing—if you liked this recipe, do me a favor and share it on Pinterest. That little “Pin It” button? Hit it. Not because I need the traffic (though hey, that’s nice), but because someone out there is searching for the perfect fall dessert right now, and this might be the one that finally gets them baking.
Happy baking. And if your kitchen smells like cinnamon and caramel right now? You did it right.
Print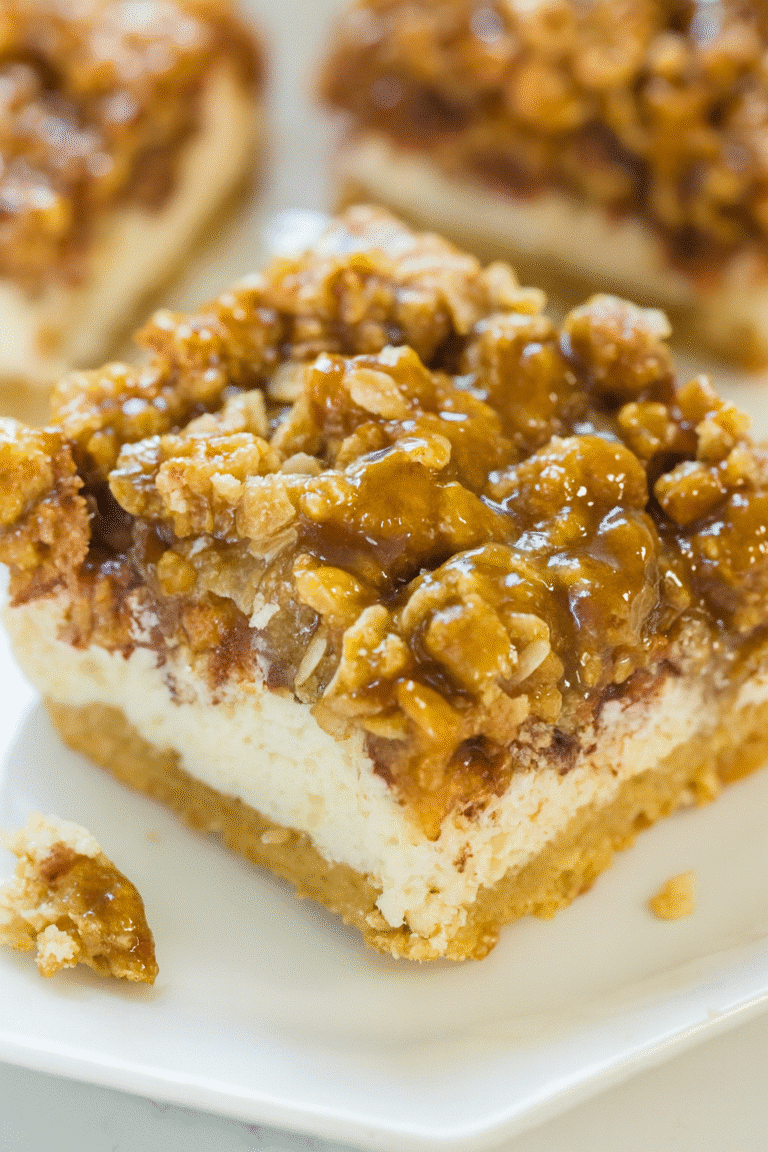
Caramel Apple Cheesecake Crumble Bars
These Caramel Apple Cheesecake Crumble Bars are sweet, creamy, buttery, and spiced just right — perfect for potlucks, bake sales, or cozy nights in.
- Total Time: 1 hour 15 minutes
- Yield: 16 bars 1x
Ingredients
- 1 1/2 cups all-purpose flour (for crust)
- 1/2 cup packed brown sugar (for crust)
- 3/4 cup salted butter, softened (for crust)
- 2 packages (8 oz each) full-fat cream cheese, room temperature
- 1/2 cup granulated sugar
- 1 large egg
- 1 tsp vanilla extract
- 2 Granny Smith apples, peeled and finely chopped
- 1 tsp ground cinnamon
- Pinch of ground nutmeg
- 1 tbsp all-purpose flour (for apples)
- 3/4 cup old-fashioned oats
- 1/3 cup packed brown sugar (for crumble)
- 1/3 cup all-purpose flour (for crumble)
- 1/4 cup cold salted butter, cubed (for crumble)
- Optional: Caramel sauce for drizzling
- Optional: Sea salt for garnish
Instructions
- Preheat oven to 350°F. Grease and line a 9×13 pan with parchment paper.
- For the crust: In a medium bowl, mix flour and brown sugar. Cut in softened butter until crumbly. Press evenly into prepared pan. Bake 12–15 minutes until edges start to brown.
- For cheesecake layer: Beat cream cheese until smooth. Add sugar, then egg, then vanilla, mixing just until combined. Pour over warm crust.
- For apple layer: Toss chopped apples with cinnamon, nutmeg, and 1 tbsp flour. Spread evenly over cheesecake layer.
- For crumble topping: Mix oats, brown sugar, and flour. Cut in cold butter until pea-sized crumbles form. Sprinkle over apples.
- Bake 35–40 minutes until golden on top and center is slightly jiggly. Cool completely, then refrigerate at least 3 hours or overnight.
- Slice into bars. Drizzle with caramel and sprinkle sea salt if desired. Store in fridge.
Notes
Let cream cheese come to room temperature to avoid lumps. Don’t skip chilling—these bars slice best when cold. Avoid Red Delicious apples; use Granny Smith for best texture.
- Prep Time: 20 minutes
- Cook Time: 55 minutes
- Category: Dessert
- Method: Baking
- Cuisine: American
Nutrition
- Serving Size: 1 bar
- Calories: 290
- Sugar: 18g
- Sodium: 160mg
- Fat: 19g
- Saturated Fat: 11g
- Unsaturated Fat: 6g
- Trans Fat: 0g
- Carbohydrates: 26g
- Fiber: 1g
- Protein: 3g
- Cholesterol: 50mg


