“Did you know that snacking accounts for nearly 50% of our daily eating occasions?!” I stumbled across that stat recently, and it hit me – if we’re going to snack that often, it better be delicious and good for us! That’s exactly where Berry Granola Yogurt Bark comes in. It’s light yet satisfying, sweet but not overloaded with sugar, and so pretty that it looks like it belongs in a Pinterest food board. In this guide, I’ll walk you through how to make this no-bake treat, tips for perfecting the texture, and creative variations to keep it exciting. Whether you’re meal-prepping breakfasts or just need a mid-afternoon pick-me-up, this is a snack you’ll be proud to share.
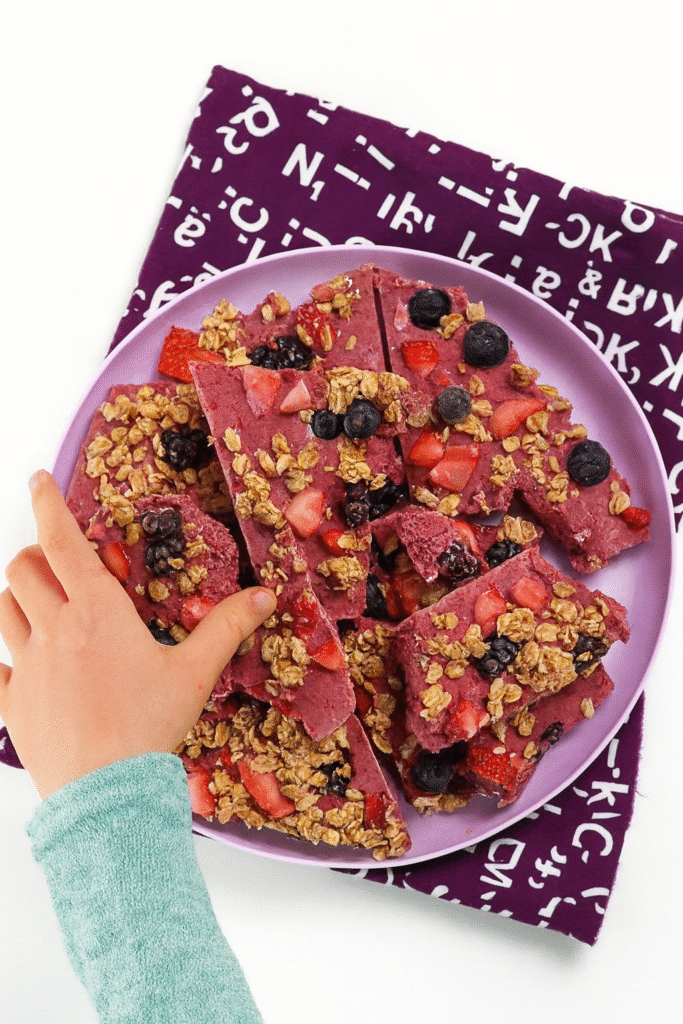
Ingredients You’ll Need for Berry Granola Yogurt Bark
I still remember the first time I made Berry Granola Yogurt Bark—I thought, “Oh, this will be a quick throw-together snack,” and then I spent way too long just picking the right berries at the farmers’ market. Yeah, I’m that person. But here’s the thing: the ingredients you choose really do make all the difference.
Yogurt: The Creamy Base
If you’re going for creamy and slightly tangy, Greek yogurt is your best friend. The thicker texture holds up beautifully when frozen, so your bark doesn’t turn into a brittle sheet of ice. I’ve tried regular yogurt too, but it can get a little icy, especially if it’s low-fat. Pro tip? If you must use regular yogurt, mix in a bit of cream cheese or strained yogurt to thicken it up. That way, when you bite into it, you get more “creamy treat” and less “oh no, my teeth!”
Berries: Sweet, Tart, and Colorful
This snack isn’t called Berry Granola Yogurt Bark for nothing. Fresh berries are the star—strawberries for sweetness, blueberries for that pop of color, raspberries for tang. If you’re in a pinch, frozen berries work fine. Just thaw and pat them dry before adding them, otherwise you’ll get weird ice crystals in your bark. I once skipped that step, and it was like biting into mini ice bombs. Never again.
Granola: The Crunch Factor
Granola gives you that satisfying crunch. I like to use one with clusters—less dust, more texture. A honey-almond granola pairs beautifully with the berries, but honestly, you can’t go too wrong here. Just avoid granolas with too many chocolate chunks or chewy dried fruit, unless that’s the vibe you’re going for.
Optional Add-ins
This is where you can have some fun. A sprinkle of chia seeds? Great for an extra crunch and fiber boost. A light drizzle of honey? Sweetens the deal without overpowering the fruit. I’ve even swirled in a spoonful of peanut butter for a PB&J-style bark, and it was dangerously addictive.
Quick Tip: Lay out your ingredients before you start. It’s one of those recipes that goes fast once you spread the yogurt, so you want your toppings ready to go. I learned this the hard way when I was digging for the granola mid-spread, and my yogurt started melting before it even hit the freezer.
The beauty of this recipe is its flexibility. You don’t need to overthink it—just aim for fresh, flavorful, and texturally balanced. In my kitchen, that means thick yogurt, juicy berries, crunchy granola, and a little creative flair. With the right combo, your Berry Granola Yogurt Bark will not only taste amazing but also look Pinterest-perfect.
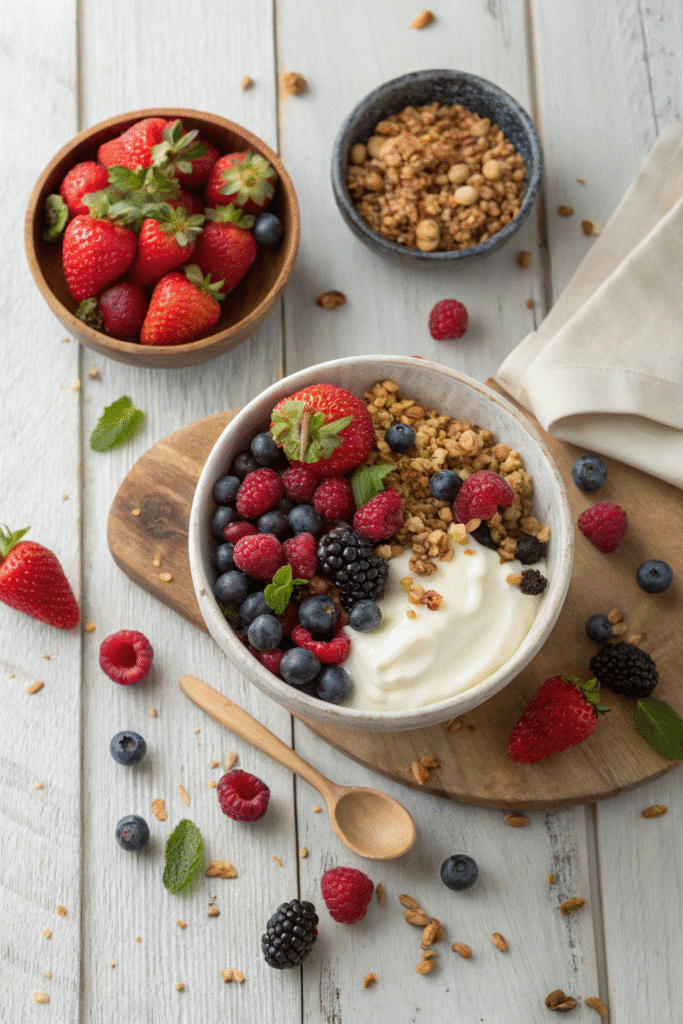
Step-by-Step Instructions for Perfect Yogurt Bark
When I first made Berry Granola Yogurt Bark, I thought it was impossible to mess up. Spoiler: I was wrong. The first batch came out looking like a frozen, uneven snowbank with sad clumps of granola sliding off. But after a few tries (and more than a few snack breaks), I figured out the steps that actually give you that smooth, beautiful bark you see on Pinterest.
Step 1: Prep Your Pan
Grab a baking sheet and line it with parchment paper. I once used wax paper thinking, “Eh, same thing,” and ended up peeling paper bits off my bark like I was unwrapping a sticker from a glass jar. Trust me, parchment is the way to go.
Step 2: Make the Yogurt Base
Spoon your yogurt into a mixing bowl. If you like it a little sweeter, stir in honey or maple syrup at this stage. I usually add about 1–2 tablespoons for a medium batch. This is also the time to add any flavor boosters—vanilla extract is a personal favorite. Mix until smooth.
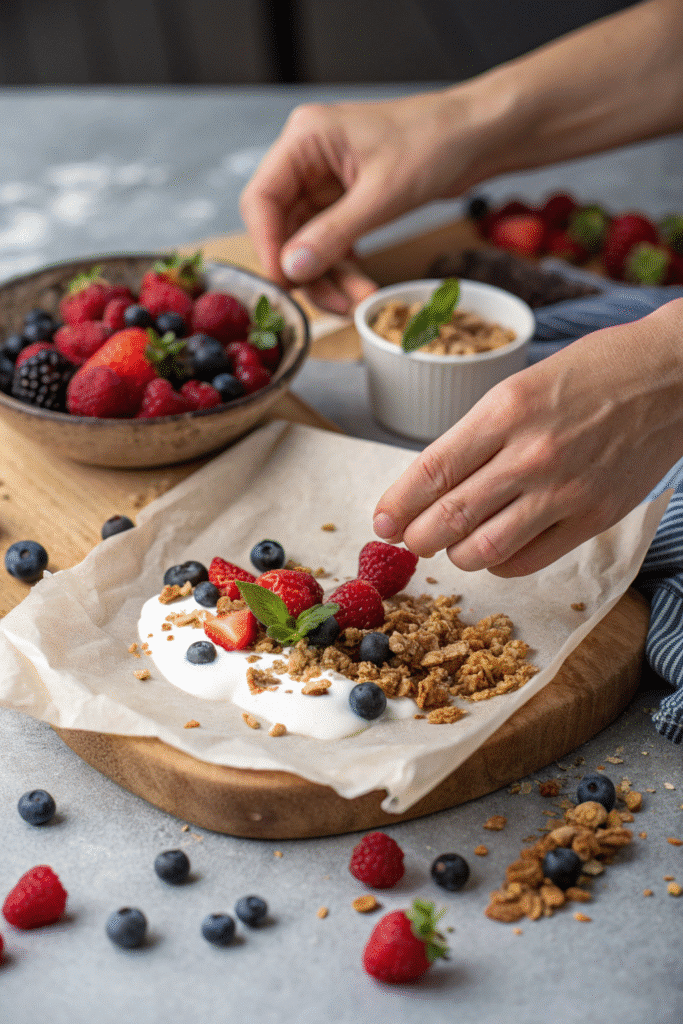
Step 3: Spread It Out Evenly
Pour the yogurt mixture onto your lined pan and use the back of a spoon or spatula to spread it into an even layer, about ¼ inch thick. Too thin, and it’ll shatter into tiny shards. Too thick, and it’ll take forever to freeze. I aim for “just thick enough that I can still see swirls from my spoon.”
Step 4: Add the Toppings
Here’s the fun part—scatter your berries evenly across the surface. I try to alternate colors so every slice looks pretty (yes, I’m that person). Then sprinkle your granola over the top, making sure some clusters land near the edges so every piece gets crunch.
Step 5: Freeze It
Place the pan in the freezer for at least 3–4 hours, or overnight if you can. This is where patience comes in. One time I tried to cut it after just an hour because I “couldn’t wait,” and it turned into yogurt mush. Not my best moment.
Step 6: Cut and Store
Once it’s fully frozen, lift the bark out using the parchment and break it into pieces. I like to make a mix of big and small chunks—big ones for breakfast, small ones for quick snacking. Store them in an airtight container in the freezer, and they’ll last up to two months.
Following these steps has saved me from a lot of yogurt bark heartbreak. Now, every time I make Berry Granola Yogurt Bark, it comes out creamy, crunchy, and totally freezer-ready. And yes, I still “taste test” before putting it away… just to be sure, of course.
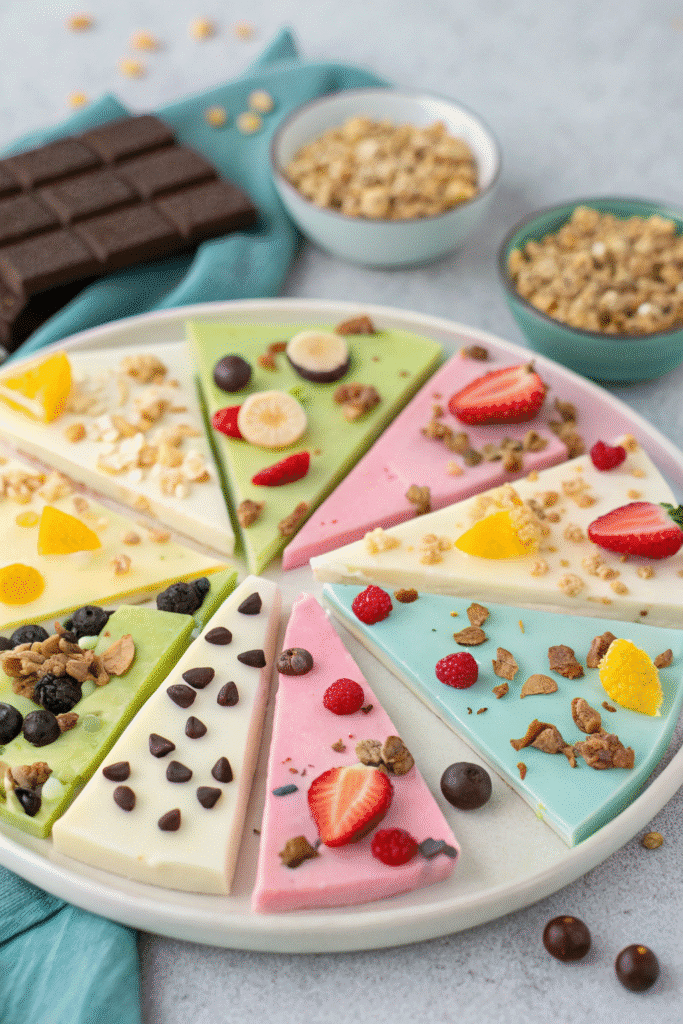
Flavor Variations to Try
One of the best parts about making Berry Granola Yogurt Bark is that you’re never stuck with just one flavor. Sure, the classic berry version is amazing, but I get bored if I make the same thing week after week. So, over the years (and plenty of taste-testing sessions), I’ve played around with different combos. Some were… let’s just say “experimental” and not worth repeating. But others? Oh, they became instant favorites.
Tropical Twist
If you want a vacation in snack form, go tropical. Swap the berries for pineapple chunks, mango slices, and a sprinkle of shredded coconut. The first time I tried this, I used toasted coconut flakes and—wow—it was like biting into a beach day. Pair it with a light drizzle of honey, and you’ll have a sunny, sweet snack that brightens even the grayest mornings.
Chocolate Berry Indulgence
I call this my “dessert bark,” even though it’s still pretty healthy. Start with the classic berry mix, then melt a little dark chocolate and drizzle it over the yogurt before freezing. I’ve also done a white chocolate drizzle with strawberries, and it looks so fancy that guests think I bought it from a bakery. Bonus points if you sprinkle cocoa nibs on top for extra crunch.
Nutty Honey Crunch
For those who like a little more heft in their snack, add chopped almonds, pecans, or walnuts to the granola topping. Drizzle with honey before freezing so the nuts stick in place. I love this version for breakfast—it feels a bit more filling and pairs perfectly with a hot cup of coffee.
Kid-Friendly Rainbow Bark
If you’re making Berry Granola Yogurt Bark for kids (or just for fun), go for a rainbow effect. Use different colored fruits—blueberries, strawberries, kiwi, pineapple—and scatter them in sections. I once made this for a friend’s birthday brunch, and the platter disappeared before the coffee finished brewing.
Quick tip for flavor experimenting: Keep your yogurt base consistent so you can focus on changing up the toppings. I’ve found that if I mess too much with the yogurt flavor and the toppings, the result can get a little chaotic. It’s kind of like pizza—start with a good crust, then go wild with toppings.
These variations keep me from getting bored and make it feel like I have a whole menu of snacks in my freezer. Whether you’re craving tropical sunshine, chocolate indulgence, or a colorful fruit medley, there’s a Berry Granola Yogurt Bark style to match your mood.
Tips for Storage & Serving
I learned the hard way that making a big batch of Berry Granola Yogurt Bark means nothing if you don’t store it properly. My first attempt? I just tossed the pieces into a plastic bag, shoved it in the freezer, and hoped for the best. A week later, I had one giant, frosty clump of bark that looked like it had survived a snowstorm. Lesson learned.
Storage for Freshness
The key to keeping yogurt bark in prime condition is air-tight storage. Once you’ve broken the frozen sheet into pieces, lay them in a single layer inside a freezer-safe container. If you’re stacking them, use parchment paper between the layers so they don’t weld themselves together. I like using those glass meal prep containers with tight lids—keeps freezer smells out and makes it easy to see how much I have left.
How Long It Lasts
If stored right, your Berry Granola Yogurt Bark will stay fresh for up to two months. Honestly, mine rarely lasts more than two weeks because I snack on it constantly, but knowing it can hang out in the freezer that long is comforting. Just remember—after a while, the granola can lose its crunch, so fresher is always better.
Serving Tips for Every Occasion
- Quick Breakfast: Grab two or three big pieces, pair them with coffee or tea, and you’re good to go. It’s cold, refreshing, and feels a little like eating dessert first thing in the morning.
- Party Platter: Arrange different flavors of bark on a pretty tray. Bonus points if you mix sizes—big slabs for dramatic effect, smaller bites for easy grabbing.
- Picnic Snack: Wrap individual pieces in parchment and pop them in a cooler. Just keep in mind, they’ll start to soften after about 20 minutes out of the freezer, so eat them before they turn into yogurt puddles.
- Post-Workout Treat: It’s surprisingly satisfying after a workout—protein from the yogurt, carbs from the fruit, crunch from the granola. Feels indulgent but still balanced.
One more little tip: Don’t leave the container open on the counter while you’re serving. I made that mistake during a summer brunch, and by the time people went for seconds, the bark had melted into a yogurt-berry mess. Now, I only take out what I plan to serve and keep the rest in the freezer until needed.
With the right storage and serving tricks, your Berry Granola Yogurt Bark will stay fresh, crunchy, and delicious from the first bite to the last crumb.
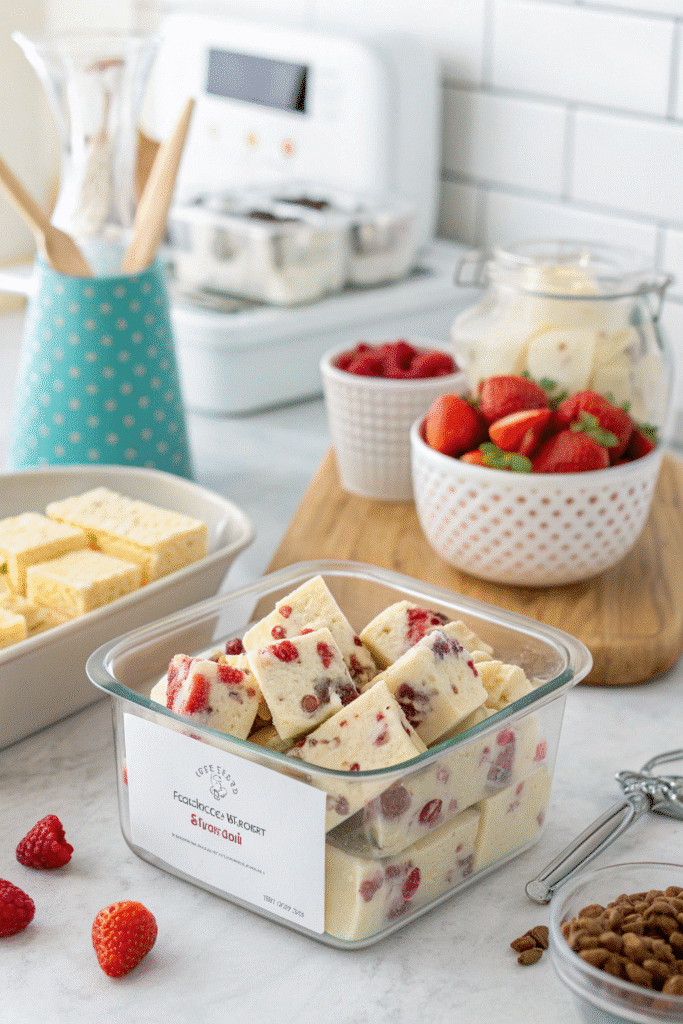
Making Berry Granola Yogurt Bark has honestly become one of my favorite kitchen rituals. It’s quick, it’s fun, and it feels like a little gift waiting for me in the freezer every time I need a snack. Over the past few weeks of experimenting, I’ve learned that the magic really is in the details—picking fresh berries, using the right yogurt, layering toppings evenly, and freezing it just long enough to get that perfect snap.
I love that it’s one of those recipes that can be as simple or as creative as you want. Feeling lazy? Stick to the classic berries and granola. Want to impress friends at brunch? Go wild with tropical fruit, chocolate drizzles, or nutty combos. And the best part? You can make it ahead, store it for weeks, and still have something that tastes fresh and looks gorgeous.
So here’s my challenge to you—grab your ingredients, make a batch, and snap a picture of your creation. Post it on Pinterest and watch the comments roll in. Who knows, you might just inspire someone else to ditch the store-bought snacks and try making their own Berry Granola Yogurt Bark.
Trust me, once you’ve got a stash of this stuff in your freezer, you’ll start wondering how you ever lived without it.
Print
Berry Granola Yogurt Bark
A light, satisfying, and Pinterest-pretty snack made with creamy yogurt, juicy berries, and crunchy granola—perfect for breakfast meal-prep or a mid-afternoon pick-me-up.
- Total Time: 4 hours 15 minutes
- Yield: 12 servings 1x
Ingredients
- 2 cups Greek yogurt (or regular yogurt thickened with cream cheese)
- 1–2 tablespoons honey or maple syrup (optional)
- 1 teaspoon vanilla extract (optional)
- 1 cup fresh berries (strawberries, blueberries, raspberries)
- 1/2 cup granola with clusters
- Optional: chia seeds, peanut butter swirl, shredded coconut, chopped nuts, melted chocolate drizzle
Instructions
- Line a baking sheet with parchment paper.
- In a bowl, mix yogurt with honey/maple syrup and vanilla extract until smooth.
- Spread yogurt evenly on the lined baking sheet, about 1/4 inch thick.
- Scatter berries evenly over the yogurt, alternating colors for visual appeal.
- Sprinkle granola on top, ensuring some clusters land near the edges.
- Place the tray in the freezer for 3–4 hours or overnight until fully frozen.
- Once frozen, lift from parchment and break into pieces.
- Store in an airtight container in the freezer with parchment between layers.
Notes
For best texture, use thick yogurt and pat berries dry if using frozen. Store up to 2 months, though granola is crunchiest when eaten within 2 weeks.
- Prep Time: 15 minutes
- Cook Time: 0 minutes
- Category: Snack
- Method: No-Bake
- Cuisine: American
- Diet: Vegetarian
Nutrition
- Serving Size: 1 piece
- Calories: 110
- Sugar: 9g
- Sodium: 30mg
- Fat: 4g
- Saturated Fat: 1.5g
- Unsaturated Fat: 2g
- Trans Fat: 0g
- Carbohydrates: 14g
- Fiber: 2g
- Protein: 5g
- Cholesterol: 5mg


