There’s something magical about pumpkin season, isn’t there? 🍂 The cozy aroma of cinnamon and nutmeg filling the kitchen instantly makes everything feel like fall. These Pumpkin Bars with Cream Cheese Frosting are the kind of dessert that disappears fast at family gatherings, potlucks, or holiday dinners!
Moist, tender, and perfectly spiced, each bite melts in your mouth with that dreamy tang of cream cheese frosting on top. Whether you’re baking for Thanksgiving or just craving a sweet pumpkin treat, this easy recipe will become your go-to. Let’s bake our way into pumpkin perfection!

Table of Contents
Table of Contents
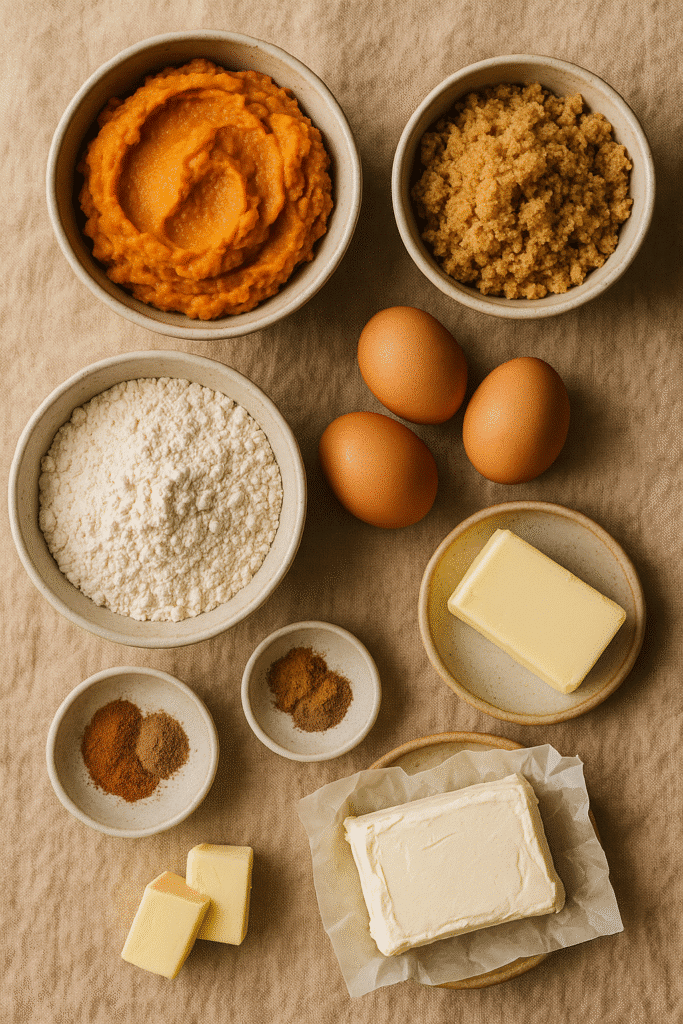
Ingredients for Pumpkin Bars with Cream Cheese Frosting
Let’s talk about what really makes Pumpkin Bars with Cream Cheese Frosting so addictive. I’ve baked these bars more times than I can count, and every batch teaches me something new. It’s wild how a few simple ingredients — pumpkin puree, brown sugar, and a swirl of cream cheese frosting — can transform into a dessert that tastes like autumn in every bite.
Pumpkin Puree: The Heart of Flavor
The first time I made Pumpkin Bars with Cream Cheese Frosting, I used pumpkin pie filling instead of puree. Big mistake. It turned out way too sweet and soggy. The trick is pure pumpkin puree — that’s where the magic happens. It adds deep flavor, soft texture, and that warm orange color we all love. Don’t skip it, and definitely don’t drain it. That natural moisture is what makes these pumpkin bars stay soft and rich.
Eggs and Butter: The Texture Heroes
Every time I bake Pumpkin Bars with Cream Cheese Frosting, I remember the batch I ruined with cold butter and straight-from-the-fridge eggs. The batter clumped, and the texture was a mess. The secret? Room-temperature eggs and melted (not hot) butter. They help everything come together smoothly, giving the bars that perfect balance between fluffy and dense — almost like pumpkin cake, but with more substance.
Warm Spices: The Fall Secret
You can’t have Pumpkin Bars with Cream Cheese Frosting without those cozy fall spices. Cinnamon, nutmeg, and just a pinch of cloves — the trifecta that makes your kitchen smell like happiness. I used to overdo the nutmeg and ended up with bars that tasted like a candle. Now I’ve learned: 1½ teaspoons cinnamon, ½ teaspoon nutmeg, a dash of clove. Perfection every time.
Brown Sugar: Sweet, But With Soul
White sugar just doesn’t cut it here. Brown sugar adds that caramel sweetness that gives Pumpkin Bars with Cream Cheese Frosting their signature warmth. It melts into the batter and keeps everything moist while balancing the spices beautifully. I always pack it tightly in the cup — learned that one after a few dry batches.
Cream Cheese Frosting: The Final Touch
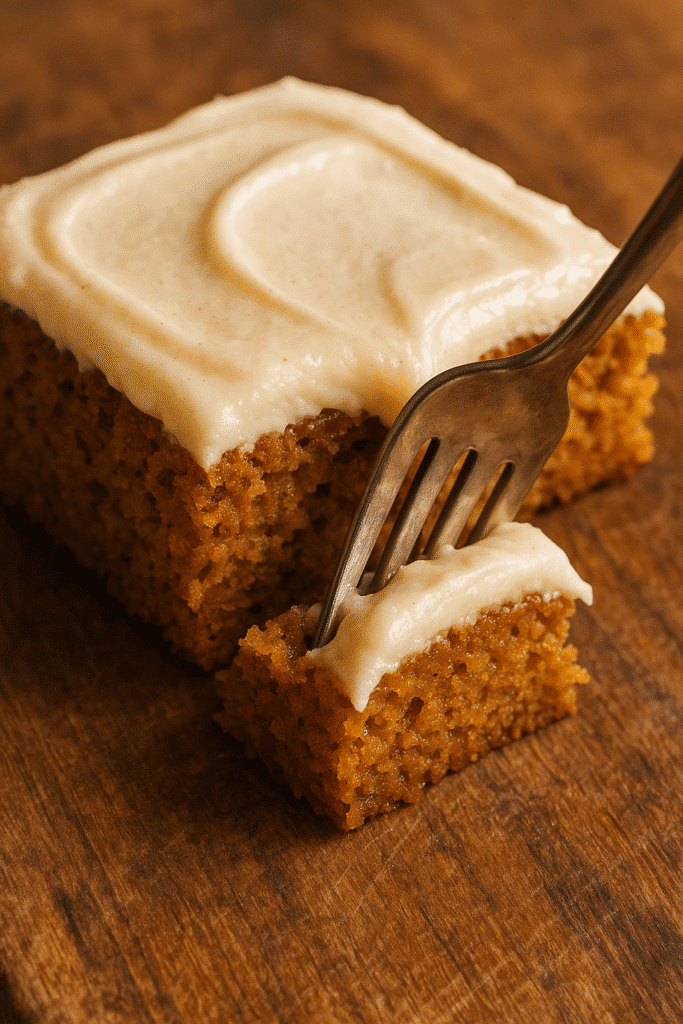
Now, the best part — that luscious cream cheese frosting. It’s simple: cream cheese, powdered sugar, vanilla. But oh, it makes all the difference. Once, I forgot to soften my cream cheese, and it looked like cottage cheese frosting — yikes. Let it sit for about 30 minutes before mixing. Whip it until smooth, then spread generously over the cooled bars. That creamy tang against the spiced pumpkin is pure bliss.
When you get the ingredients for Pumpkin Bars with Cream Cheese Frosting just right, it’s not just dessert — it’s comfort in a pan. The texture, the spice, that dreamy frosting… it’s everything fall should taste like.
Step-by-Step Directions to Make Perfect Pumpkin Bars with Cream Cheese Frosting
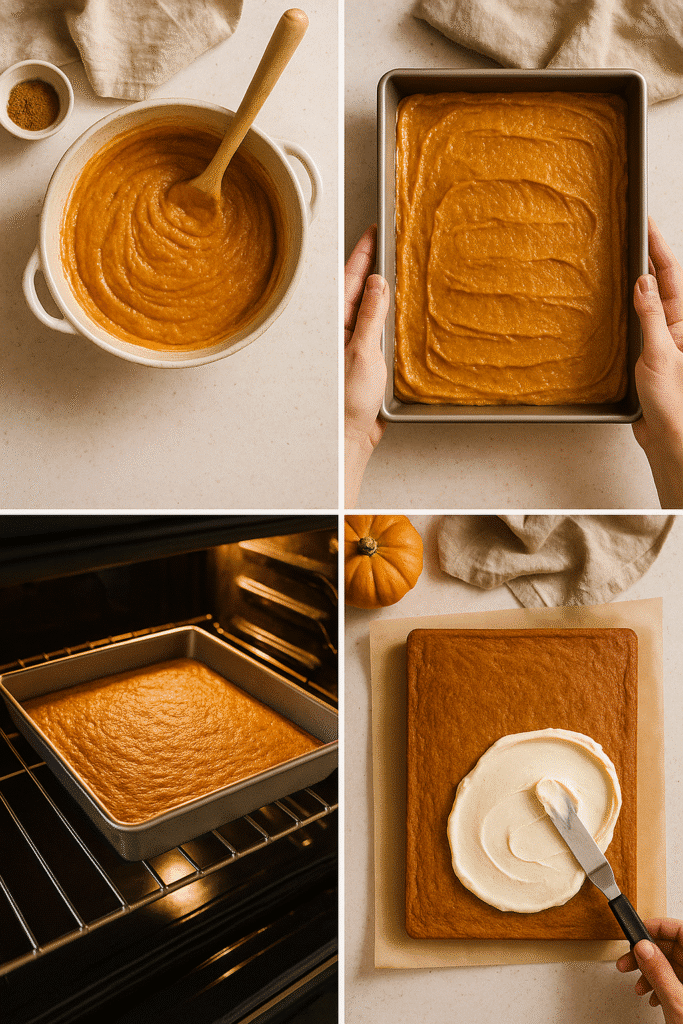
Making Pumpkin Bars with Cream Cheese Frosting is one of those cozy fall rituals that I look forward to every year. The smell alone is worth it — sweet pumpkin, cinnamon, and butter wafting through the house. Over the years, I’ve made plenty of mistakes with this recipe, from overmixing to frosting too soon, but each batch taught me something new. Here’s exactly how I make them perfect now, every single time.
Step 1: Mix the Wet Ingredients
Grab a big mixing bowl and add your pumpkin puree, melted butter, brown sugar, and eggs. Mix everything together slowly — not too fast, just until it’s all combined. When I first started baking Pumpkin Bars with Cream Cheese Frosting, I used to whip the batter like I was making meringue, and wow, that was a bad idea. The bars turned out rubbery instead of fluffy. Gentle stirring keeps them light and tender.
Make sure your eggs are at room temperature before you start. Once, I dumped cold eggs into warm butter, and it curdled right away. It looked like pumpkin cottage cheese! Since then, I always let the eggs sit out for 20 minutes. Trust me, it’s worth the wait.
Read: The Viral Gelatin Trick Recipe Everyone’s Talking About in 2025 (And How to Do It Right!)
Step 2: Combine the Dry Ingredients
In a separate bowl, whisk together your flour, baking powder, salt, and those warm spices — cinnamon, nutmeg, and cloves. This step may seem boring, but it makes a world of difference. Mixing the dry stuff separately spreads the spices evenly, so every bite of your Pumpkin Bars with Cream Cheese Frosting tastes balanced.
One time, I got lazy and dumped everything into one bowl. Big mistake. My bars came out streaky, with pockets of flour and spice clumps. Lesson learned: always whisk your dry ingredients first.
Step 3: Bring It All Together
Slowly pour the dry mixture into the wet bowl, stirring as you go. Don’t overmix — the batter should be thick, smooth, and just slightly sticky. If it’s too runny, double-check your pumpkin. It should be pumpkin puree, not pie filling (I made that mix-up once and ended up with mushy bars).
When it’s just right, the batter will glide off your spatula in slow ribbons. It’s oddly satisfying to watch.
Step 4: Spread and Bake
Grease a 9×13-inch baking pan or line it with parchment paper. Spread the batter evenly across the pan — I like to use a rubber spatula to make sure every corner’s filled. Bake at 350°F (175°C) for about 25–30 minutes, or until a toothpick comes out clean.
Once the bars are done, your kitchen will smell incredible. But don’t rush it — let them cool completely before adding the cream cheese frosting. I learned the hard way that frosting warm bars turns everything into a slippery, sugary slide.
Step 5: Frost and Slice
When your bars are cool, spread on a thick layer of cream cheese frosting. Use an offset spatula if you’ve got one — it makes the job easier. Then chill them for about 20 minutes before slicing. It helps the frosting set up beautifully and gives you those perfect, bakery-style squares.
Every time I make Pumpkin Bars with Cream Cheese Frosting, I’m reminded that good baking is about patience and practice. Once you nail the texture and balance, these bars come out melt-in-your-mouth moist with that dreamy frosting on top — the kind of dessert that disappears faster than you expect.
Tips for Moist and Fluffy Pumpkin Bars with Cream Cheese Frosting
Getting Pumpkin Bars with Cream Cheese Frosting just right can feel like a small miracle some days. I’ve baked them dozens of times — sometimes they came out light and fluffy, other times they were dense as a brick. But after a lot of trial (and plenty of error), I’ve figured out a few foolproof tips that make every batch turn out perfectly moist and soft without being heavy.
Don’t Overmix the Batter
This one’s huge. When I first started making Pumpkin Bars with Cream Cheese Frosting, I mixed the batter like I was angry at it — whisking way too long. That’s how you end up with tough, rubbery bars. Mix gently, just until the dry ingredients disappear. I use a wooden spoon instead of a mixer now; it slows me down and keeps me from overdoing it.
A quick way to check? The batter should still look thick and glossy, not airy. If you see tiny bubbles forming, you’ve mixed too much.
Use Pure Pumpkin Puree (Not Pie Filling)
I can’t stress this enough. The first time I used pumpkin pie filling instead of puree, it was a gooey disaster — way too sweet and oddly wet. Pure pumpkin puree gives real flavor, the right amount of moisture, and that beautiful earthy color. It’s what makes Pumpkin Bars with Cream Cheese Frosting taste rich and natural instead of artificial.
If you ever roast your own pumpkin, make sure to drain off the extra liquid before using it. Too much moisture ruins the texture.
Measure the Flour Correctly
It sounds basic, but I’ve ruined more pumpkin bars by using too much flour than anything else. Always spoon flour into your measuring cup and level it with a knife. Never scoop straight from the bag — it packs in extra flour, and that’s how your Pumpkin Bars with Cream Cheese Frosting turn out dry.
I remember one batch where I used heavy hand-packed flour, and the bars came out like dry cornbread. Since then, I measure carefully every single time.
Add a Touch of Oil for Extra Moisture
This one’s my little secret weapon. Even though the butter gives richness, adding two tablespoons of oil (I use canola) makes the bars unbelievably moist. It helps them stay soft for days — even after chilling in the fridge under that cream cheese frosting. When I skip it, I can tell right away; the bars are still good, but they don’t have that melt-in-your-mouth feel.
Chill Before Slicing
I used to cut into my bars right after frosting because I couldn’t wait, but all that did was smear the icing and crumble the edges. Now, I let the pan chill in the fridge for at least 30 minutes before slicing. It gives you neat, bakery-style squares, and the flavor seems to deepen as it cools.
Baking Pumpkin Bars with Cream Cheese Frosting is really about balance — just enough mixing, just enough moisture, and just enough patience. When you nail that combo, you get bars that are soft, spiced, and perfectly fluffy every single time. They taste like fall in every bite, and honestly, that’s worth every bit of effort.
Variations and Add-Ins for Pumpkin Bars with Cream Cheese Frosting
Here’s the fun part — giving your Pumpkin Bars with Cream Cheese Frosting a little twist. I used to follow recipes to the letter, but after baking these bars more times than I can count, I started experimenting. Some of those experiments were, uh, interesting (pumpkin bars with raisins… never again). But a few tweaks turned out amazing, and now I switch them up all the time depending on the season or what’s in my pantry.
Add Crunch with Nuts
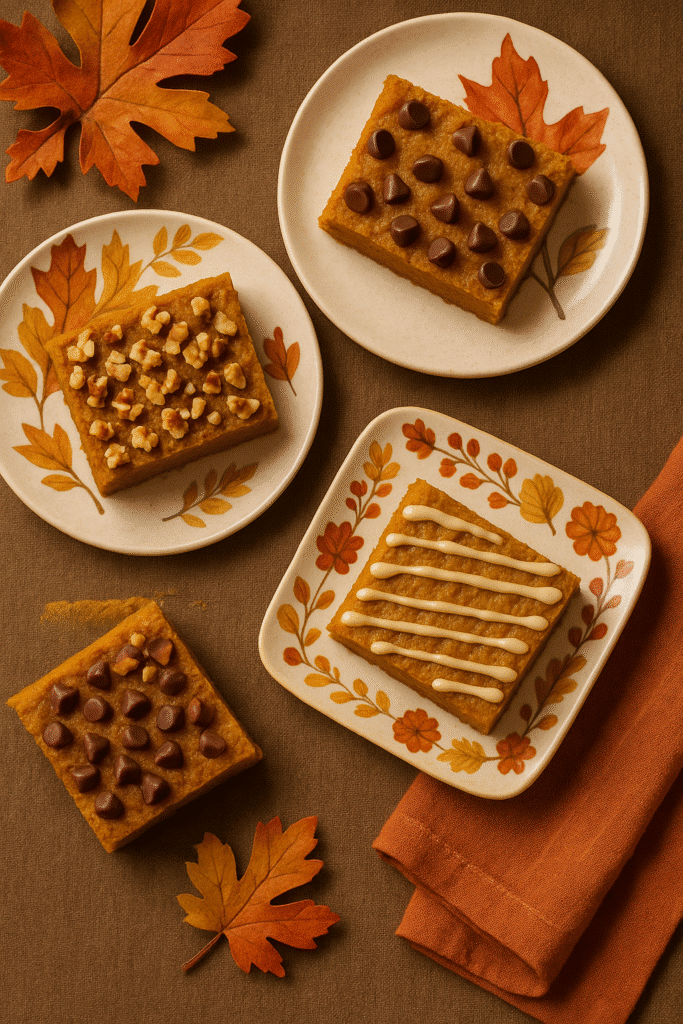
A handful of chopped pecans or walnuts goes a long way. They add just the right amount of crunch and pair beautifully with the creamy frosting. Once, I toasted the nuts in butter and a sprinkle of cinnamon sugar before adding them — game changer! It gave the Pumpkin Bars with Cream Cheese Frosting a buttery crunch that made everyone think I’d spent hours perfecting them.
If you’re not into nuts, try pumpkin seeds instead. They add texture without overwhelming the flavor, and they make the bars look pretty fancy too.
Make Them Chocolatey
Chocolate and pumpkin might sound weird, but trust me, it works. Mini chocolate chips stirred into the batter melt just enough to give little pockets of sweetness in every bite. I once made half the batch with chocolate and half plain, and the chocolate version disappeared first. If you’re a chocoholic like me, drizzle a little melted dark chocolate over the frosting — it’s divine.
Adding cocoa powder to the frosting also gives a rich, mocha-like flavor that makes your Pumpkin Bars with Cream Cheese Frosting taste like a bakery treat.
Go for a Maple Twist
Maple syrup and pumpkin are basically best friends. Add a tablespoon of pure maple syrup to your cream cheese frosting for an extra layer of warmth and depth. I did this one Thanksgiving, and everyone kept asking what “that flavor” was. It’s subtle, but it elevates the whole dessert.
You can even swap a small part of the brown sugar in the batter for maple sugar if you want that earthy sweetness baked right in.
Add a Crunchy Topping
Sometimes I skip the frosting altogether (don’t hate me) and sprinkle a crumbly streusel topping instead. Just mix flour, butter, brown sugar, and a touch of cinnamon, and crumble it over the batter before baking. It bakes into a golden crust that’s crisp on the edges and soft underneath. When I do add frosting on top, I crumble a little more streusel over it for texture. It’s messy but worth it.
Make It Gluten-Free or Dairy-Free
If you’re baking for someone with dietary needs, these Pumpkin Bars with Cream Cheese Frosting are super easy to adapt. Swap regular flour for a good gluten-free blend — I like ones with rice and tapioca flour. For dairy-free frosting, use vegan cream cheese and plant-based butter. I’ve tried both versions, and honestly, they’re still delicious.
Playing around with these variations keeps baking fun and helps you make the recipe your own. Whether you’re adding nuts, chocolate, or maple, each change brings something new to the classic Pumpkin Bars with Cream Cheese Frosting. And if one experiment doesn’t work out? Well, at least your kitchen will still smell amazing.
Storing and Serving Pumpkin Bars with Cream Cheese Frosting
If you’ve ever baked Pumpkin Bars with Cream Cheese Frosting and wondered how to keep them tasting just as good on day three as they did fresh out of the oven, you’re not alone. I’ve been there — excitedly baking a big pan, only to find the leftovers dry or soggy the next day. After plenty of trial and error (and maybe a few “oops” moments with melted frosting), I finally figured out the best ways to store and serve these bars so they stay soft, moist, and irresistible for days.
Store in the Fridge, Not on the Counter
Because of the cream cheese frosting, Pumpkin Bars with Cream Cheese Frosting should always be refrigerated. I learned that lesson the hard way when I left a batch out overnight and woke up to a melted mess that looked more like pumpkin pudding. Keep them in an airtight container — the tighter the seal, the better. I like to separate layers with parchment paper so the frosting doesn’t stick to the bottoms of other bars.
They’ll last up to five days in the fridge, but I swear they taste even better the next day once the flavors settle.
Chill Before Slicing
Here’s a little trick I wish I’d known earlier: chill the bars before cutting. The first few times I baked Pumpkin Bars with Cream Cheese Frosting, I sliced them too soon and ended up smearing the frosting everywhere. Now, I let them sit in the fridge for at least 30 minutes. The frosting firms up, and you get clean, bakery-style cuts every time. It’s worth the wait — promise.
If you want that “neat square” look for parties or potlucks, use a sharp knife and wipe it clean after every cut.
How to Freeze Pumpkin Bars
If you want to make Pumpkin Bars with Cream Cheese Frosting ahead of time, freezing works beautifully. The trick is to freeze them before frosting if possible. Once cooled, wrap the bars tightly in plastic wrap and store them in a freezer-safe bag. When you’re ready to serve, thaw them overnight in the fridge and frost the next day.
But yes, I’ve frozen them fully frosted too — and they still come out fine! Just freeze uncovered for about an hour first (so the frosting firms up), then wrap them tightly. They’ll keep for up to three months.
Serving Tips for the Perfect Presentation
When you’re ready to serve, let the bars sit at room temperature for about 10 to 15 minutes. That softens the frosting just enough to make them creamy and smooth again. I like to dust a little cinnamon on top or sprinkle crushed pecans for texture. Sometimes, I drizzle a touch of caramel sauce right before serving — total crowd-pleaser.
And if you’re serving them for a holiday dessert table? Stack them slightly staggered on a white platter, maybe with a few fake fall leaves or mini pumpkins around. It’s such an easy way to make Pumpkin Bars with Cream Cheese Frosting look like a Pinterest-perfect treat without much effort.
Keeping these bars fresh is honestly half the magic. Once you figure out the right way to store and serve them, they stay just as moist, spiced, and luscious as the day you baked them — maybe even better.
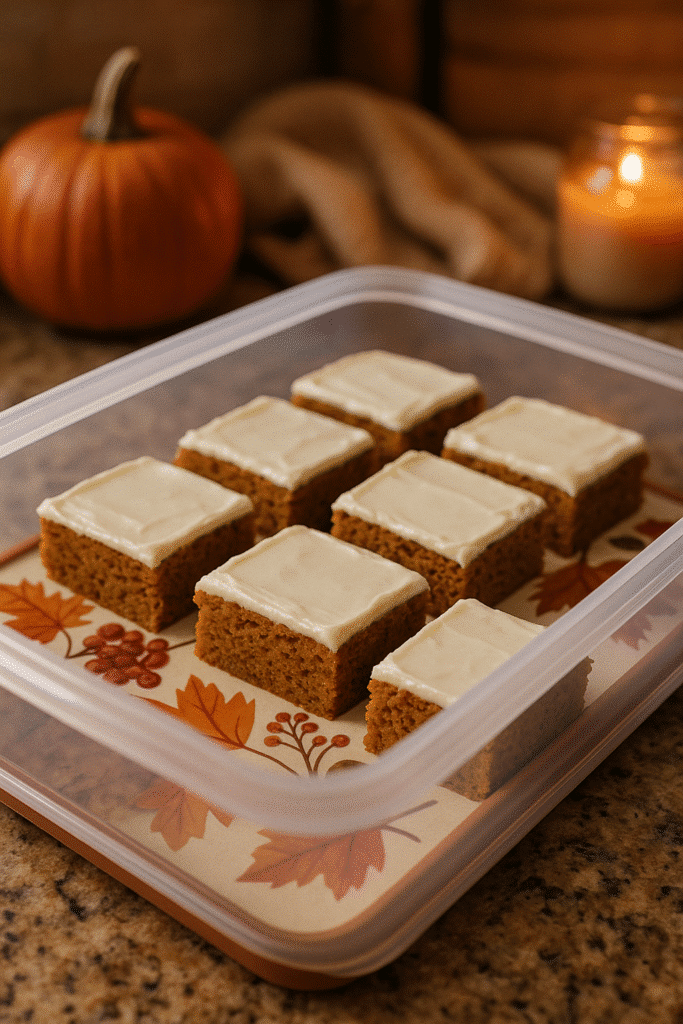
Every time I pull a pan of Pumpkin Bars with Cream Cheese Frosting from the oven, it feels like a little celebration of fall. The smell — that blend of pumpkin, cinnamon, and brown sugar — fills the kitchen and makes me want to curl up with a blanket and a cup of coffee. These bars aren’t just a dessert; they’re a ritual, a reminder that baking is as much about comfort as it is about flavor.
I’ll admit, I didn’t get them right the first time. My first batch of Pumpkin Bars with Cream Cheese Frosting was dense, overbaked, and my frosting was lumpy because I didn’t soften the cream cheese enough (rookie mistake). But that’s what I love about baking — it’s forgiving. You learn through every little slip-up, and eventually, you get that perfect combination of soft, spiced cake and creamy frosting that makes everyone reach for seconds.
Over the years, I’ve tested dozens of small tweaks — a bit more cinnamon here, a drizzle of maple syrup there — but one thing never changes: the joy these bars bring to anyone who tastes them. Whether it’s for Thanksgiving dinner, a cozy weekend treat, or just because it’s Tuesday and you deserve something sweet, Pumpkin Bars with Cream Cheese Frosting are always a hit.
If you make them, take a second to enjoy that first bite — the creamy tang of the frosting meeting the moist, pumpkin-rich base is pure heaven. And don’t stress about perfection; slightly uneven frosting or a cracked edge never ruined a good dessert.
Oh, and here’s my favorite part: once the bars cool and the frosting sets, snap a picture and share it on Pinterest. Not just for the likes (though those are fun), but because there’s something special about inspiring someone else to bake. I can’t count how many recipes I’ve discovered that way — someone’s photo catches my eye, and suddenly I’m in the kitchen at 9 p.m. whisking pumpkin puree.
So go ahead, bake these Pumpkin Bars with Cream Cheese Frosting, and fill your home with that cozy, fall-baking magic. They’re soft, sweet, and comforting — the kind of dessert that brings people together and reminds you that sometimes, the simplest recipes are the ones that stay with you forever.
Print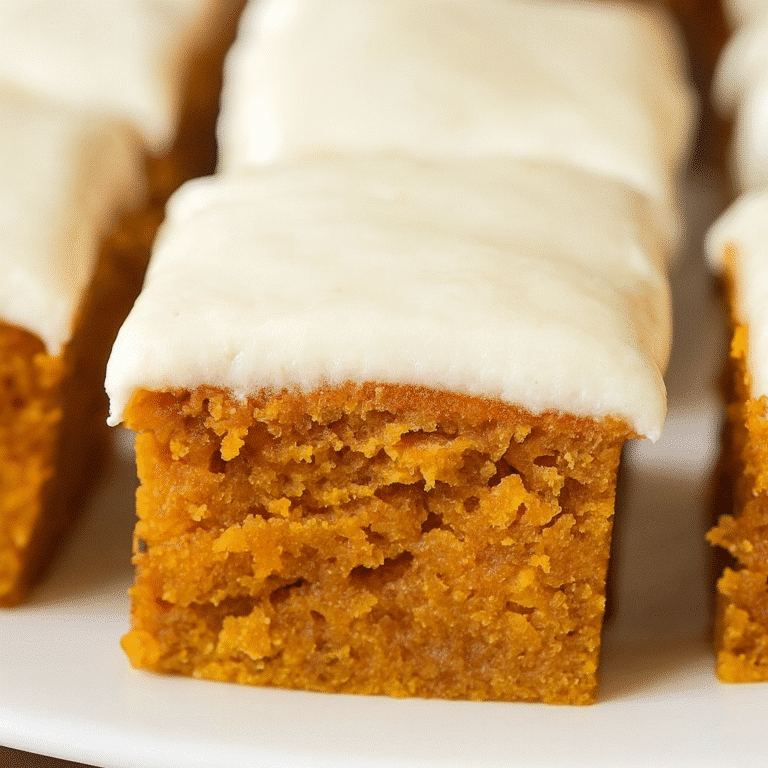
The Best Pumpkin Bars with Cream Cheese Frosting
Moist, perfectly spiced Pumpkin Bars with tangy cream cheese frosting – a cozy fall favorite for any gathering!
- Total Time: 45 minutes
- Yield: 12 bars 1x
Ingredients
- 1 cup pumpkin puree
- 1/2 cup melted butter (not hot)
- 3/4 cup packed brown sugar
- 2 large eggs, room temperature
- 1 cup all-purpose flour
- 1 tsp baking powder
- 1/2 tsp salt
- 1½ tsp cinnamon
- 1/2 tsp nutmeg
- Pinch of cloves
- 2 tbsp canola oil (optional, for extra moisture)
- For the Frosting:
- 8 oz cream cheese, softened
- 1½ cups powdered sugar
- 1 tsp vanilla extract
Instructions
- Preheat oven to 350°F (175°C). Grease or line a 9×13-inch baking pan.
- In a large bowl, combine pumpkin puree, melted butter, brown sugar, and eggs. Mix gently until just combined.
- In a separate bowl, whisk together flour, baking powder, salt, cinnamon, nutmeg, and cloves.
- Gradually stir dry ingredients into the wet mixture. Add canola oil for extra moisture if desired. Do not overmix.
- Spread batter evenly into prepared pan and bake for 25–30 minutes, or until a toothpick comes out clean.
- Let bars cool completely before frosting.
- For the frosting, beat softened cream cheese until smooth. Add powdered sugar and vanilla; mix until creamy.
- Spread frosting over cooled bars, chill for 20–30 minutes, then slice into squares and serve.
Notes
Always use pure pumpkin puree, not pie filling. Let cream cheese soften before mixing for the smoothest frosting. Chill before slicing for clean edges.
- Prep Time: 15 minutes
- Cook Time: 30 minutes
- Category: Dessert
- Method: Baking
- Cuisine: American
- Diet: Vegetarian
Nutrition
- Serving Size: 1 bar
- Calories: 260
- Sugar: 18g
- Sodium: 190mg
- Fat: 13g
- Saturated Fat: 7g
- Unsaturated Fat: 5g
- Trans Fat: 0g
- Carbohydrates: 32g
- Fiber: 1g
- Protein: 3g
- Cholesterol: 40mg


