Ever crave something crunchy but want to keep it healthy? You’re not alone! According to a 2024 snacking trends report, over 65% of people are actively looking for low-calorie alternatives to chips and fries. That’s exactly how I stumbled upon oven-baked zucchini chips—a total game-changer in my kitchen.
I remember my first batch: soggy, bland, and honestly, kind of sad. But after lots of tweaking (and a few near kitchen disasters), I finally nailed the method for getting them ultra crispy without a deep fryer. In this guide, I’ll walk you through everything—from picking the right zucchinis to jazzing up your chips with mouthwatering seasonings. Let’s turn these humble green veggies into snack gold!
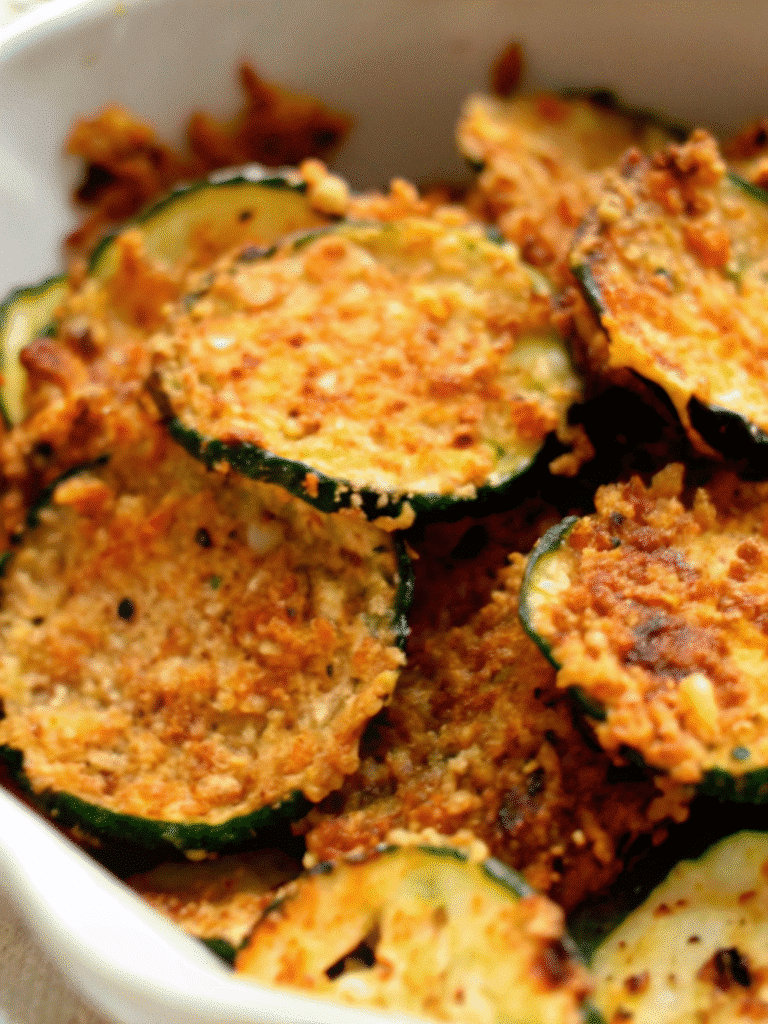
Table of Contents
Table of Contents
Choosing the Right Zucchini for the Best Chips
Alright, so let me spill the beans on something I learned the hard way: not all zucchinis are chip-worthy. Sounds dramatic, right? But the truth is, the kind of zucchini you use totally makes or breaks your oven-baked zucchini chips.
Size Does Matter
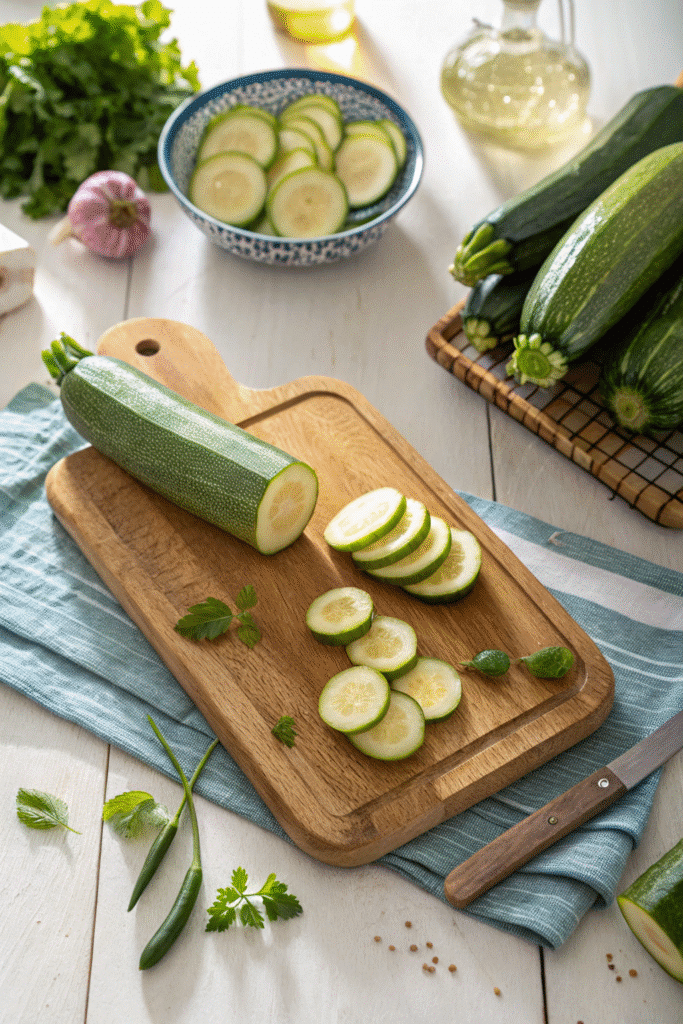
I used to grab the biggest zucchini I could find—thinking, “Hey, more slices, more chips, more awesome.” Nope. The bigger ones are often full of water and seeds, and when they bake, they turn into soggy sad circles instead of crispy delights. If you’re aiming for chips that actually crunch, go for medium-sized zucchinis, ideally around 6 to 8 inches long. They’re firm, less watery, and slice more evenly. Plus, the skin isn’t too tough, which helps with that perfect bite.
Moisture is the Enemy
Here’s the kicker: zucchinis are like little water balloons. And chips + excess moisture = a limp mess. I didn’t believe it at first either. I’d slice them, season them, toss them in the oven… and then get rubbery chips that stuck to the parchment like glue.
Now? I salt those slices like a pro. After slicing them about 1/8″ thick (I use a mandoline because uniform slices = uniform crispiness), I lay them on paper towels, sprinkle a bit of salt, and let them sit for 15–20 minutes. Then I dab the extra moisture off before baking. That alone took my chips from meh to mega-crispy.
Don’t Skip the Skin
Another thing—don’t peel your zucchini! The skin not only holds the slices together but adds fiber and helps with that crispy edge we’re all after. Plus, the green edges look so darn good when they’re all golden and curled up from the oven heat.
Freshness is Key
If your zucchini’s been sitting in the fridge for a week looking all shriveled and floppy, it’s not chip material. Fresh, firm zucchini gives you that snap when you cut it, and that translates to better texture post-bake.
Honestly, I never thought I’d be so picky about zucchini, but once you see how much of a difference the right one makes, there’s no going back. Get the right veg, and you’re already halfway to snack heaven. Next up—how to bake ’em like a champ!
The Step-by-Step Oven-Baking Method
Okay, confession time: I used to think making crispy oven-baked zucchini chips was as simple as slicing, baking, and munching. Spoiler alert—it’s not. My early attempts were… let’s say “chewy,” not in a good way. But after tweaking this method like a mad kitchen scientist, I’ve nailed a process that actually works. Here’s the breakdown.
Slice ‘Em Thin… Like Really Thin
First rule? Thinner is better. If your zucchini slices are too thick, you’ll end up with floppy coins. I learned the hard way. Now, I use a mandoline slicer set to about 1/8 of an inch. If you’re doing it with a knife, make sure your slices are super consistent—uneven ones bake unevenly, and you’ll get a mix of burnt and soggy. Not ideal.
Patience + Paper Towels = Crispy Gold
Once sliced, I lay them out on a paper towel and give ‘em a light salting to draw out moisture. After 20 minutes, I pat them dry with another towel. Seriously—don’t skip this step. It’s a game-changer. Excess moisture is the enemy of crisp.
Line It Up Right
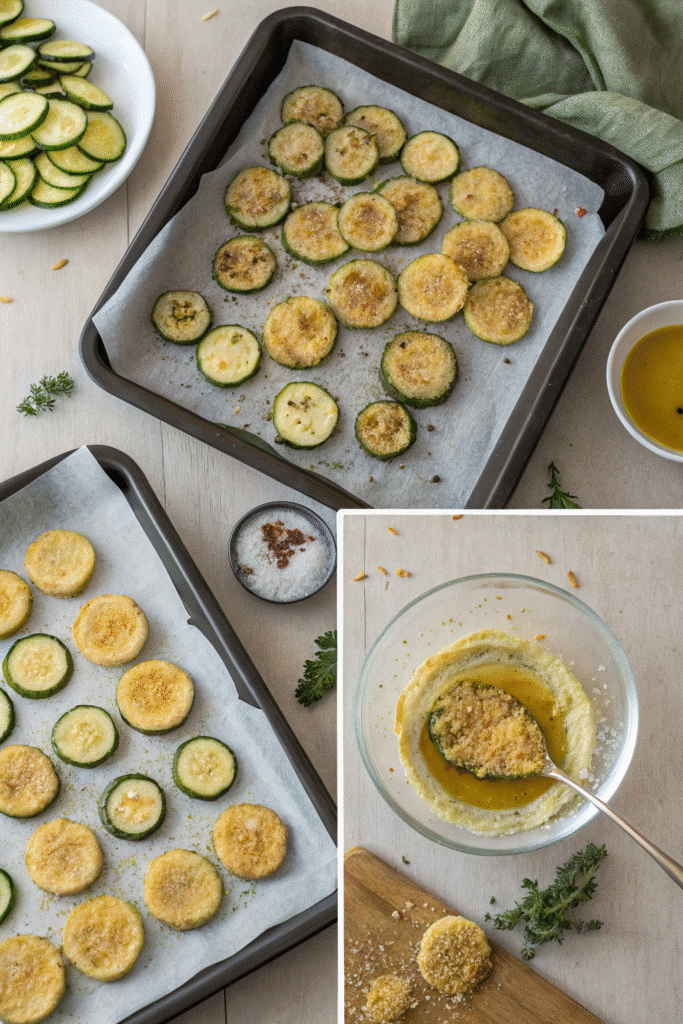
I line a baking sheet with parchment paper, spacing the slices so they’re not overlapping. Overcrowding leads to steam, and steam = mushy chips. If I’m baking a big batch, I just use two trays and rotate them halfway through.
Bake Low and Slow
Here’s the sweet spot I found after lots of burnt failures: 225°F (about 110°C) for 90 to 100 minutes. Yup, low and slow. It’s the only way to get that golden crisp without frying. I flip the chips once around the 45-minute mark to help both sides crisp evenly. Keep an eye on ‘em during the last 20 minutes—they can go from perfect to charcoal in a blink.
Optional (But Awesome): Broil for 1 Minute
Sometimes I broil them on low for the final minute to add an extra crunch, but this part is risky. I’ve definitely had a few “zucchini ashes” because I walked away. If you do this, stay close. Like… really close.
I used to be scared of baking veggie chips because I thought they’d be high-maintenance. But this method? It works every time now, and it’s way cheaper (and healthier) than buying store-bought ones. Ready for some flavor magic next?
Flavoring and Seasoning Ideas
Here’s where it gets fun—and slightly addicting. Once I finally figured out how to get my oven-baked zucchini chips crispy, I went wild with flavor experiments. I mean, sure, salt is great… but why stop there when you can make chips that taste like a snack aisle explosion?
Keep It Simple (But Tasty)
When I’m lazy—or just want that clean, veggie-forward vibe—I go with olive oil spray + sea salt + black pepper. Classic combo. It highlights the zucchini without overpowering it, and honestly, sometimes you just want something light and crunchy.
Pro tip: Toss your slices lightly in oil or use a spray. Too much oil and you’ll get soggy chips. Been there, regretted that.
Garlic Parmesan Goodness
This combo? Dangerous. I mix grated parmesan (the powdery kind works best), garlic powder, and a pinch of paprika. Sometimes I throw in a little Italian seasoning if I’m feeling fancy.
I sprinkle it on halfway through baking so the cheese gets golden without burning. Once I nailed this combo, I stopped buying garlic chips altogether.
Sriracha-Lime Zing
When I’m in the mood for something punchy, this one hits: sriracha, lime zest, and a sprinkle of chili powder. It’s got that tangy heat that builds but doesn’t burn your face off. I drizzle just a smidge of diluted sriracha pre-bake and hit them with the zest after they’re out of the oven.
Ranch or BBQ? Heck Yes.
I’ll even cheat sometimes and use those powdered seasoning blends. Ranch, BBQ, or even taco seasoning—just make sure they’re low in sugar (or your chips will burn fast). Dust ‘em on right before the chips finish baking so the spices don’t go bitter.
How to Get Flavors to Stick
This was a trial-and-error zone. At first, I’d season them before baking, and everything would slide off. Then I tried after baking—meh. What finally worked? A super light oil mist, then seasoning about halfway through. The chips are just dry enough to grip the flavor, and not so oily that they get soggy.
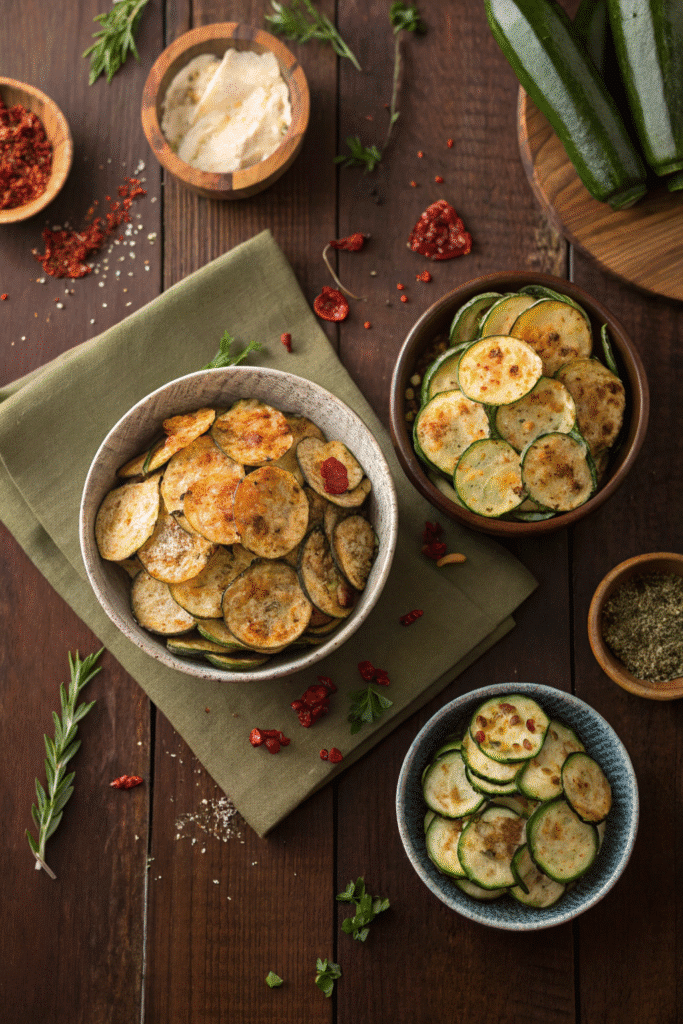
I could talk seasoning all day—I’ve even tried cinnamon-sugar (don’t judge, it works). But whether you want savory, spicy, or somewhere in between, zucchini chips are the perfect blank canvas.
Storing and Reheating Tips
So, picture this: you finally nailed a batch of crispy oven-baked zucchini chips. You feel like a culinary genius. But then, the next day… you open the container and boom—soggy sadness. Yep, I’ve been there more times than I’d like to admit. But don’t worry—I’ve figured out how to store these little green crisps and keep ‘em crunchy (or at least close to it).
Let Them Cool Completely
I can’t stress this enough—don’t store warm chips. Ever. It’s like sealing in steam, and that’s just moisture waiting to ruin your masterpiece. Let them chill out on the tray or a cooling rack until they’re room temp. And resist the urge to nibble until they’re done cooling (or at least limit yourself to one… okay, two).
Use the Right Container
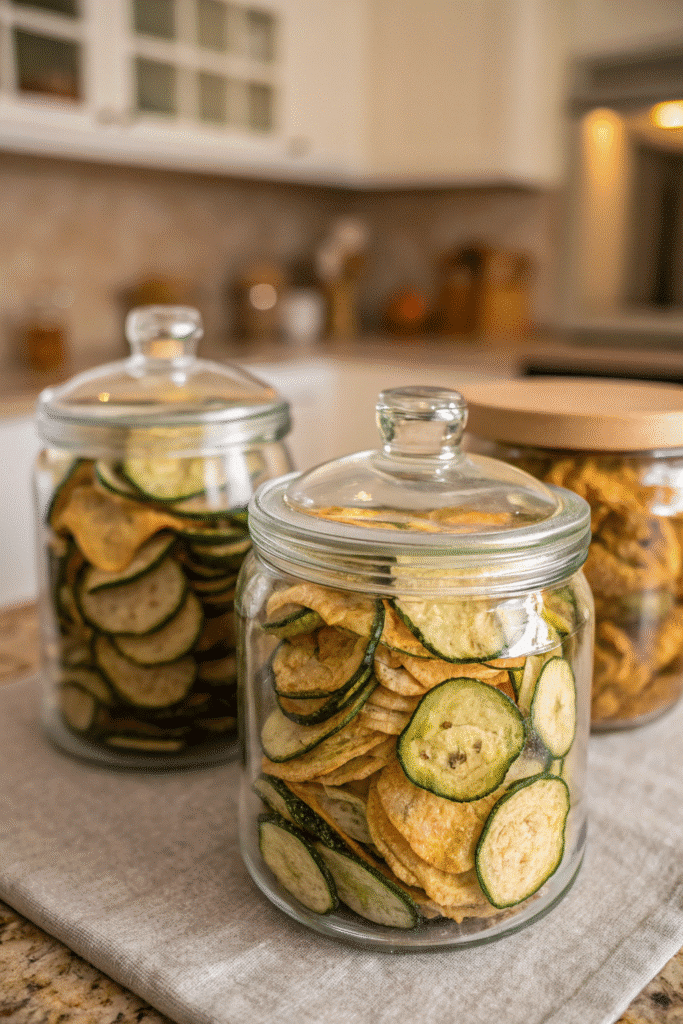
Now, I used to toss them in a zip-top bag like I do with cookies. Big mistake. They softened by morning. What actually works best? A glass jar or airtight container with a paper towel inside to absorb any extra moisture. Sometimes I even leave the lid slightly cracked for the first hour, just to let any leftover heat escape.
Avoid plastic containers unless they’re super dry inside. I’ve found glass works best because it doesn’t trap that “humidity” feeling zucchini chips hate.
Short-Term vs Long-Term Storage
Real talk? These chips are best fresh. But if you do store them, eat them within 2-3 days max. After that, they tend to lose their edge. Literally.
I’ve had some luck tossing a dry rice grain bag or a silica packet (like the kind in jerky packs) into the container. Sounds weird, but they absorb moisture like a boss.
Reheating Without the Sad Sog
Okay, so you open the jar and find your chips are a little soft. Don’t panic. Just pop them in the oven at 250°F for 8–10 minutes on a dry baking sheet. No oil, no seasoning—just a quick re-crisp session. Works like magic.
Don’t microwave them. I tried that once and ended up with limp zucchini pancakes. Never again.
Honestly, figuring this part out saved me from wasting so many batches. Now I make big trays, store what I can, and snack happy for a couple days straight. Next up—let’s talk about why these chips aren’t just tasty,
Nutrition Facts and Health Benefits
Let me tell ya—when I first made oven-baked zucchini chips, I wasn’t trying to be healthy. I just wanted something salty to crunch on that wasn’t a bag of regret (aka potato chips). But as I kept making them, I realized these little green circles are actually sneaky healthy. Like, snack-all-you-want-with-no-guilt healthy.
Low in Calories, High in Crunch
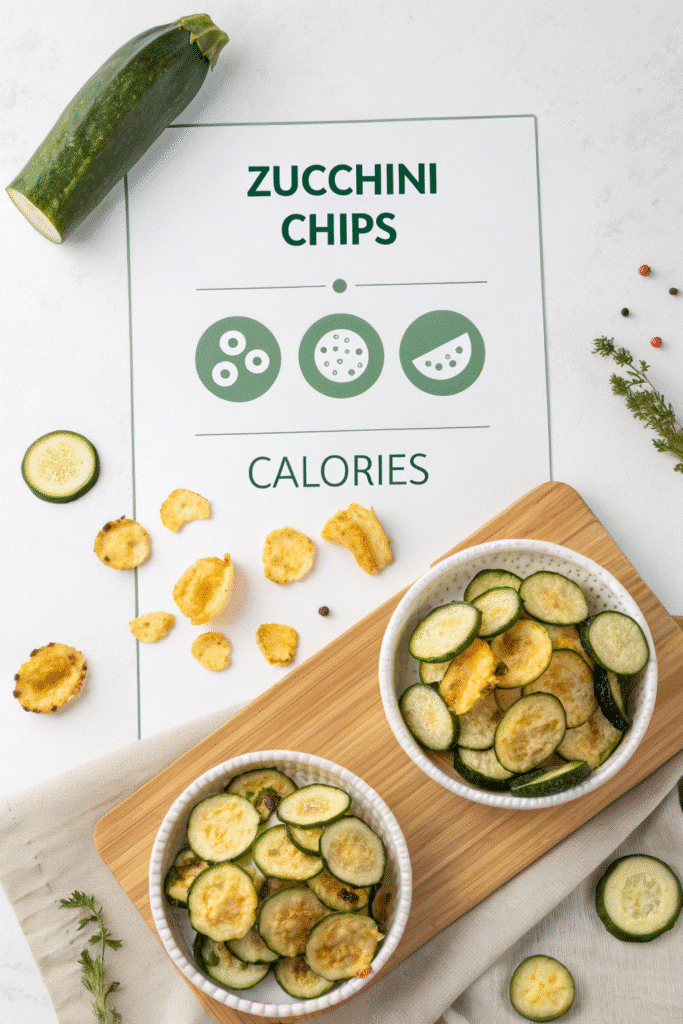
Depending on how you season and bake ‘em, a whole cup of zucchini chips can be under 50 calories. That’s less than a handful of tortilla chips. And we’re talking a whole tray here—not just four sad chips from the bottom of a bag.
And when you bake them in the oven with just a spritz of olive oil? You’re cutting down on all the extra fats and junk in store-bought chips. No deep fryer, no drama.
Keto, Paleo, Gluten-Free? Yup.
These chips fit into almost every diet. I’ve got friends who are doing keto, some on Whole30, and a cousin who’s gluten-free by necessity—and zucchini chips work for all of them.
They’re naturally low in carbs (about 2–3g net carbs per cup, depending on thickness and toppings) and packed with fiber, so they actually help you feel full. Unlike other “diet snacks” that leave you raiding the pantry 10 minutes later.
Packed with Vitamins (Sneakily)
Zucchini is full of vitamin A, vitamin C, and a nice little dose of potassium. I didn’t even know that until I looked it up trying to convince myself these counted as “healthy food.” Turns out, they’re great for your skin, eyes, and keeping your immune system humming along.
Also, the fiber content helps with digestion—something my stomach is very thankful for, especially when I’ve been… less than disciplined with other food choices.
No Preservatives or Weird Additives
This one’s big for me. I used to grab veggie chips from the store thinking I was doing something smart, but have you read those labels? Maltodextrin, MSG, modified food starch—uh, no thanks.
With homemade zucchini chips, I know exactly what’s in them: zucchini, olive oil, and whatever seasoning I add. That’s it.
Bottom line? These chips don’t just scratch the snack itch—they actually support your health goals. Wild, right? Now you’ve got the full picture from prep to nutrition.
Making oven-baked zucchini chips at home might sound like a Pinterest fantasy, but trust me—it’s totally doable and wildly satisfying. Whether you’re watching carbs, calories, or just looking for something new to munch on, these chips hit all the marks.
So try it out, play with the flavors, and share your crispy creations on Pinterest—because healthy snacks deserve their spotlight too!
Print
Crispy Oven-Baked Zucchini Chips
Crunchy, healthy, and surprisingly addictive, these oven-baked zucchini chips are a low-calorie alternative to traditional snacks. Perfectly seasoned and crisped to golden perfection, they’re the guilt-free crunch your snack game’s been missing.
- Total Time: 2 hours
- Yield: 4 servings 1x
Ingredients
- 2 medium zucchinis (6–8 inches long)
- Salt (for drawing moisture)
- Olive oil spray or light drizzle
- Optional seasonings: sea salt, black pepper, garlic powder, grated parmesan, paprika, chili powder, lime zest, ranch or BBQ seasoning
Instructions
- Preheat oven to 225°F (110°C).
- Slice zucchinis into 1/8″ thick rounds using a mandoline or sharp knife.
- Place slices on paper towels, sprinkle with salt, and let sit for 15–20 minutes to draw out moisture.
- Pat dry with another paper towel to remove excess water.
- Line a baking sheet with parchment paper and arrange zucchini slices in a single layer without overlapping.
- Lightly spray or toss slices with olive oil.
- Bake for 90–100 minutes, flipping chips halfway through.
- Optionally broil on low for 1 minute for extra crunch—watch carefully to prevent burning.
- Season with your chosen spices halfway through baking for maximum flavor adhesion.
- Let chips cool completely before storing in an airtight container with a paper towel inside.
- To re-crisp, place in 250°F oven for 8–10 minutes on a dry baking sheet.
Notes
Use fresh, firm zucchini for best results. Avoid thick slices and excess oil. Chips are best eaten within 2–3 days. Store in glass containers with paper towels or a silica packet to maintain crispiness.
- Prep Time: 20 minutes
- Cook Time: 1 hour 40 minutes
- Category: Snack
- Method: Baking
- Cuisine: American
Nutrition
- Serving Size: 1 cup
- Calories: 45
- Sugar: 2g
- Sodium: 150mg
- Fat: 2g
- Saturated Fat: 0.5g
- Unsaturated Fat: 1.5g
- Trans Fat: 0g
- Carbohydrates: 4g
- Fiber: 1g
- Protein: 1g
- Cholesterol: 0mg


