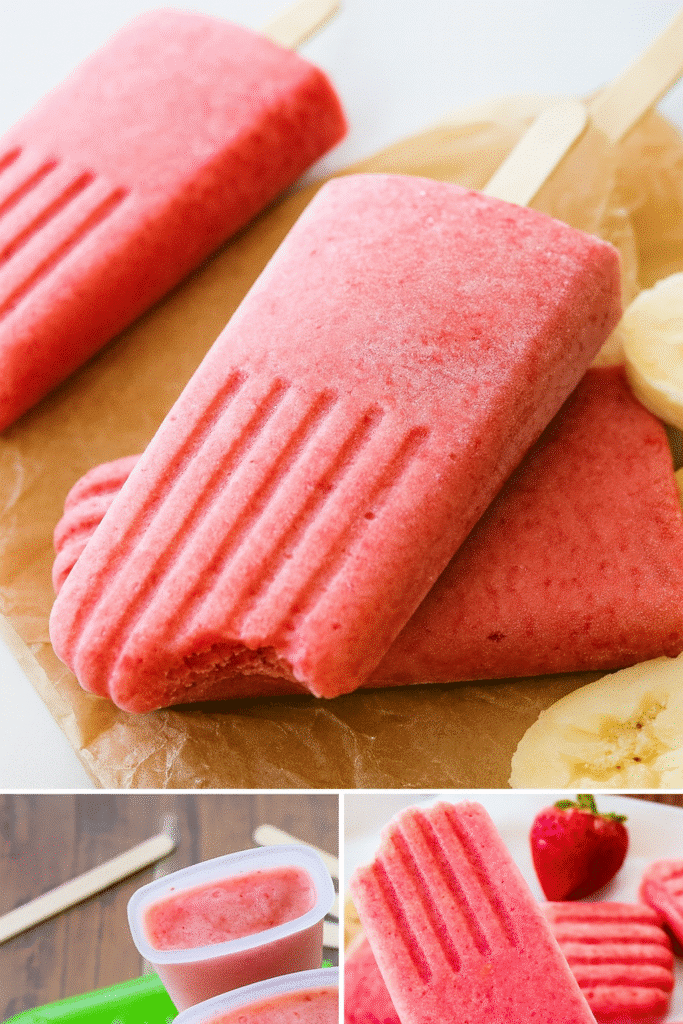
Did you know strawberries are one of the top fruits rich in antioxidants? Combine that with the creamy sweetness of bananas, and you’ve got yourself the dreamiest summer snack! I’m always hunting for simple, healthy treats that don’t taste “too healthy.” That’s why these 3 ingredient strawberry banana popsicles are my go-to when the temps rise. No added sugar, no fancy gadgets—just three wholesome ingredients blended into a refreshing pop of fruity goodness. Let’s dive into how you can make them, plus a few tips I’ve picked up after plenty of (delicious) trial and error.
Why These 3 Ingredient Popsicles Work So Well
There’s something kinda magical about recipes that are both stupid-easy and totally crave-worthy. These strawberry banana popsicles? They’re that perfect mix. You only need three ingredients—no joke—and they turn out so good, people always assume there’s some secret trick. But the secret is just… the fruit.
Naturally Sweet Without Added Sugar
Bananas are like nature’s candy when they’re ripe, and they do all the sweetening here. Strawberries bring that tangy freshness, and together they make this bright, summery flavor bomb. I used to add honey out of habit, but once I tried it without—just fruit and almond milk—I never looked back. If your bananas are spotty and your strawberries are juicy, that’s all you need. Seriously, don’t overthink it.
Kid-Approved and Toddler-Friendly
If you’ve got little ones, these popsicles are a game changer. My sister’s toddler went through a “frozen everything” phase—wouldn’t eat dinner, but would gnaw on a popsicle for 30 minutes straight. These were a lifesaver. They’re soft enough to bite through, especially if you let them sit a few minutes after pulling them from the freezer. No choking hazard, no sugar meltdown. Just happy, sticky fingers and quiet snack time.
Minimal Effort, Maximum Payoff
This is probably my favorite part: you don’t need anything fancy. Just toss the ingredients in a blender, pour into molds (or even ice cube trays if you’re desperate), and freeze. No cooking, no measuring with precision, no weird steps. I’ll usually make a batch while I’m clearing dinner dishes—takes less time than brewing tea.
I started making these during one of those “I need to eat better but also don’t want to try too hard” phases. They became a staple. I’d even toss a few in a cooler bag for beach trips. They’d start melting right as we got to the sand—messy but worth it.
A Healthy Habit That Sticks
Because they’re so easy, I keep coming back to them. I’ve tried fancy popsicles with spirulina or whatever, but nothing beats the simplicity of these. And you actually feel good eating them. No guilt, no bloat, no mystery ingredients. Just fruit, blended, frozen, done.
So yeah, they’re simple, sweet, kid-friendly, no-fuss, and somehow always hit the spot. I still make them weekly, even when it’s not blazing hot.
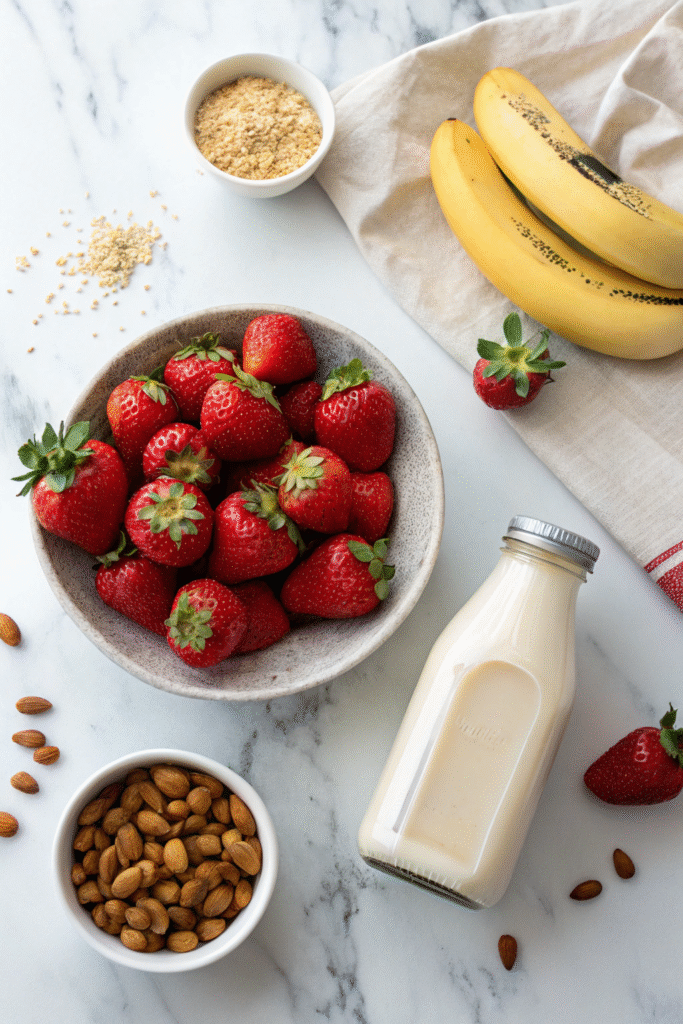
Ingredients You Need
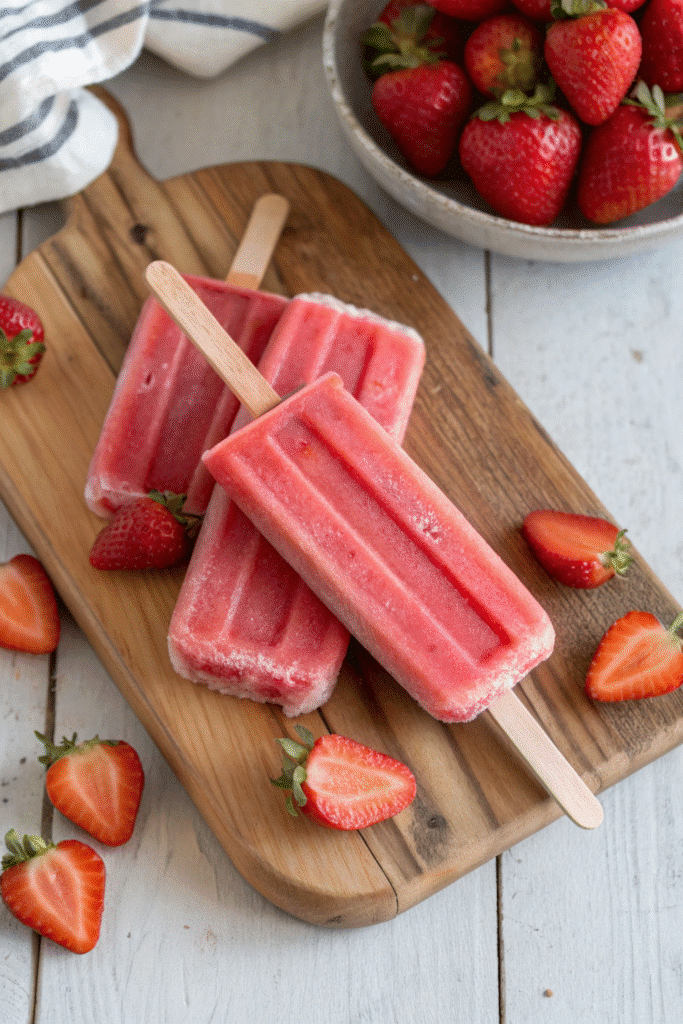
Before we even get into measurements or methods, let’s talk about why these three simple ingredients work so dang well together. It’s not just convenience—it’s chemistry. Bananas, strawberries, and almond milk each bring something important to the table. And together? Magic. Like, “I-ate-three-before-they-were-fully-frozen” magic.
Ripe Bananas Are Your Best Friend
First off, bananas. The riper the better. I’m talkin’ soft, speckled, nearly-too-gross-to-eat bananas. They’re super sweet, which is key since we’re not adding any extra sugar. They also make the texture crazy creamy—like soft-serve meets smoothie meets ice pop. I once tried using barely-ripe bananas because that’s all I had… big mistake. The pops turned out icy and weird, like banana-flavored freezer burn. Don’t do that to yourself.
Plus, bananas help bind everything. They’re thick, which means the mixture holds together in the mold and doesn’t separate as it freezes. Total MVP.
Strawberries Add Brightness and Flavor
Now, strawberries. These little gems are what give the pops their vibrant color and fruity punch. Fresh or frozen both work. I’ve used those giant Costco bags of frozen strawberries more times than I can count. Just thaw them a little before blending so your blender doesn’t cry.
Strawberries keep the flavor fresh and slightly tart, which balances out the sweetness from the bananas. They’re also packed with vitamin C—not that you need an excuse to eat more of them, but hey, it’s a nice bonus.
Almond Milk (Or Any Milk, Really)
Third ingredient: almond milk. I use unsweetened vanilla almond milk because that subtle vanilla flavor makes everything taste like dessert. But you can totally sub in oat milk, coconut milk, or even plain ol’ cow’s milk if that’s your thing. The milk helps everything blend smooth and keeps the pops from turning into fruit-flavored ice bricks.
You don’t need much—just enough to get the blender going and give the pops a silky texture. I’ve overdone it before and ended up with slushies instead of popsicles, so start small and add as needed.
These three ingredients—when they’re ripe, fresh, and blended just right—create the perfect popsicle base. No need for sweeteners, no need for stabilizers or preservatives. It’s real food, frozen into something you’ll actually look forward to eating.
Step-by-Step Instructions
Okay, let’s get into the how-to. Because honestly, even if you’ve never touched a blender in your life, you can make these popsicles. No ice cream maker. No stovetop. Just blend, pour, freeze. That’s it. I’ve made them while half-asleep and wrangling a clingy dog—and they still turned out amazing.
Step 1: Prep Your Fruit
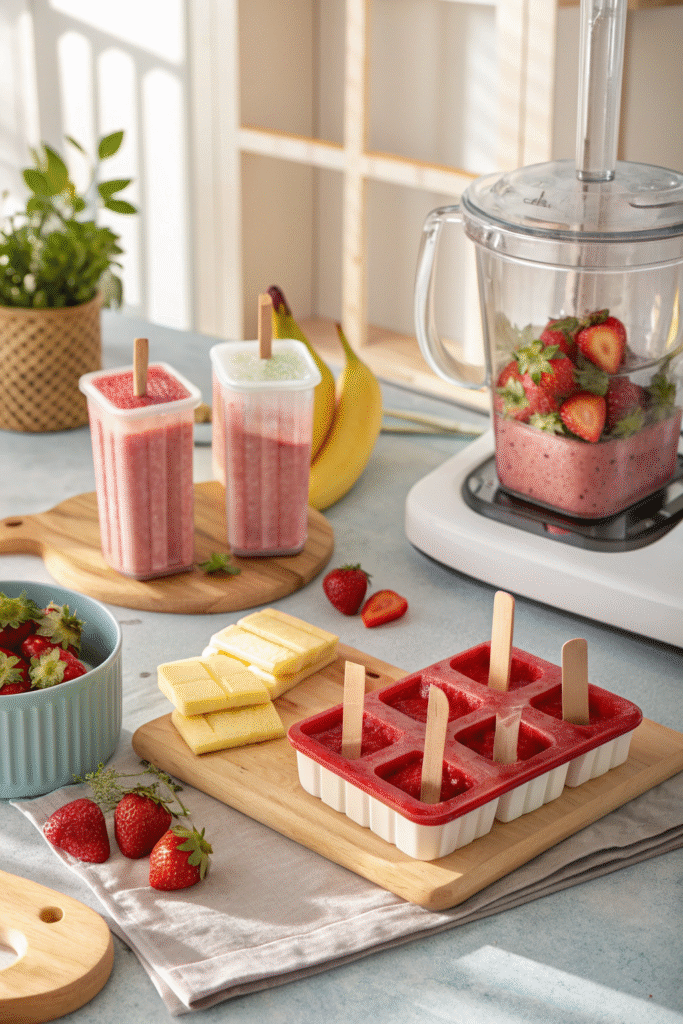
Start by getting your fruit ready. For the bananas, peel and slice them into chunks. Doesn’t have to be pretty. If they’re super ripe, they might be mushy—perfect. For strawberries, hull them (basically just pop off the green tops) and give ‘em a quick rinse. If you’re using frozen strawberries, let them thaw for about 10-15 minutes first, or microwave them for like 20 seconds. Just enough so they don’t turn your blender into a lawn mower.
I usually go with two medium bananas and about a cup and a half of strawberries. But honestly, it’s flexible. If you’re into more banana flavor, up it a bit. Like things more tart and fruity? Add extra strawberries.
Step 2: Blend It All Together
Now toss everything in your blender. Bananas first, then strawberries, then about ¼ to ½ cup of almond milk. Start on low and then crank it up. You want it super smooth—no chunks, no ice crystals. But don’t over-blend to the point it’s foamy. I’ve done that before and ended up with weird air pockets in the frozen pops.
If the mix isn’t moving, add a splash more milk. Just go easy—you don’t want it runny like juice. It should be thicker than a smoothie, but still pourable. Like soft pancake batter.
Step 3: Pour Into Molds
This is where it gets satisfying. Grab your popsicle molds (or ice cube trays if you’re winging it) and pour the mix in slowly. If you’re like me, it’ll spill a bit. Just wipe the sides and move on. Add sticks or handles and gently tap the mold on the counter to get rid of any air bubbles.
I once tried using those reusable silicone molds shaped like rocket ships. Looked cool but leaked all over the freezer. Lesson learned—stick with the basics if you’re starting out.
Step 4: Freeze and Wait (The Hardest Part)
Pop them in the freezer for at least 4 hours, but overnight is best. I usually forget about them until the next day anyway. When you’re ready to eat, run the molds under warm water for about 10 seconds—don’t yank on the sticks or you’ll just rip them in half. Trust me. I’ve done it.
And that’s it. You’ve got cold, creamy, sweet popsicles ready to go. No drama. No cooking. Just you, your freezer, and a tiny bit of patience.
Tips for Perfect Popsicles Every Time
You wouldn’t think a three-ingredient recipe could go sideways, right? Well… I’ve messed these up more times than I care to admit. It’s not rocket science, but there are a few tricks that take these from “meh” to “where have these been all my life?” These are the things I wish someone had told me before I poured my first batch.
Use Super Ripe Bananas
Seriously, the riper the banana, the better. Like, borderline mushy. Those ones you forgot on the counter and are starting to make fruit flies do cartwheels? Yep, those are the gold standard. They’re extra sweet and give your popsicles that creamy texture you’re after. Once, I used half-ripe bananas thinking it wouldn’t matter. The result? Popsicles that tasted like freezer-burnt mashed potatoes. Never again.
Don’t Skip the Lemon Juice Trick
Here’s a little bonus hack I picked up from a food blogger years ago—squeeze in just a tiny splash of lemon juice. It’s not enough to make the pops taste sour, but it totally brightens the flavor. Like taking a filter off your fruit. I resisted this for a while because I thought it was extra. It’s not. It’s game-changing.
Don’t Add Too Much Liquid
If you’re using almond milk (or oat, coconut, whatever), go easy. I once dumped in an entire cup because my blender was being stubborn. The mix looked fine, but once it froze… total disappointment. Ice blocks. Hard as rocks and barely any flavor. Start with ¼ cup and only add more if your blender can’t handle it.
You want the consistency to be thick—think somewhere between smoothie and pudding. Too thin, and your pops won’t have that satisfying, creamy bite.
Freeze Overnight for Best Results
I know it’s tempting to check after a couple hours, but let them freeze overnight. Every time I’ve tried pulling them early, they’re either slushy or weirdly soft. Not worth it. And when you’re ready to eat, don’t yank the stick—just run the mold under warm water for ten seconds and they’ll slide right out.
Use a Good Mold (Or Improvise Smartly)
You don’t need anything fancy, but flimsy molds are a pain. I used cheap plastic ones from a dollar store once, and they cracked halfway through freezing. I’ve also done the ol’ Dixie cup and popsicle stick trick in a pinch. Works like a charm—just tear the cup away when you’re ready.
These little tweaks can make a huge difference. Once you dial it in, you’ll be making these on autopilot. And honestly? I kinda look forward to the whole process now. There’s something oddly satisfying about pulling a perfect homemade popsicle out of the mold and knowing you didn’t need sugar, preservatives, or even a recipe card to get there.
Fun Variations to Try
Once you’ve nailed the basic 3 ingredient strawberry banana popsicle, it’s hard not to start playing around. I didn’t plan on creating different versions at first, but boredom struck one weekend and next thing you know, I’m adding everything from chia seeds to chocolate chips. Some combos flopped (don’t ask about the spinach experiment), but a few turned out even better than the original. Here are my go-to twists that keep things fun and fresh.
Add-Ins That Actually Work
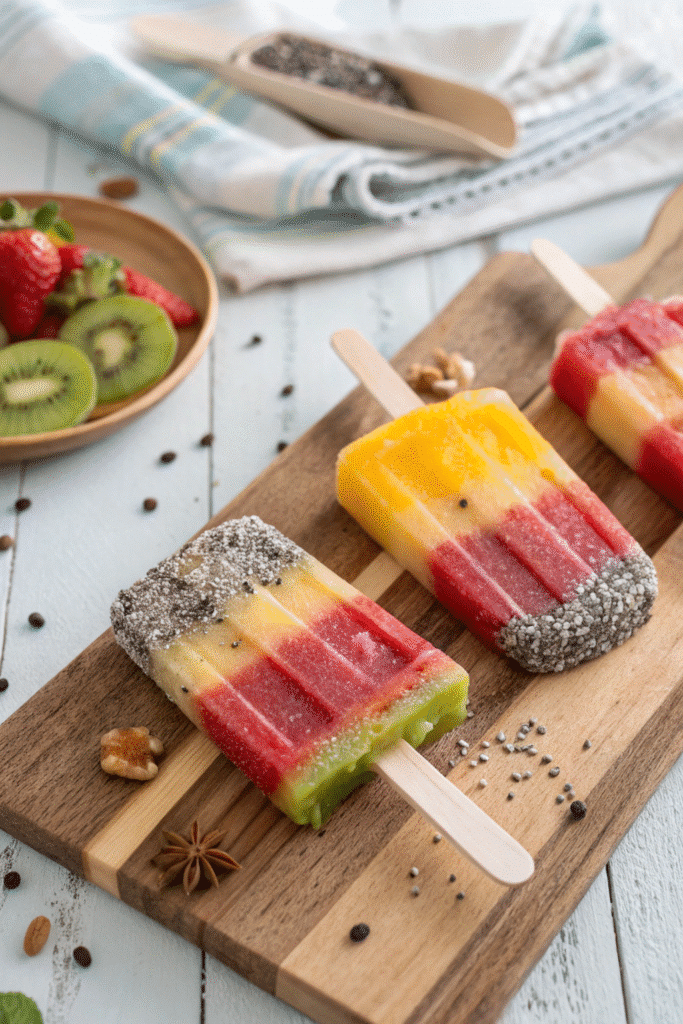
One of my all-time favorite additions? Shredded coconut. Just a tablespoon or two blended in gives it this tropical vibe and a slightly chewy texture that’s weirdly satisfying. Chia seeds are another solid option. They add a little crunch and boost the nutrition factor. Just let the mixture sit for 10 minutes before pouring so the seeds can swell a bit—otherwise, they sink to the bottom and get weird.
I’ve also stirred in mini chocolate chips right before freezing. Total game changer. Especially if you use dark chocolate—they give a rich bite that cuts through the fruitiness. Great for when you want something a bit more indulgent without going full dessert mode.
Yogurt Swirls for Extra Creaminess
If you’re not dairy-free, adding a swirl of Greek yogurt to the mix is next-level creamy. I usually just spoon a little into the mold after pouring the fruit blend, then use a skewer or knife to swirl it around. It looks pretty and tastes like frozen strawberry cheesecake.
You can also swap almond milk for full-fat coconut milk to go all in on the creamy factor. I tried this during a heatwave when I was craving something richer. It’s more of a frozen smoothie bar than a popsicle, but wow—it’s good.
Layered Pops for a Visual Twist
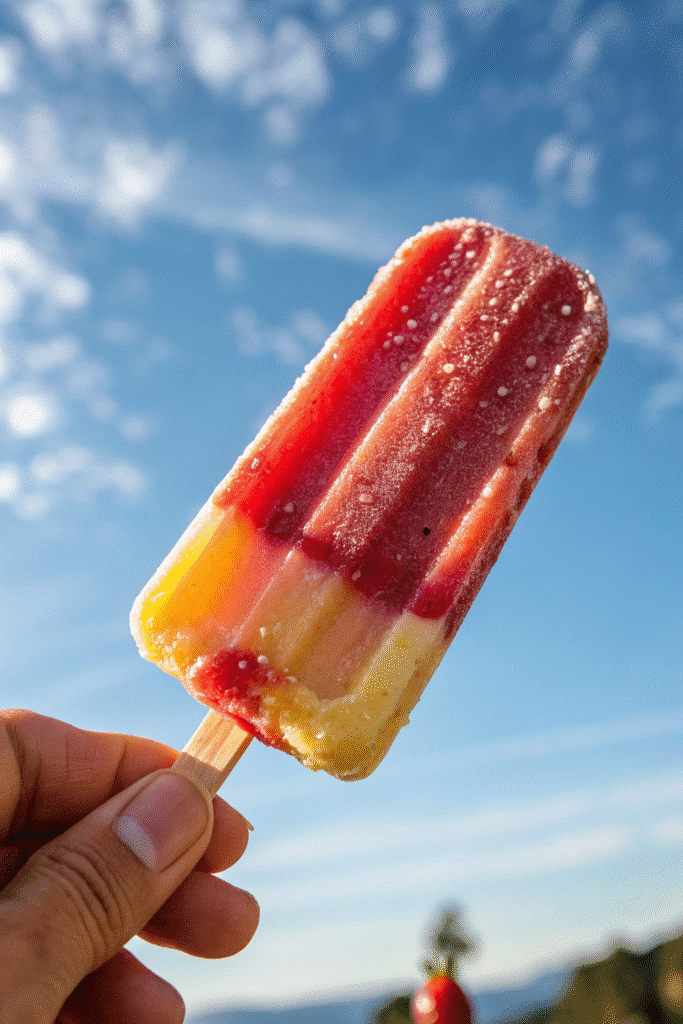
Want to get a little fancy? Try layering different purees. I’ve done a mango layer on the bottom and the strawberry banana on top—bright orange fading into pink. Looks like something you’d find at a juice bar. Just freeze the first layer for 30–40 minutes before adding the second so they don’t blend together.
Kiwi puree also works great as a tangy green layer. It’s got a zing that pairs really well with the sweetness of the banana.
Sweeten to Taste (If You Must)
If you’re used to really sweet snacks, the natural sugar in fruit might not cut it at first. A drizzle of honey or maple syrup blended in can help ease the transition. I used to add a teaspoon of honey when making these for my dad, who has a serious sweet tooth. Worked like a charm. Just go easy—you don’t want them syrupy.
These little tweaks keep things interesting without making it complicated. You still get that healthy, refreshing vibe, but with just enough variety to keep you from getting bored. Honestly, once you start mixing and matching, it’s hard to stop.
So there it is—your complete guide to making ridiculously easy and unbelievably tasty 3 ingredient strawberry banana popsicles. Who knew three simple things sitting in your kitchen could turn into something this good? I’ve made these dozens of times now, and they never let me down. No fancy techniques, no hard-to-pronounce ingredients—just real fruit, a splash of milk, and a freezer.
They’re sweet without the sugar, creamy without the cream, and honestly, a total lifesaver during hot months. I love that they work for pretty much everyone—kids, adults, vegans, folks watching their sugar, picky eaters. You name it. They’re the kind of snack that feels like a treat but actually leaves you feeling good afterward.
And the best part? You can keep switching it up. Once you’ve got the base recipe down, the sky’s the limit with variations. Chia seeds, yogurt swirls, tropical fruit layers—it’s all fair game. Every batch can be a little different, which makes them kinda fun to experiment with.
If you give these a try (and I really hope you do), share a pic or leave a comment with your favorite combo. I’m always down to try new twists! And if this post helped you out or inspired a little kitchen creativity, don’t forget to save it on Pinterest so more folks can get in on the frozen fun.
Here’s to simple snacks, messy kitchens, and popsicles that actually make you feel good. Stay cool out there!
Print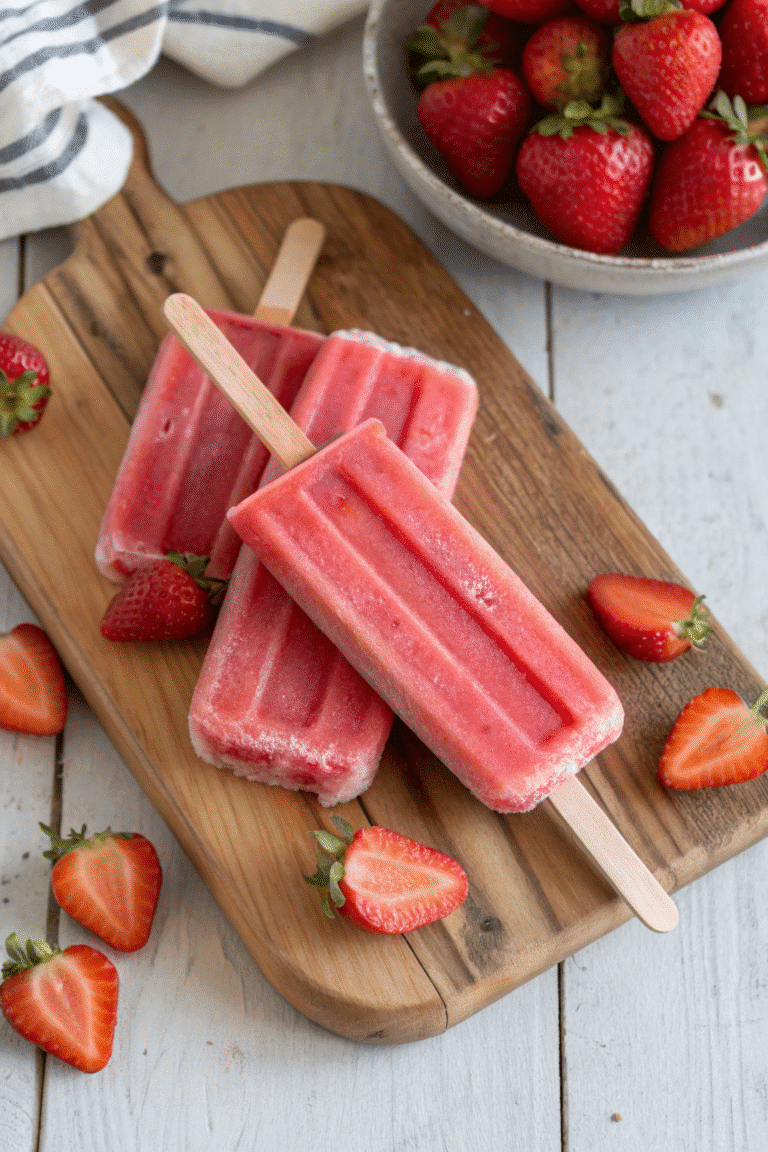
How to Make 3 Ingredient Strawberry Banana Popsicles
Creamy, sweet, and totally refreshing—these 3 ingredient strawberry banana popsicles are the ultimate summer snack. No added sugar, no fuss, just wholesome fruity goodness.
- Total Time: 4 hours 10 minutes
- Yield: 6 popsicles 1x
Ingredients
- 2 ripe bananas, peeled and sliced
- 1½ cups strawberries, hulled (fresh or thawed from frozen)
- ¼–½ cup unsweetened vanilla almond milk (or milk of choice)
Instructions
- Peel and slice bananas. Hull and rinse strawberries. If using frozen strawberries, thaw for 10–15 minutes or microwave for 20 seconds.
- Add bananas, strawberries, and ¼ cup almond milk to a blender. Blend until smooth, adding more milk only if needed for blending.
- Pour mixture into popsicle molds. Insert sticks and gently tap molds to remove air bubbles.
- Freeze for at least 4 hours, preferably overnight.
- To serve, run molds under warm water for 10 seconds before removing popsicles.
Notes
Use super ripe bananas for natural sweetness and creamy texture. Add a splash of lemon juice to brighten the flavor. Don’t overdo the liquid or pops may freeze too hard. For fun variations, try adding shredded coconut, chia seeds, or a swirl of Greek yogurt.
- Prep Time: 10 minutes
- Cook Time: 0 minutes
- Category: Snack
- Method: Freezer
- Cuisine: American
- Diet: Vegan
Nutrition
- Serving Size: 1 popsicle
- Calories: 60
- Sugar: 8g
- Sodium: 5mg
- Fat: 0.5g
- Saturated Fat: 0g
- Unsaturated Fat: 0.5g
- Trans Fat: 0g
- Carbohydrates: 15g
- Fiber: 2g
- Protein: 1g
- Cholesterol: 0mg

